


Introduction#
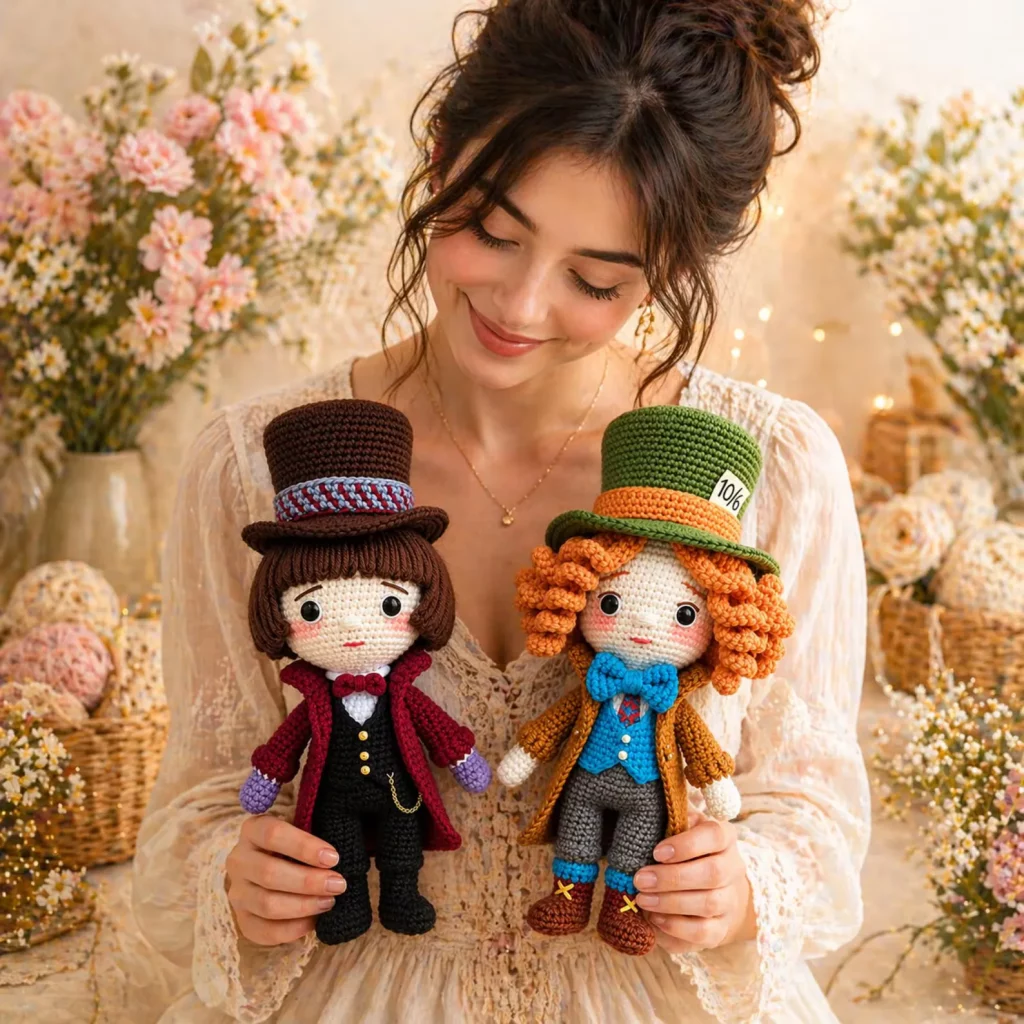
If you’ve ever wanted to create something truly charming and full of personality, these crochet dolls are the perfect project to try. With their expressive faces, detailed outfits, and whimsical style, they bring storytelling and creativity into your crochet journey.
Explore more intermediate amigurumi crochet patterns in our pattern library.
Many beginners feel intimidated by amigurumi (crochet toys), but this easy crochet pattern breaks everything down into simple, manageable steps. Whether you’re making a heartfelt gift or building your own collection, this DIY crochet guide will help you craft beautiful dolls with confidence.
Detailed Description of the Crochet Pattern#
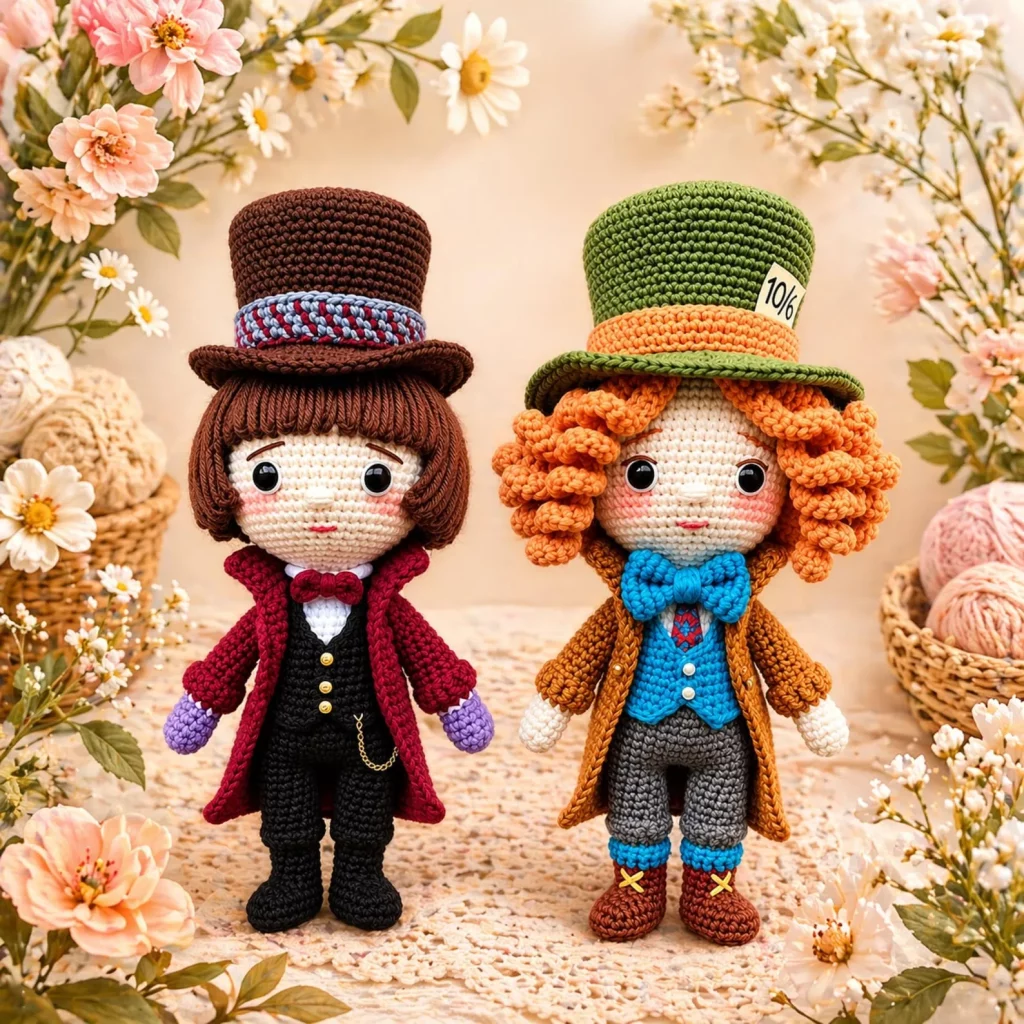
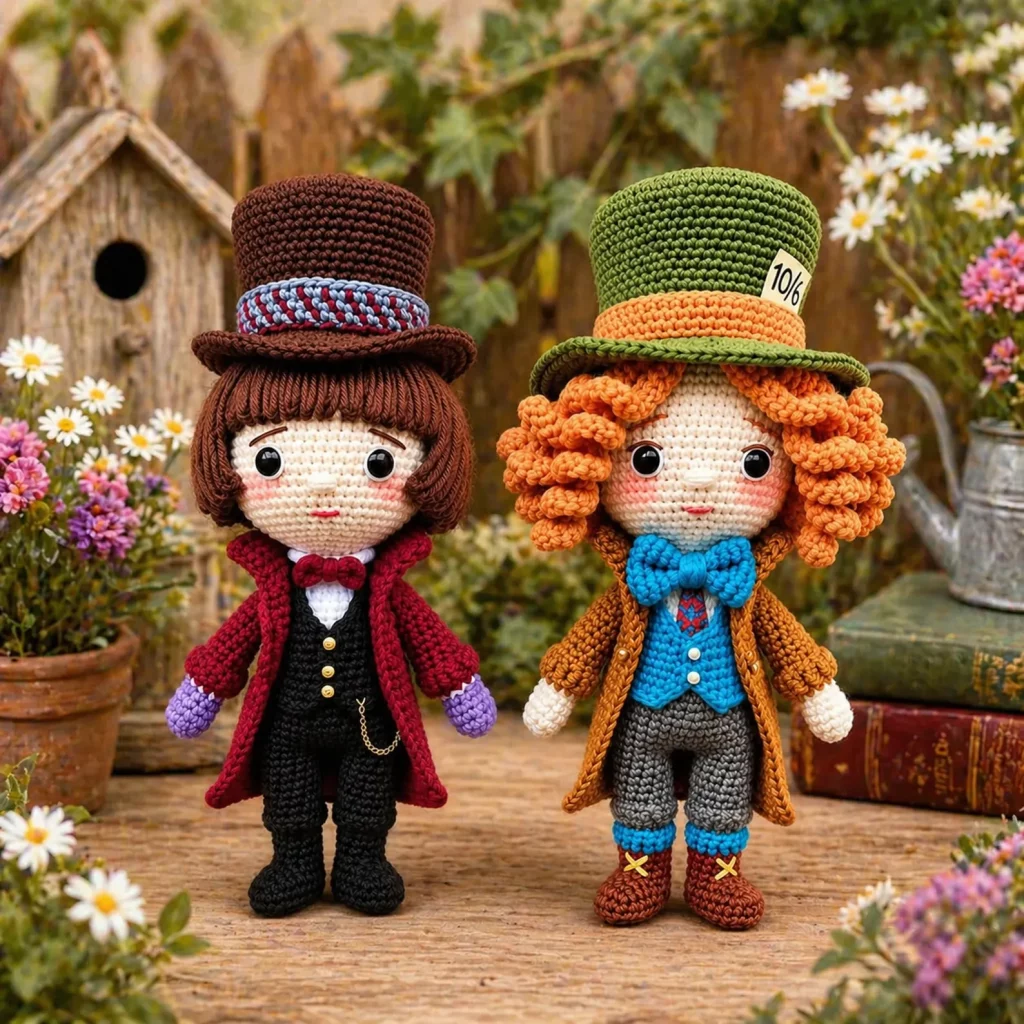
This crochet pattern features two stylized amigurumi dolls, each with distinct outfits and playful details. The design includes:
- A rounded head with embroidered facial features
- A compact, proportionate body
- Detailed clothing (jackets, vests, and accessories)
- Signature hats that complete the whimsical look
The dolls are worked in separate parts (head, body, arms, legs, and accessories) and then assembled. Their outfits are layered, giving them a high-end handmade appearance.
Key Features:
- 3D amigurumi construction
- Intricate clothing details
- Customizable colors and accessories
- Expressive and decorative finish
This is a free crochet pattern style project that feels like a collectible piece when completed.
Skill Level Explanation#
This project is best suited for advanced beginners to intermediate crocheters.
You should be comfortable with:
- Working in the round
- Basic stitches (single crochet, increase, decrease)
- Sewing pieces together
- Changing colors neatly
If you’re new to amigurumi, this project is a great learning experience with a rewarding outcome.
Materials Needed#
Yarn:
- Lightweight cotton or acrylic yarn (DK or worsted weight)
- Skin tone yarn
- Multiple colors for clothing and accessories
Hook:
- 2.5 mm – 3.5 mm crochet hook (smaller hooks for tight stitches)
Tools:
- Safety eyes or black embroidery thread
- Yarn needle
- Stitch markers
- Scissors
- Fiberfill stuffing
Tips:
- Use cotton yarn for better stitch definition
- Keep tension tight to avoid gaps in stuffing
Stitches & Techniques Explained#
Magic Ring
Forms the base of the head and body.
Single Crochet (sc)
The main stitch used in amigurumi.
Increase (inc)
2 stitches in one stitch to expand shape.
Decrease (dec)
Combine stitches to shape curves (use invisible decrease for neat finish).
Working in Continuous Rounds
No turning—use stitch markers to track progress.
Color Changes
Switch yarn mid-stitch for clean transitions.
Step-by-Step Instructions#
Head
- Start with a magic ring
- Work increases to form a sphere
- Continue even rounds
- Insert safety eyes before closing
- Stuff firmly and close
Body
- Start from the base or attach to head
- Work in rounds, shaping with increases/decreases
- Change colors for clothing
Arms and Legs
- Crochet small tubes in the round
- Lightly stuff (or leave unstuffed for flexibility)
- Attach symmetrically
Hair
- Create strands or a cap
- Sew or crochet directly onto the head
Clothing Details
- Crochet jackets, vests, and bow ties separately or integrate them
- Use color changes for layered looks
Hat
- Work in rounds from top to brim
- Add decorative bands or elements
Assembly
- Sew all parts securely
- Embroider facial features (lashes, blush, smile)
Common Mistakes and How to Avoid Them#
Gaps Between Stitches
- Use a smaller hook
- Maintain tight tension
Uneven Stuffing
- Add stuffing gradually
- Shape as you go
Misaligned Features
- Use pins to position before sewing
Loose Parts
- Double stitch when attaching limbs
Expert Tips for Better Results#
- Use invisible decreases for a cleaner look
- Choose high-quality stuffing for even shaping
- Add blush using soft pastel or makeup for realism
- Keep a consistent stitch count for symmetry
- Take your time with assembly—it makes a big difference
Variations and Customization Ideas#
Character Themes:
- Fairytale characters
- Seasonal outfits
- Personalized dolls
Outfit Ideas:
- Dresses instead of coats
- Casual modern clothing
- Holiday-themed costumes
Size Adjustments:
- Use thicker yarn for larger dolls
- Use thinner yarn for mini versions
Benefits of This Crochet Project#
- Enhances amigurumi skills
- Encourages creativity and personalization
- Makes meaningful handmade gifts
- Great for selling or gifting
- Improves attention to detail
This crochet for beginners project (with some patience) builds confidence and technique.
Internal Linking Suggestions#
You may also like:
- Easy amigurumi crochet patterns
- Beginner crochet toy tutorials
- Crochet animal patterns
- How to crochet dolls step-by-step
- Best yarn for amigurumi
FAQ Section#
1. Is this crochet pattern beginner-friendly?
It’s suitable for advanced beginners who are comfortable with basic stitches and working in the round.
2. What size are the finished dolls?
Typically between 6–10 inches, depending on yarn and hook size.
3. Can I use different yarn types?
Yes, but cotton yarn is recommended for best structure and detail.
4. How do I make the doll look more realistic?
Focus on facial details, even stuffing, and precise assembly.
5. Can I sell finished dolls?
Yes, as long as the pattern allows it. Always check pattern usage rights.
Conclusion#
These adorable crochet dolls are more than just a project—they’re tiny works of art filled with personality and charm. With this easy crochet pattern, you’ll learn valuable amigurumi techniques while creating something truly special.
Whether you’re crafting for fun, gifts, or even a small business, this crochet tutorial gives you the skills and inspiration to bring your own characters to life.
Pick up your hook, choose your colors, and start your next DIY crochet adventure today! ????✨


