


Introduction#
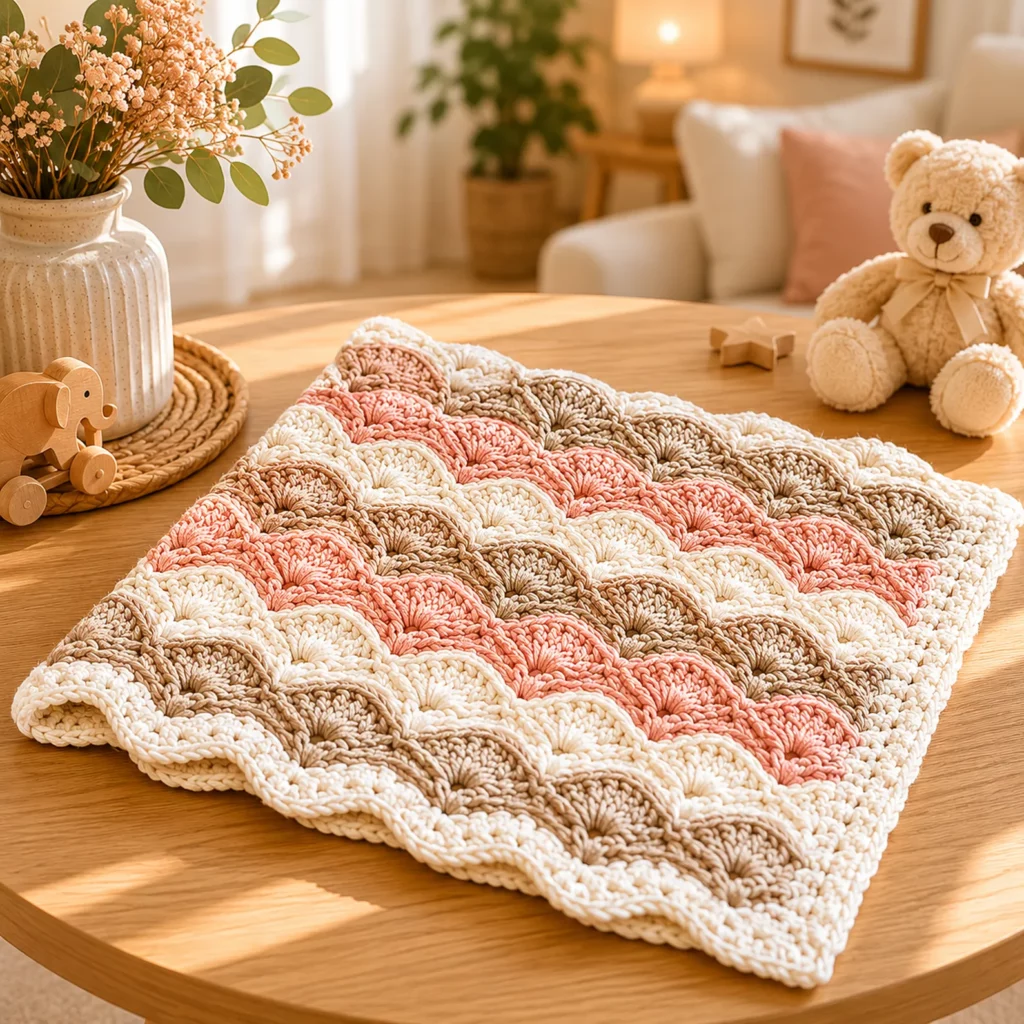
Some crochet blankets feel classic the moment you pick them up. This wavy shell baby blanket is one of those projects: soft, rhythmic ripples, gentle stripes, and a touch of texture that looks beautifully handmade without feeling complicated.
Explore more beginner blankets crochet patterns in our pattern library.
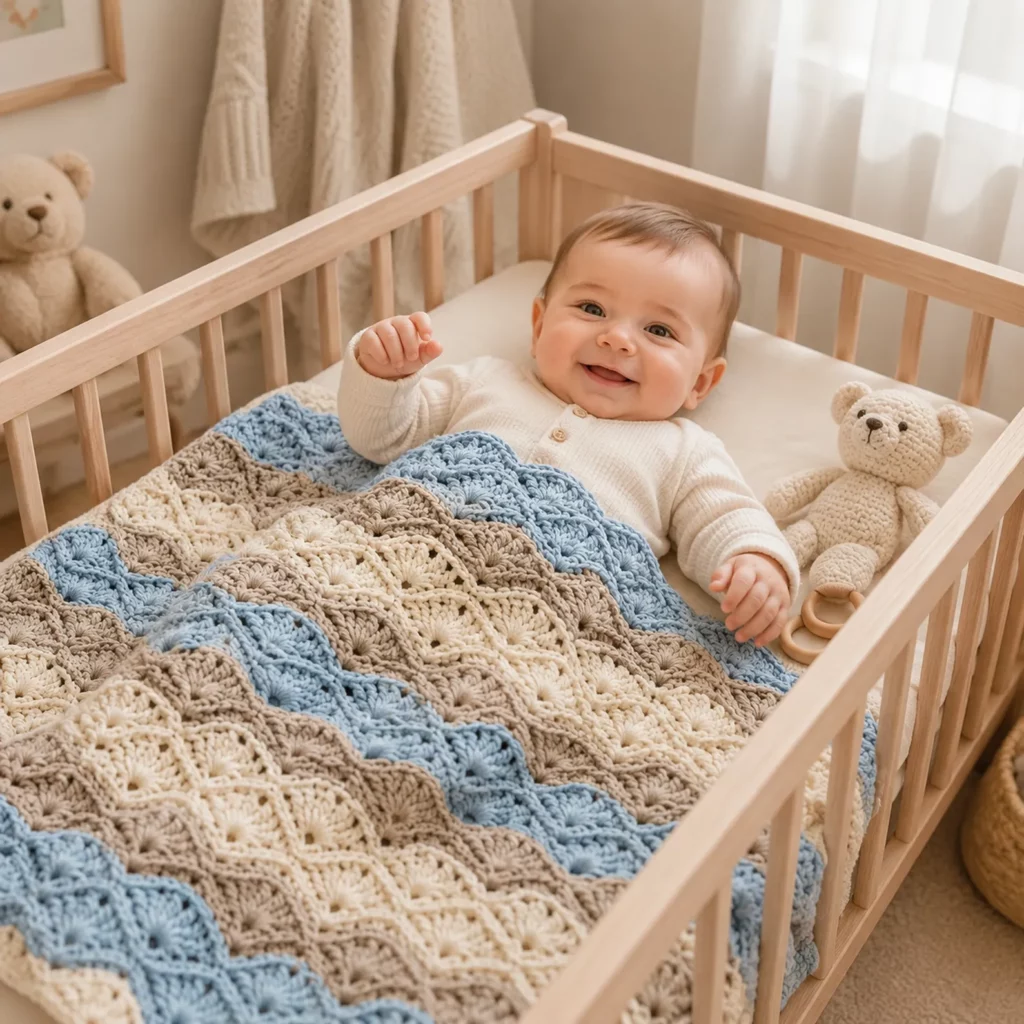
If you want a crochet pattern that stays interesting row after row, wave blankets are perfect. You get that satisfying “zig-zag” shape as you work, and the shell stitches add a plush, cozy feel that’s ideal for babies. The stitch pattern also has a lovely drape, so it folds and cuddles well in a crib, stroller, or rocking chair.
This free crochet pattern is written like a step-by-step crochet tutorial. You’ll learn how the ripple is formed (it’s all increases and decreases in the right places), how to keep your stitch counts consistent, and how to finish with clean edges that don’t curl.
Detailed Description of the Crochet Pattern#
This blanket is a striped ripple made with shell stitches (fans). The overall look comes from two things working together: the wave shaping and the fan texture.
The wave shaping creates the up-and-down ripple across the width. That ripple is made by placing increases at the “peaks” of the wave and decreases at the “valleys.” Once you understand where peaks and valleys occur, the pattern becomes wonderfully repeatable.
The fan texture comes from groups of double crochet worked into the same stitch or space. Fans create a slightly raised, cushy surface that looks almost quilted when repeated across a blanket. Alternating colors in stripes makes the wave even more defined, because the peaks and dips become part of the design.
This is the kind of crochet pattern that looks impressive in photos, but in real life it’s a relaxing repeat: count your wave repeats, keep your corners tidy, and let the shells do the decorating for you.
Skill Level Explanation#
Skill Level: Confident Beginner
You’ll do great if you already know:
- Chain (ch)
- Single crochet (sc)
- Double crochet (dc)
- How to count stitches and repeats
- How to change colors at the end of a row
Newer skills you’ll learn (or practice):
- Ripple shaping (increases and decreases placed consistently)
- Working shell/fan stitches
- Reading a repeating stitch multiple (so you can resize easily)
- Keeping edges neat on a textured wave pattern
If you’ve made a basic striped blanket before, this is a perfect “next step” because it teaches structure (the ripple) and texture (the shells) without requiring advanced techniques.
Materials Needed#
Yarn
A wave baby blanket is all about softness and washability. Shell stitches create a thicker fabric, so choose a yarn that feels gentle against skin and can handle regular laundering.
Suggested yarn weights:
- Worsted (Category 4): easiest, great stitch definition, warm but not too heavy
- DK (Category 3): lighter drape, softer wave movement, slightly smaller final size unless you add chains
- Bulky (Category 5): extra plush and fast, but the wave becomes bolder and uses more yardage by weight
Fiber suggestions:
- Acrylic baby yarn (anti-pilling is a bonus)
- Cotton blend for breathable softness
- Bamboo blend for a silky drape
Color palette ideas that suit this style:
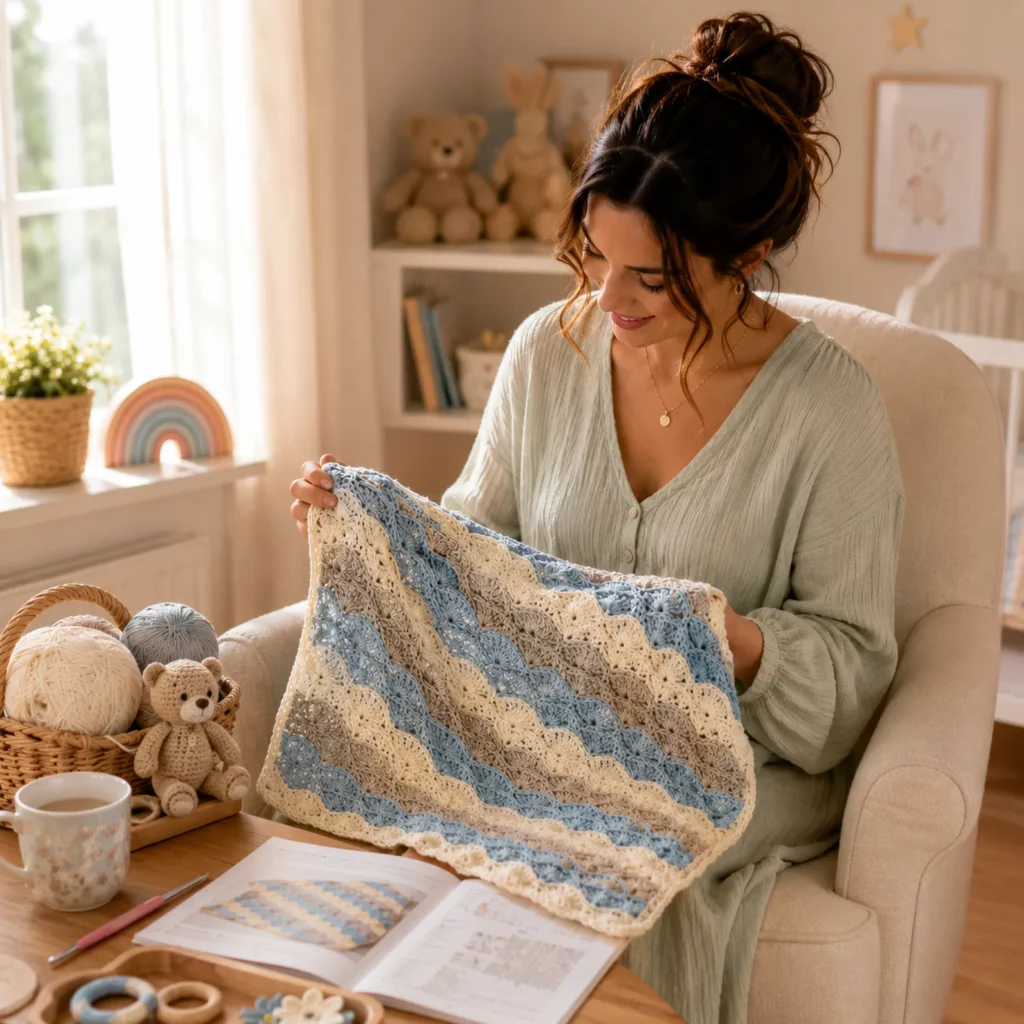
- Soft blue + cream + taupe (classic and calming)
- Sage + ivory + sand (woodland nursery)
- Blush + oatmeal + ivory (warm neutral)
- Denim + gray + white (modern)
Yardage (approximate for worsted weight):
- Stroller (30″ x 34″): 1100–1500 yards total
- Crib (36″ x 42″): 1600–2200 yards total
- Throw (45″ x 55″): 2500–3300 yards total
Because shell stitches are yarn-hungry, it’s smart to buy one extra skein of your main color if you’re close on yardage.
Hook
- Worsted yarn: 5.0 mm (H/8) or 5.5 mm (I/9)
- DK yarn: 4.0 mm (G/6) to 4.5 mm (7)
- Bulky yarn: 6.0 mm (J/10) to 6.5 mm (K/10.5)
If your blanket feels stiff, size up. If you see big gaps between shells, size down.
Notions
- Yarn needle
- Scissors
- Stitch markers (helpful for marking peaks/valleys early on)
- Measuring tape
- Blocking tools (optional)
Stitches & Techniques Explained#
Common Abbreviations
- ch = chain
- sc = single crochet
- dc = double crochet
- sl st = slip stitch
- sk = skip
- st(s) = stitch(es)
- sp = space
- RS/WS = right side/wrong side
- ( ) = repeat
- = stitch count
Shell/Fan Stitch
For this blanket, a “fan” is a group of dc worked into one stitch (or space). A common fan is 5 dc in the same stitch. The fan creates the curved, textured look.
How Ripple Shaping Works
Ripple blankets are just regular stitches placed strategically:
- At a peak, you increase (work more stitches into one spot)
- At a valley, you decrease (combine stitches together or skip more)
In this pattern, you’ll form:
- Peaks with a fan (multiple dc in one stitch)
- Valleys with a skip or a decrease area (fewer stitches worked)
Clean Color Change (End of Row)
To keep stripes neat:
- Work the last stitch of the row until 2 loops remain on your hook
- Yarn over with the new color and pull through the last 2 loops
- Turn and continue with the new color
This makes the edge look polished and prevents little color “dots” along the sides.
Step-by-Step Instructions#
Finished Size (Adjustable)
This crochet pattern is written so you can make any size by starting with the right multiple. You’ll choose:
- Width (by foundation chain)
- Length (by repeating stripe rows)
Common baby blanket sizes:
- Stroller: 30″ x 34″
- Receiving: 32″ x 32″
- Crib: 36″ x 42″
Gauge (Helpful but Not Stressful)
Ripple patterns can “grow” differently depending on tension. A small swatch helps you plan chain counts more accurately.
With worsted yarn and a 5.0 mm hook, many crocheters land around:
- 12–14 dc = 4″ (10 cm) in a flat dc fabric
Shell/ripple texture may measure differently, so consider gauge a planning tool, not a strict rule.
Notes Before You Start
- The first few rows are the most important for establishing the wave
- Place stitch markers at peaks and valleys for the first 2–3 repeats if you’re new to ripples
- Count your stitches or your “wave repeats” at the end of each row early on
- It’s normal for the blanket to look a little ruffly until you complete a few rows
Foundation Chain (Sizing + Multiple)
A ripple pattern needs a specific stitch multiple so peaks and valleys line up.
A very common ripple multiple for a shell wave is:
- Multiple of 14 + 2 (turning chains)
or - Multiple of 12 + 3 (turning chain)
Different designers use different math depending on where the fans land.
For this tutorial-style pattern, we’ll use a practical sizing method that’s beginner-friendly:
- Choose a starting chain in a multiple of 14, then add 2 extra chains for turning
Starting points (approximate for worsted yarn):
- Stroller width ~30″: ch 114 to 142
- Crib width ~36″: ch 142 to 170
- Throw width ~45″: ch 184 to 212
If you want exact sizing, chain in multiples of 14 until the width measures what you like, then add 2 chains.
Row 1 (Set-Up Row)
In Color A (cream/ivory recommended for a clean base):
Ch your desired length.
Sc in 2nd ch from hook and sc across. Turn.
This base row stabilizes your foundation and makes the first ripple row easier to control.
Row 2 (Begin the Ripple Shell Pattern)
Ch 3 (counts as dc), turn.
The ripple repeat will look like this across the row:
- Work a peak section (fan)
- Work a flat section (dc)
- Work a valley section (decrease/skip area)
- Repeat
Beginner-friendly ripple shell repeat (one full wave):
- Dc in next 2 sts
- Work 5 dc in next st (this creates a peak)
- Dc in next 2 sts
- Sk 2 sts (this creates a valley space)
- Dc in next 2 sts
- Repeat steps 2–5 across the row, ending with dc to the last stitch
Important note: Ripple patterns vary based on stitch counts and where your fan lands. The key is consistency: peaks always get the fan, valleys always get the skip/decrease. If you reach the end and your last section doesn’t match perfectly, adjust by adding or removing a dc near the end, then keep that adjustment consistent for your border later.
Row 3 (Shell Ripple Row)
Ch 3, turn.
Work the same ripple repeat as Row 2, placing fans into the same “peak positions” and keeping valley skips aligned.
After Row 3, the wave shape becomes much more visible and easier to follow.
Stripe Planning (The Look of the Blanket)
For a calm striped wave, this is an easy stripe plan:
- 2 rows Color A (cream)
- 2 rows Color B (soft blue)
- 2 rows Color A (cream)
- 2 rows Color C (taupe/stone)
Repeat until desired length.
If you want slightly thicker stripes:
- 4 rows per color looks especially cozy with shell texture.
Continue Repeating
Keep crocheting ripple shell rows, changing colors according to your stripe plan, until you reach the length you want.
End with 2 rows of Color A (cream) if you want a neat, framed finish.
Fasten off.
Common Mistakes and How to Avoid Them#
Ripple looks uneven or “off pattern”
Cause: Missing a skip at a valley or placing a fan in the wrong stitch
Fix: Place stitch markers at the top of each peak fan for the first few rows. If the peaks drift, you’ll spot it immediately.
Blanket is growing wider or narrower
Cause: Accidentally adding or losing stitches, especially at row ends
Fix: Count the number of fans (peaks) each row. If the number changes, you’ve added or lost stitches somewhere.
Edges look jagged during color changes
Cause: Changing yarn too late or tying knots that sit on the edge
Fix: Always change colors on the final yarn-over of the last stitch. Weave ends in later instead of knotting tightly.
Waves are too sharp or too flat
Cause: Tension differences or a hook that’s not ideal for your yarn
Fix: If your waves are too sharp and tight, go up a hook size. If they’re too flat and loose, go down a size.
Fabric feels stiff
Cause: Shell stitches made tightly with a small hook
Fix: Size up your hook and allow your dc stitches to be slightly taller.
Expert Tips for Better Results#
- Use a smooth yarn for the cleanest shell definition. Textured yarn can hide the fan detail.
- Keep your turning chains consistent. Choose ch-3 as a dc or ch-2 as a dc and stick with it across the whole blanket.
- If your edges bother you, add a simple border in the main color. A border hides minor stripe changes and makes the blanket look professionally finished.
- Weave in ends as you go. Stripe blankets can create lots of ends, and it’s much easier to handle them one stripe at a time.
- For baby blankets, aim for “soft structure.” You want warmth, but you also want drape. Blocking lightly after finishing helps the ripples relax into a beautiful shape.
Variations and Customization Ideas#
Make it more beginner-simple
Use a basic dc ripple instead of shells (no fans, just dc increases at peaks). You’ll still get waves, but with a flatter texture.
Make it extra plush
Switch to bulky yarn and use fewer total rows. Keep stripe bands shorter so the proportions stay balanced.
Add a delicate edge
After a simple sc border, add a shell edging:
(sk 2, 5 dc in next st, sk 2, sl st in next st) repeat around
This gives a sweet, classic finish.
Change the palette for different vibes
- Coastal: cream, sea blue, sand, driftwood gray
- Modern neutral: ivory, oatmeal, warm gray, espresso
- Sweet pastel: white, baby pink, mint, pale lavender
- Bold: white, navy, mustard, terracotta
Make matching items
This pattern pairs beautifully with:
- A simple ribbed baby hat in the same stripe colors
- A textured lovey (mini blanket) using the same ripple stitch
- A nursery cushion cover using shell stripes
Benefits of This Crochet Project#
- The wave shape makes stripes look dynamic and high-end
- Shell stitches create a soft, cozy fabric that feels luxurious
- The repeating pattern is relaxing once established
- Easy to resize for stroller, crib, or throw
- A gift-worthy crochet pattern that looks polished without complicated shaping
Internal Linking Suggestions#
- How to Crochet a Ripple Blanket (Beginner Guide to Peaks and Valleys)
- Shell Stitch Crochet Tutorial (How to Make Fans Neat and Even)
- Best Yarn for Baby Blankets (Soft, Washable Picks)
- How to Change Colors in Crochet Without Jagged Edges
- Easy Crochet Borders for Blankets (Flat, Modern, and Scalloped Options)
FAQ#
Is this suitable for crochet for beginners?
Yes, especially if you’ve made a simple blanket before. The only new part is learning to spot your peaks and valleys. Once you do, the repeat is very calming.
What’s the best yarn for a wave baby blanket?
A soft, washable yarn is ideal. Anti-pilling acrylic baby yarn is a favorite because shell texture gets handled a lot. Cotton blends are great if you want breathable softness.
How do I resize this free crochet pattern?
Start with a foundation chain in multiples of 14, then add 2 turning chains. Crochet until the width is right, then repeat rows until you love the length.
Do shell stitches use more yarn than double crochet?
Yes. Fans use multiple dc in one stitch, so plan for extra yardage compared to a flat dc blanket.
Why does my ripple look messy in the first rows?
Totally normal. The wave settles after a few rows. The first ripple row can look awkward until the next row defines the peaks and valleys.
Can I add a border to straighten the sides?
Absolutely. A simple sc border around the entire blanket makes the edges look clean and helps the blanket lie flat. It’s also a great way to hide carried yarn or color changes.
Conclusion#
This wave shell baby blanket crochet pattern is the perfect mix of soothing and special: gentle ripples, plush fans, and calm stripes that feel timeless in any nursery. It’s a project you can settle into, enjoy the repeat, and finish with something that looks truly heirloom-worthy.
If you tell me the yarn weight you’re using (DK, worsted, or bulky) and the size you want (stroller, receiving, or crib), I can suggest a starting chain count and a stripe plan that fits your exact measurements.


