


Introduction#
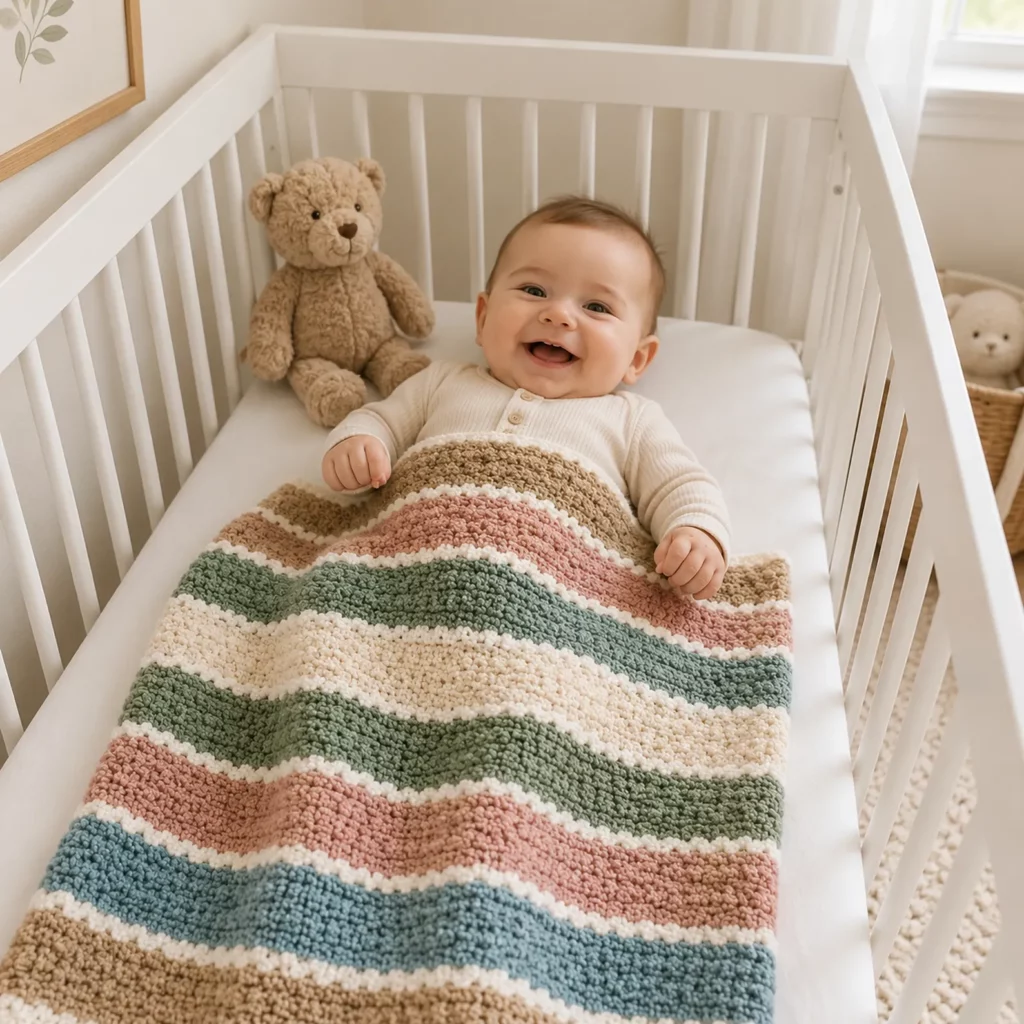
If you love baby blankets that feel extra cozy and look “boutique,” textured stripes are the quickest way to get there. This project has that plush, bumpy surface that babies (and parents) adore, plus calm, modern color blocking that fits any nursery style.
Explore more beginner blankets crochet patterns in our pattern library.
What makes this crochet pattern so satisfying is the rhythm: you’ll work a few rows of a squishy textured stitch in one color, add a simple white divider row to keep the stripes crisp, then repeat. It’s the kind of blanket you can crochet while watching a show, but the finish looks intentionally designed.
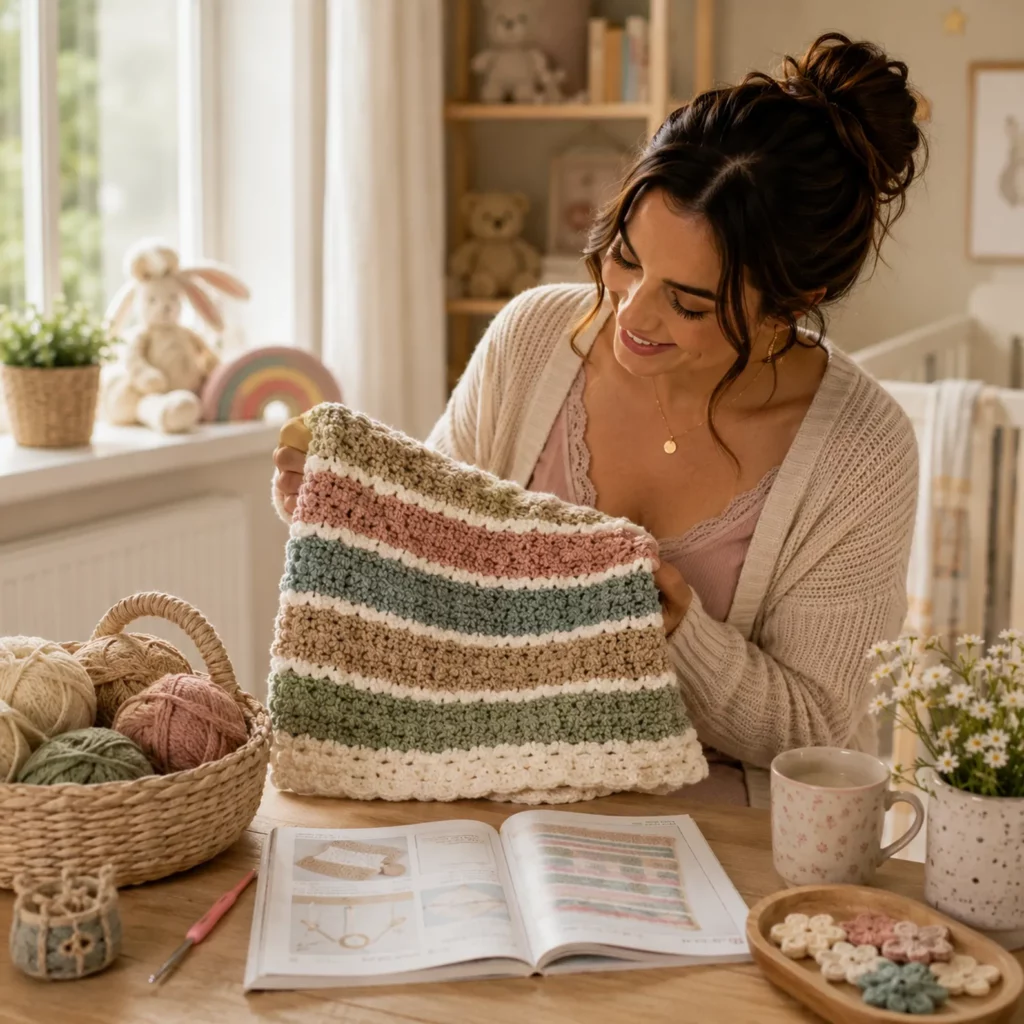
This free crochet pattern is written in a crochet tutorial style, with stitch explanations, stripe planning, resizing guidance, and the little troubleshooting tips that help your blanket come out neat, flat, and gift-worthy.
Detailed Description of the Crochet Pattern#
This blanket is a simple rectangle worked in rows from the bottom up. The overall look comes from two features:
- Wide, bold stripes in multiple colors
- A bumpy “popcorn-like” texture that creates a thick, cushy fabric
Between each colored stripe, there’s a narrow neutral band (white/cream) that acts like a divider. Those divider rows do two things: they sharpen the stripe contrast visually, and they give the blanket a gentle, structured frame so the texture doesn’t overwhelm the design.
The texture itself is created with a puff-style stitch (sometimes called a puff, mini puff, or cluster puff depending on how many yarn-overs you use). It’s beginner-friendly once you learn the motion, and it builds a warm, soft blanket without any complicated shaping.
Skill Level Explanation#
Skill Level: Confident Beginner
You’ll do great if you already know:
- Chain (ch)
- Single crochet (sc)
- Double crochet basics (helpful for understanding yarn-overs)
- Turning at the end of rows
- Counting stitches (or at least checking periodically)
Newer skills you’ll learn (or practice):
- Puff stitch (the textured “bump”)
- Keeping consistent tension with textured stitches
- Clean color changes for stripes
- Simple border work around a rectangle
If you’re brand new to crochet, you can still make this, but I recommend practicing 2–3 rows of puff stitches in a small swatch first. Once it clicks, it’s wonderfully repetitive.
Materials Needed#
Yarn
This blanket looks best with yarn that shows texture clearly and feels soft against baby skin.
Suggested yarn weights:
- Worsted (Category 4): classic, easy to find, great stitch definition
- Bulky (Category 5): makes a thicker, extra-squishy blanket faster
Fiber suggestions:
- Acrylic baby yarn: soft, washable, affordable
- Cotton blend: breathable and neat stitch definition
- Polyester/velvet-style yarn: extremely plush (more advanced to manage)
Color palette idea (similar vibe):
- Cream/White (divider + border)
- Taupe/Sand
- Dusty Rose
- Sage/Olive
- Soft Blue
Yardage (very approximate, because puff stitches eat yarn):
- Stroller size (30″ x 34″): 1100–1500 yards worsted total
- Crib size (36″ x 42″): 1600–2200 yards worsted total
- Throw size (45″ x 55″): 2500–3300 yards worsted total
If you use bulky yarn, you’ll need fewer yards but more skeins by weight (check your label yardage).
Hook
Choose a hook that makes your fabric feel soft but not holey.
Typical starting points:
- Worsted yarn: 5.0 mm (H/8) or 5.5 mm (I/9)
- Bulky yarn: 6.0 mm (J/10) to 6.5 mm (K/10.5)
If your puff stitches look loose and gappy, go down a hook size. If the blanket feels stiff, go up a size.
Notions
- Yarn needle
- Scissors
- Stitch markers (optional but helpful for edges)
- Measuring tape
- Blocking tools (optional)
Safety note: This blanket uses no small parts, making it a great baby-friendly crochet project. Just weave in ends securely.
Stitches & Techniques Explained#
Common Abbreviations
- ch = chain
- sc = single crochet
- sl st = slip stitch
- sk = skip
- st(s) = stitch(es)
- sp = space
- ( ) = repeat
- RS/WS = right side/wrong side
Puff Stitch (ps)
This pattern uses a medium puff that creates bold texture without giant gaps.
Puff Stitch (ps) in a stitch:
- Yarn over, insert hook into stitch, pull up a loop
- Yarn over, insert hook into same stitch, pull up a loop
- Yarn over, insert hook into same stitch, pull up a loop
- Yarn over, pull through all loops on hook
- Ch 1 to “lock” the puff (this ch-1 is part of the stitch)
You can do 2 pull-ups for a smaller puff or 4 pull-ups for an extra chunky puff. Pick one version and stay consistent.
Clean Color Change
To change colors neatly at the end of a row:
- Work the last sc (or last stitch) until you have 2 loops left on the hook
- Yarn over with the new color and pull through the last 2 loops
- Turn and continue with the new color
This makes the row edge look tidy, especially on striped blankets.
Edge Consistency Tip
Textured stitches can make edges “wander.” A simple fix is to:
- Place a stitch marker in the first and last stitch of each row for the first stripe or two
- Check that your stitch count stays the same
Step-by-Step Instructions#
Finished Size
This crochet pattern is easily adjustable. Common baby blanket sizes:
- Stroller: 30″ x 34″
- Crib: 36″ x 42″
- Receiving: 32″ x 32″
Gauge (Optional but Helpful)
Because puff stitches are dense, gauge can change your size noticeably.
Quick check (in the puff stitch pattern):
- Aim for about 12–14 stitches = 4″ (10 cm) with worsted yarn (varies widely)
If your gauge is smaller, your blanket will be smaller unless you add more starting chains.
Notes Before You Start
- The blanket is worked in rows, turning after each row
- Puff stitches add thickness and use more yarn than sc or dc
- Keep your locking chain (ch-1 after each puff) snug but not tight
Foundation Chain (Sizing Formula)
This puff stitch pattern works best with an even stitch count.
Foundation:
- Chain an even number to your desired width, then add 1 extra chain for turning
Easy starting points (approximate, worsted yarn):
- 30″ wide: ch 100–120
- 36″ wide: ch 120–140
- 45″ wide: ch 150–180
Because everyone’s tension differs, it’s smart to crochet 6–8 rows and measure before committing.
Pattern Overview
You’ll repeat this simple stripe set:
- Several rows of textured puff stitch in a color
- 1–2 thin divider rows in white/cream
Then change to the next color and repeat.
Row 1 (Setup Row – White/Cream)
Sc in 2nd ch from hook and in each ch across. Turn.
This row gives your blanket a clean base and helps the edge look straight.
Row 2 (Start Texture – Color 1)
Change to Color 1 with a clean color change.
Ch 1, turn. Sc in first st.
Work ps in next st, then sc in next st.
Repeat (ps, sc) across, ending with sc in last stitch. Turn.
You should see alternating bumps starting to form.
Row 3 (Texture Row)
Ch 1, turn. Sc in first st.
Work ps in next st, sc in next st across. Turn.
Keep repeating Rows 2–3 for the width of your colored stripe.
Stripe height suggestion:
- 6 rows per color stripe for a bold look (3 repeats of Rows 2–3)
- 8 rows per stripe for extra chunkiness
Divider Row A (White/Cream – Flatten + Frame)
Change to White/Cream.
Ch 1, turn. Sc in each stitch across. Turn.
This row “tames” the puff texture and gives a crisp break between colors.
Divider Row B (Optional, for an even cleaner stripe break)
Ch 1, turn. Sc in each stitch across. Turn.
Two divider rows make the stripes look extra polished. If you want faster progress, use just one divider row.
Next Stripe (Color 2)
Change to Color 2 and repeat:
- Texture rows (Rows 2–3) for your chosen stripe height
- Divider row(s) in White/Cream
Continue through your color sequence until the blanket reaches your desired length.
Final Rows (Finish the Top Edge)
End with 1–2 rows of White/Cream sc to mirror the bottom edge. Fasten off.
Border Instructions#
A simple border makes textured blankets look professionally finished and helps the edges lie flat.
Border Round 1 (White/Cream Single Crochet Frame)
With RS facing, join White/Cream in any corner.
Ch 1, sc evenly around the blanket.
Corner rule:
- Work (sc, ch 2, sc) in each corner
Side spacing tip:
- Along row edges, aim for 1 sc per row
- If it starts to ruffle, use fewer stitches
- If it pulls tight, add a few extra evenly
Join with sl st to first sc.
Border Round 2 (Optional Smoothing Round)
Ch 1, sc in each stitch around.
Corners: (sc, ch 2, sc) in each corner.
Join and fasten off.
If you want a slightly more decorative finish, you can swap Round 2 for a scallop edge, but a clean sc border already looks modern and tidy on this style of blanket.
Common Mistakes and How to Avoid Them#
Puff stitches look flat or messy
Cause: loose tension or forgetting the locking chain
Fix: keep the ch-1 after the puff snug and make sure you pull through all loops cleanly
Blanket edges get wavy
Cause: accidentally adding stitches at row ends
Fix: mark the first and last stitch for a few rows and count occasionally
Stripes look jagged at the sides
Cause: messy color changes or tying on new yarn mid-row
Fix: always change color on the last yarn-over of the last stitch in the row
Border ripples
Cause: too many stitches along the side edges
Fix: remove only the border and redo with fewer sc along the sides
Fabric feels stiff
Cause: hook too small or puff stitches too tight
Fix: size up your hook or pull loops slightly taller when making puffs
Expert Tips for Better Results#
- Use a lighter neutral divider (cream/white) to make every stripe look intentional, even with bold colors
- Keep puff loops the same height each time for consistent texture
- If you dislike weaving in ends, carry the white yarn up the side and cover it with the border (works best when your border is white too)
- For the softest baby blanket, choose a yarn labeled “baby” or “anti-pilling” and avoid scratchy wool blends
- Weave in ends in two directions (horizontal and vertical) so they don’t wiggle out after washing
Variations and Customization Ideas#
Make it a super-fast chunky version
Use bulky yarn and a 6.5 mm hook. Reduce stripe row counts to keep the proportions balanced.
Turn it into a nursery color theme
Try:
- Modern neutral: cream, oatmeal, warm gray, blush
- Woodland: cream, olive, rust, taupe
- Coastal: cream, seafoam, denim blue, sand
Add a name tag corner
Sew a small fabric label to one corner after finishing for a gift-worthy touch.
Change the texture stitch
If you prefer less “bump,” swap puff rows for:
- Moss stitch stripes (sc, ch 1)
- Lemon peel stitch (sc, dc alternating)
- Half double crochet in the third loop for subtle ridges
Add a scalloped edge
After the sc frame, work a shell round:
(sk 2, 5 dc in next st, sk 2, sl st in next st) repeat around
This makes it sweeter and more traditional.
Benefits of This Crochet Project#
- Creates a thick, cozy fabric perfect for naps and tummy time
- Bold stripes look modern and high-end
- Puff stitch texture adds interest without complex shaping
- Easy to resize for stroller, crib, or throw
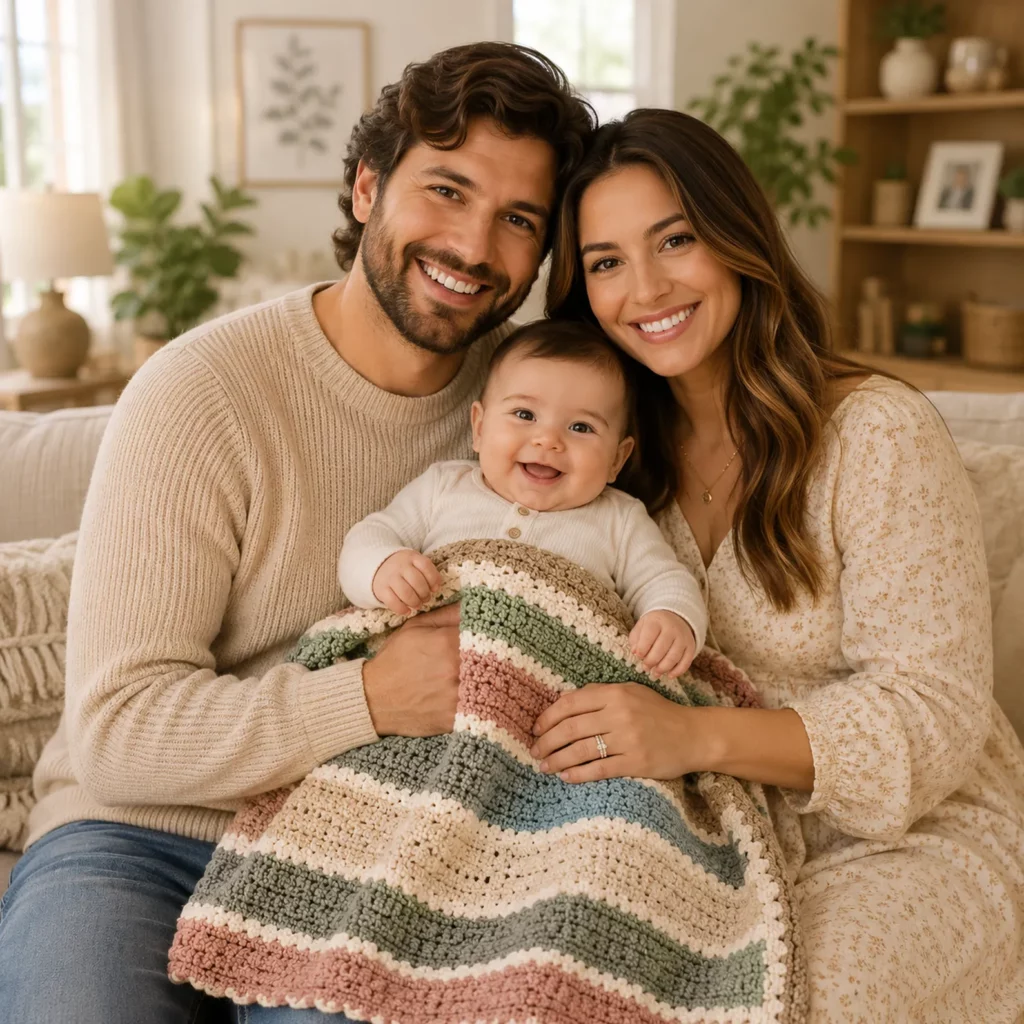
- Makes a memorable handmade gift for baby showers
Internal Linking Suggestions#
- Best Yarn for Baby Blankets (Soft + Washable Options)
- How to Crochet a Puff Stitch (Step-by-Step Photo Tutorial)
- How to Change Colors Neatly in Crochet Stripes
- Straight Edges in Crochet: Fixing Wavy Sides
- Simple Crochet Borders for Blankets
FAQ#
Is this suitable for crochet for beginners?
Yes. If you know sc and can practice the puff stitch for a few rows, the rest is repeating stripes.
What yarn works best for a textured baby blanket?
Soft, washable yarn is ideal. Anti-pilling acrylic or baby yarns are great because puff stitches rub against skin and get handled a lot.
How do I resize this easy crochet pattern?
Start with an even number of chains for the width, then keep repeating stripe sets until the length is right.
Do puff stitches use more yarn?
Yes—textured stitches are yarn-hungry. Plan for extra yardage compared to a simple dc blanket.
Why is my blanket curling at the edges?
Usually tension. Try a larger hook or add the sc border sooner. Curling often relaxes after washing and a light block.
Can I wash this blanket in a machine?
If you use machine-washable yarn, yes. Always follow your yarn label. For best results, use a gentle cycle and lay flat to dry.
Conclusion#
This textured striped baby blanket crochet pattern is the perfect mix of simple and stunning: bold color blocks, crisp neutral dividers, and a plush puff-stitch surface that feels as cozy as it looks. It’s an ideal DIY crochet gift—modern enough for today’s nurseries, but classic enough to keep for years.
If you tell me the yarn weight you’re using (worsted or bulky) and the size you want (stroller, crib, or throw), I can suggest a starting chain number and a stripe plan that matches your exact measurements.


