


Introduction#
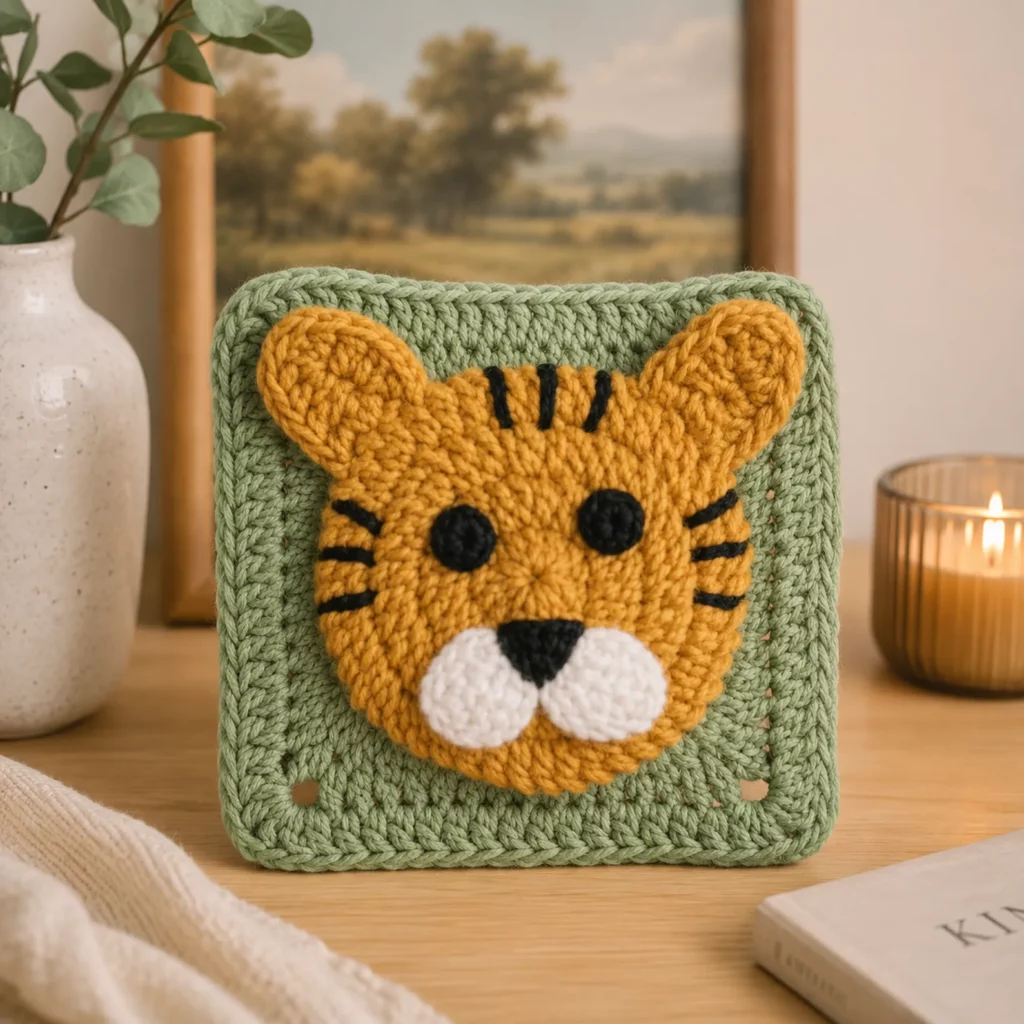
If you love granny squares but want something more playful than a plain block, an animal square is the sweetest upgrade. This tiger granny square is the perfect mix of cozy and cute: a classic square background with a bold tiger face appliqué on top, finished with simple embroidered stripes and a soft little muzzle. It’s the kind of crochet pattern that looks impressive on a blanket, but it’s actually built from beginner-friendly shapes you can repeat again and again.
Explore more beginner granny squares crochet patterns in our pattern library.
This design is especially great if you’re making a baby blanket, nursery throw, or a “zoo theme” project. You can crochet a whole set of squares in matching backgrounds and change only the animal faces. Or you can make a few tiger squares as statement blocks in the middle of a blanket and fill the rest with simple solid squares.
In this free crochet pattern, you’ll learn how to make the square base, crochet the tiger face (with ears, eyes, muzzle, and nose), and assemble everything so it looks neat and symmetrical. You’ll also get tips for keeping your square flat, choosing the right yarn, and creating clean appliqué edges that hold up to washing and cuddles.
Detailed Description of the Crochet Pattern#
This crochet pattern creates a square block with two components: a textured granny-style background and a layered tiger face appliqué. The background square is worked in the round with sturdy stitches and open corner spaces that keep it looking like a traditional granny square while still being solid enough for blankets. The tiger face is crocheted separately as a rounded shape, then sewn onto the center of the square. You’ll add ears at the top corners of the face, a small white muzzle made of two rounded “cheeks,” a black nose, and simple black stripes for the tiger’s markings.
The finished square has a clean, framed look. The background square acts like a picture frame, and the tiger face becomes the focal point. It’s a great layout for blankets because the face stays centered and the edges stay square, which makes joining easy. You can also use a single square as a coaster, wall decor, pillow accent, or a mini hanging.
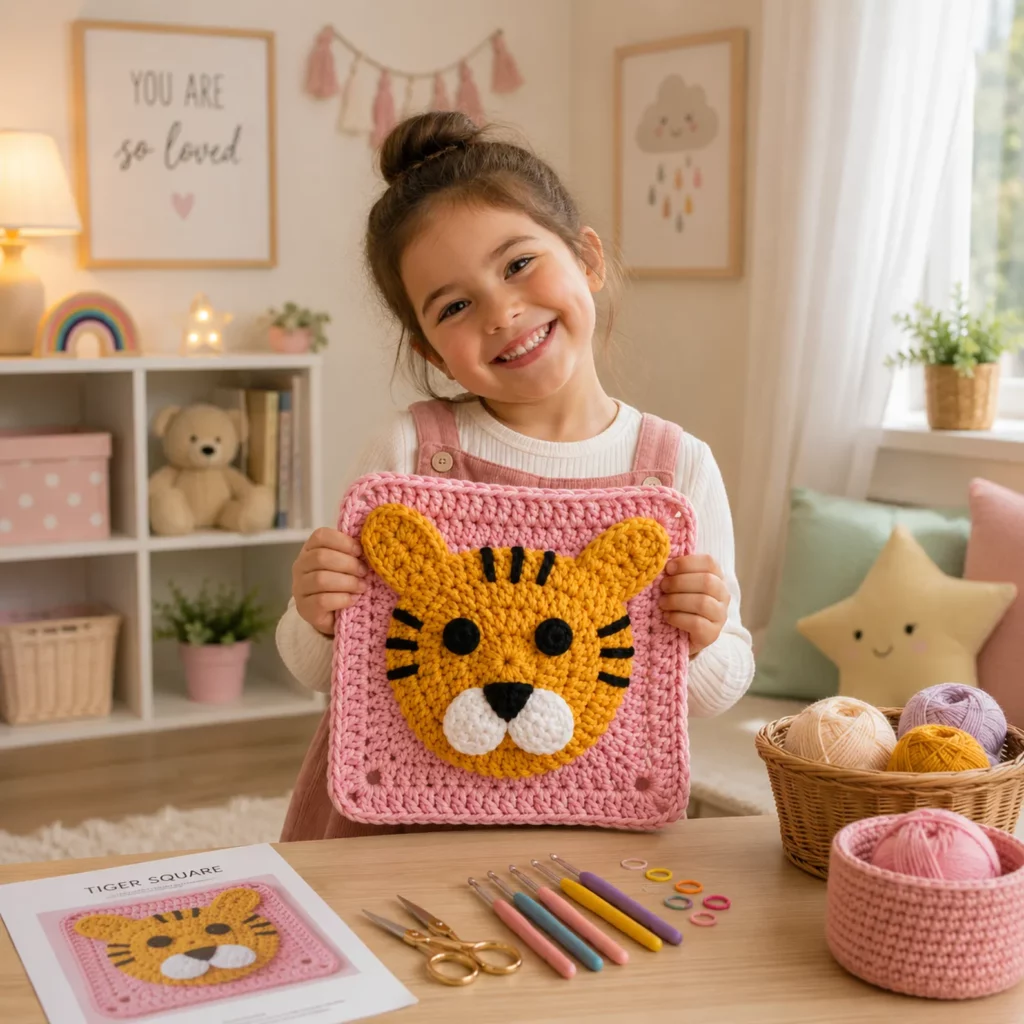
This pattern is designed so you can change the background color (like purple in the example) without changing the tiger face construction. You can also swap the animal face and reuse the same square base pattern for other animals later.
Skill Level Explanation#
This is an easy-to-intermediate crochet pattern. The square base is beginner-friendly if you’ve made any granny square or worked in the round. The appliqué face is also simple because it’s made from basic circles and small shapes. The part that feels “intermediate” is the assembly: placing features evenly, sewing neatly, and adding stripes in a way that looks balanced.
This is a great project for crochet for beginners who want to practice several useful skills in one place: working in rounds, keeping corners consistent, sewing appliqués cleanly, and doing simple embroidery on crochet fabric.
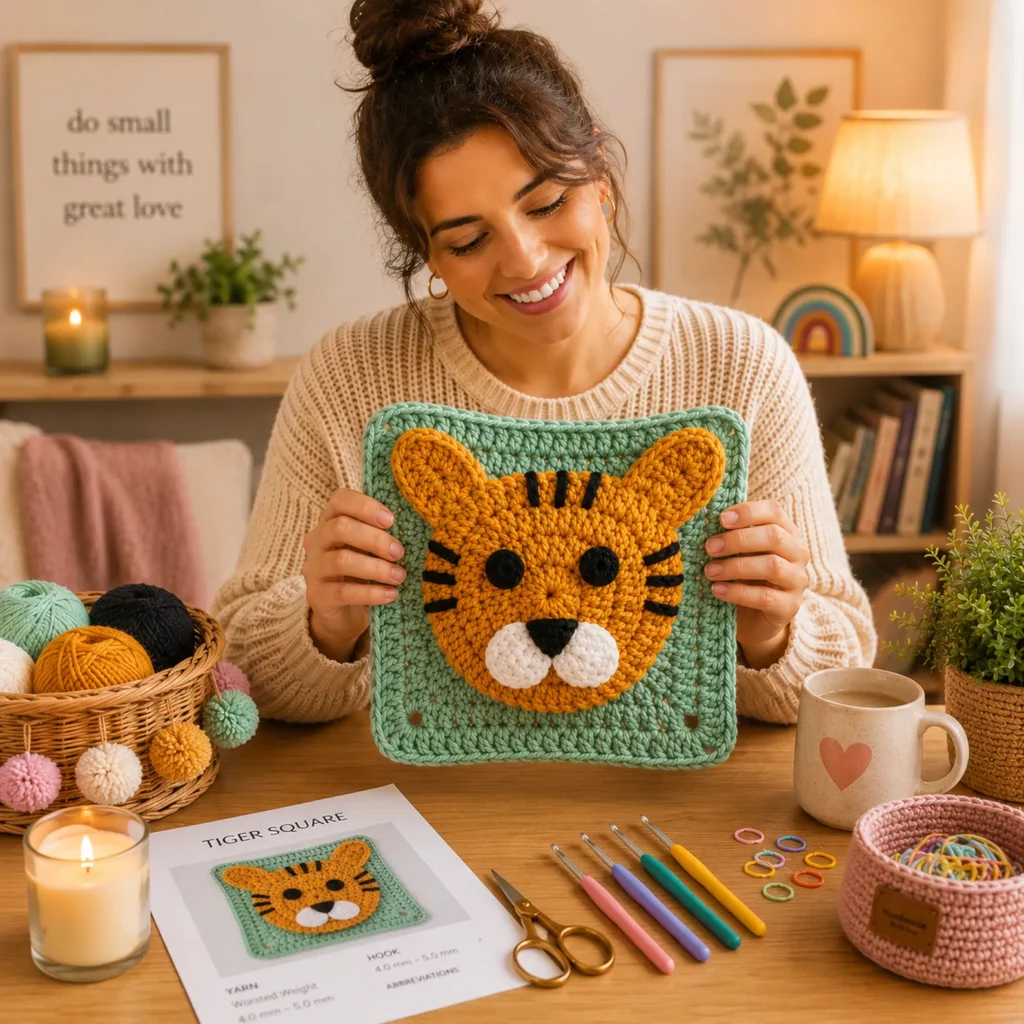
Materials Needed#
Yarn
Choose a yarn with good stitch definition so the face and square edges look crisp. Worsted weight (#4) is ideal for blankets and granny squares. Cotton also works beautifully for sharp definition, especially if you want to make wall hangings or coasters.
Suggested colors
Background square: purple (or any color you love)
Tiger face: orange
Eyes and stripes: black
Muzzle: white
Optional inner ear: a lighter orange or cream
Yarn amounts
For one square, you only need small amounts. For a blanket, plan the following rough estimate per 6–8 inch square:
Background color: 25–50 yards per square depending on stitch and border thickness
Tiger face color: 10–20 yards per square
White and black: small scraps per square
Hook
Worsted weight: 4.0–5.0 mm is typical. If your square looks loose or lacy, go down a hook size so the fabric is sturdy.
Notions
Stitch marker (optional)
Yarn needle for sewing
Scissors
Optional: safety eyes if using as decor (embroider eyes for baby-safe blankets)
Optional: fabric glue for temporary positioning (not a replacement for sewing)
Stitches & Techniques Explained#
Abbreviations (US terms)
MR = magic ring
ch = chain
sl st = slip stitch
sc = single crochet
hdc = half double crochet
dc = double crochet
inc = increase (2 stitches in one stitch)
dec = decrease
sp = space
st(s) = stitches
Solid granny square structure
A neat animal square needs a sturdy base. That’s why this pattern uses a solid or semi-solid granny square approach: corners are created with chain spaces, and sides are mostly filled with double crochet so it stays flat and easy to join.
Appliqué sewing
The secret to a professional-looking animal square is how you sew the face on. You’ll get the cleanest result by stitching through the outer loops of the square and the back loops of the appliqué edge. That hides the sewing line and makes the face look like it “belongs” on the square rather than sitting awkwardly on top.
Surface embroidery for stripes
Tiger stripes are easiest as embroidery. Use black yarn or embroidery thread and stitch short straight lines. Keep the stripe thickness consistent so it looks intentional.
Step-by-Step Instructions#
Pattern notes
This is written as a practical, repeatable method. You’ll make the square base, then the tiger face pieces, then assemble. Adjusting size is easy: make the square base bigger by adding more rounds, and make the face slightly bigger by adding one increase round.
Part 1: Square Base (background color)
You can use your favorite granny square base, but here’s a simple semi-solid version that works very well for appliqués.
Round 1
MR, ch 3 (counts as dc), 2 dc into ring, ch 2
(3 dc, ch 2) repeat 3 more times
Join with sl st to top of starting ch 3
Round 2
Sl st into corner sp, ch 3, (dc, ch 2, 2 dc) in same corner
Dc in each dc across to next corner sp
In each corner sp: (2 dc, ch 2, 2 dc)
Join with sl st
Round 3
Sl st to corner sp, ch 3, (dc, ch 2, 2 dc) in corner
Dc across side, working 1 dc into each dc
In corner: (2 dc, ch 2, 2 dc)
Repeat around, join
Round 4 and Round 5
Repeat Round 3 until your square is the size you want (commonly 6–8 inches for blankets).
Fasten off and weave in ends neatly.
Tip for a neat frame edge
If you want a slightly thicker “frame,” add one extra round of sc around the square, working 3 sc into each corner ch-2 space. This gives the square a cleaner outline and makes joining easier.
Part 2: Tiger Face (orange)
The face is a rounded shape. You can keep it perfectly round or slightly “squircle” shaped by adding gentle increases on two sides, but round works beautifully and is easiest.
Round 1
MR, 6 sc (6)
Round 2
Inc around (12)
Round 3
(sc, inc) around (18)
Round 4
(2 sc, inc) around (24)
Round 5
(3 sc, inc) around (30)
Round 6
Sc around (30)
Fasten off leaving a long tail for sewing.
Sizing note
If your square is large (8 inches or more) and the face looks too small, add one more increase round:
Round 6 alternative: (4 sc, inc) around (36), then one even round at 36.
Part 3: Ears (make 2, orange)
Ears are small half-circles or small circles sewn to the top of the face.
Ear Round 1
MR, 6 sc
Ear Round 2
(sc, inc) around (9)
Ear Round 3
Sc around (9)
Fasten off leaving a tail. Lightly flatten the ear before sewing so it looks ear-shaped rather than a ball.
Optional inner ear detail
Crochet a smaller ear piece in cream with MR 6 sc, then one round of sc (6). Sew it on top of the ear before attaching to the face.
Part 4: Eyes (make 2, black)
You can crochet small circles or embroider sleepy eyes. The example style looks like simple black circles.
Eye Round 1
MR, 6 sc
Eye Round 2
Inc around (12)
Fasten off leaving a tail to sew. If you want smaller eyes, stop after Round 1 and stitch a small knot-like circle instead.
Part 5: Muzzle (white, two cheeks)
The muzzle is made of two small ovals/circles sewn side by side.
Cheek (make 2)
MR, 6 sc
Inc around (12)
Sc around (12)
Fasten off leaving tails
Place the cheeks side-by-side like two clouds and sew them to the lower center of the tiger face.
Part 6: Nose (black)
A small triangle nose looks classic for a cartoon tiger.
Option A: Embroidered triangle
Using black yarn, stitch a small triangle between the two cheeks, slightly above where they meet.
Option B: Tiny crocheted nose
Ch 4
Row 1: sc in 2nd ch, sc, sc (3) turn
Row 2: ch 1, dec, sc (2) turn
Row 3: ch 1, dec (1)
Fasten off and sew onto muzzle.
Part 7: Stripes and whisker lines (black yarn embroidery)
Add three short stripes on the forehead and two or three stripes on each cheek area. Keep them short and slightly angled. For a cute style, don’t overdo it. A few clean stripes look better than many messy ones.
Forehead stripes
Stitch 3 short lines starting near the top center of the face, angled slightly outward.
Cheek stripes
On each side, stitch 2–3 short lines angled outward, placed between eye and muzzle.
Optional whisker dots
Add tiny black stitches or knots near the muzzle edge for a playful look.
Part 8: Assembly to the Square
Lay the square flat. Center the tiger face on the square. The best visual placement is usually slightly above center so the muzzle doesn’t feel too low, but exact placement depends on your square size. Use pins or stitch markers to hold the face in place.
Sew the face down
Use the long tail from the face. Stitch around the edge with small whip stitches. Avoid pulling too tight or the square will pucker.
Attach ears
Position ears at the top left and top right of the face so they sit just above the face edge. Sew securely.
Attach eyes
Place eyes evenly spaced and level. A simple trick is to count stitches from the center line of the face so both eyes match.
Attach muzzle and nose
Center the muzzle below the eyes. Sew cheeks first, then add the nose.
Add stripes last
Do embroidery last so you can adjust based on the final “expression” once everything is sewn.
Common Mistakes and How to Avoid Them#
Square curling or not laying flat
This usually means corner spacing is inconsistent or your tension changed. Make sure each corner uses the same (2 dc, ch 2, 2 dc) structure. Blocking your finished square fixes most flatness issues.
Face puckers the square
If you sew the face too tightly, it pulls the square inward. Use smaller stitches but keep the thread tension relaxed. Sewing through fewer layers (only top loops) can also help.
Eyes look uneven
Always place both eyes with markers before sewing. Count stitches from the center of the face. A tiny difference in spacing changes the whole expression.
Stripes look messy
Use fewer stripes and make them clean. If your black yarn is thick, split the strand or use embroidery floss for neater lines.
Edges of appliqué look wavy
That’s usually from too many increases or uneven tension on the face circle. Add an extra even round and block the circle lightly, or just flatten it with your hands before sewing.
Expert Tips for Better Results#
Block your square before sewing on the face. A flat base makes appliqué placement so much easier and prevents distortion.
Use a long tail and sew with a continuous stitch line. It looks cleaner and is more durable than sewing in short sections.
If making a baby blanket, embroider eyes instead of using safety eyes. It’s safer and holds up well in the wash.
For crisp appliqué edges, crochet one round of slip stitch around the tiger face before sewing it down. It creates a tidy border and helps the circle hold shape.
If you want the face to pop, add a slightly darker orange outline around the face edge with surface slip stitches.
Variations and Customization Ideas#
Change the tiger colors. Make a pastel tiger, white tiger, or even a “rainbow tiger” for a fun nursery theme.
Add a tiny bow or flower near one ear for a more playful look.
Make different expressions. Lower the eyebrows for a “grumpy tiger,” or stitch curved sleepy eyes for a softer feel.
Turn it into a full blanket theme. Mix tiger squares with plain squares and add matching animal squares like lion, bear, bunny, or fox.
Use this square as a bag panel. Two tiger squares joined together make a cute mini pouch or tote front.
Make a wall hanging. Stitch a dowel sleeve on the back and hang it in a kids’ room.
Benefits of This Crochet Project#
It’s a high-impact crochet pattern that uses simple shapes.
It’s perfect for using scrap yarn from your stash.
It teaches practical skills: granny squares, appliqué sewing, and simple embroidery.
It’s easy to scale for different projects, from coasters to blankets.
It’s beginner-friendly but looks detailed and gift-worthy.
It works beautifully for baby showers, nursery themes, and handmade gifts.
Internal Linking Suggestions#
You may also like these related posts
How to Crochet a Solid Granny Square for Blankets
Best Ways to Join Granny Squares Neatly
How to Sew Appliqués onto Crochet Without Puckering
Beginner Crochet Tutorial for Embroidered Faces and Details
Free Crochet Pattern: Teddy Bear Granny Square Blanket Layout Ideas
DIY Crochet: Turning Granny Squares into Bags and Pillows
FAQ Section#
What size should I make my tiger granny square for a baby blanket?
Most baby blankets work well with 6–8 inch squares. If you want a faster project with fewer joins, choose 8 inch squares. If you want more detail and a patchwork look, choose 6 inch squares.
Is this an easy crochet pattern for beginners?
Yes. The square base is a simple granny-style square, and the tiger face is made from basic circles. The only part that takes patience is sewing everything neatly.
How do I keep my granny square from becoming wavy?
Make sure you use the same corner stitch count every round and don’t accidentally add extra stitches on the sides. Blocking the finished squares helps a lot.
Can I use safety eyes for the tiger face?
You can for decor items, but for baby blankets it’s safer to embroider eyes instead. Embroidered eyes also wash better and don’t loosen over time.
How do I make the tiger face bigger or smaller?
Add or remove one increase round on the face circle. For bigger faces, go up to 36 stitches and add an even round. For smaller faces, stop at 24 stitches.
What’s the best way to join tiger squares for a blanket?
Whip stitch is strong and easy. Slip stitch join creates a raised ridge. Mattress stitch is the cleanest and nearly invisible. Choose based on the look you want.
Conclusion#
A tiger granny square is the perfect way to turn a simple crochet pattern into something playful and memorable. The square base keeps it practical for blankets and throws, while the tiger face appliqué gives you that adorable handmade character that people love. With clean stitching, simple embroidery stripes, and careful placement, you’ll get a polished result even if you’re still building confidence.
If you want, tell me the size of square you’re aiming for (6 inch, 7 inch, or 8 inch) and what yarn weight you’re using, and I can suggest the best number of rounds for the square and the exact face size so your tiger fits perfectly every time.


