


Introduction#
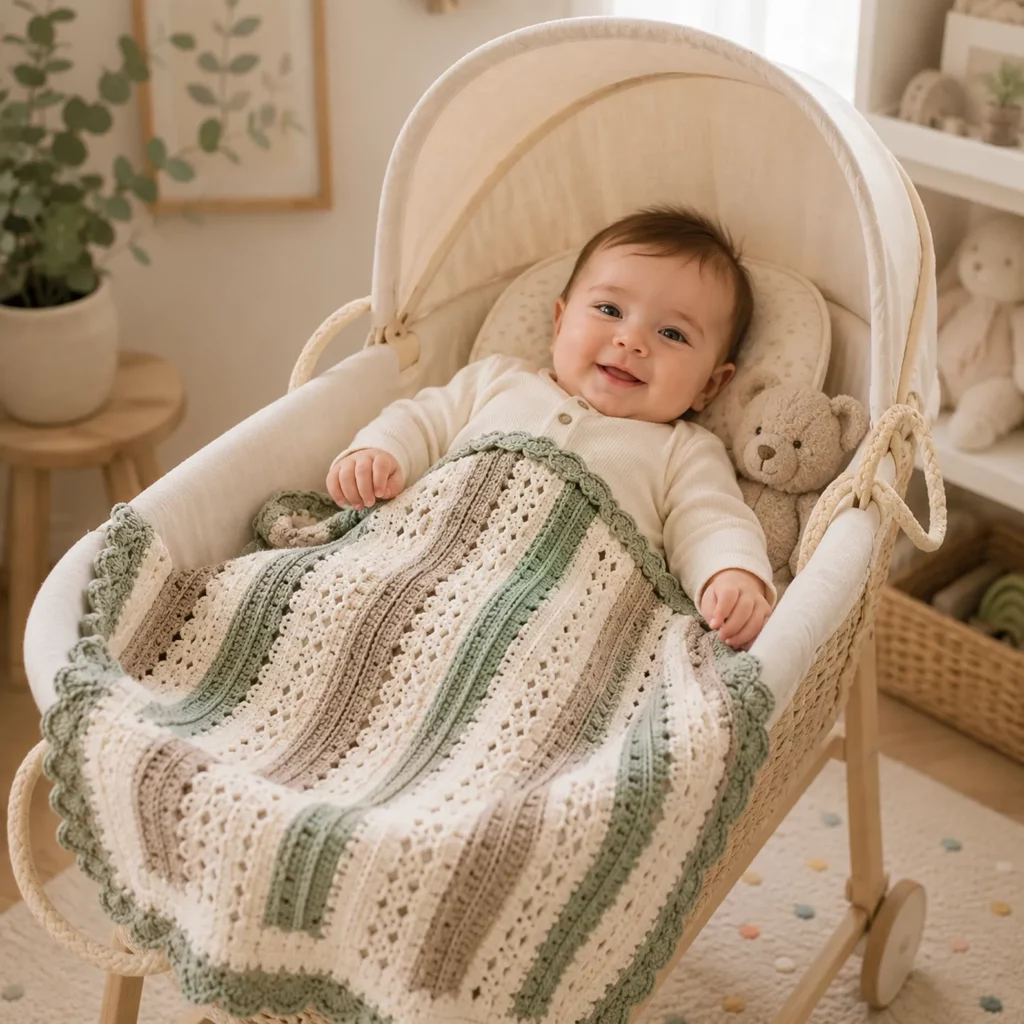
Some baby blankets are cute in the moment… and some become keepsakes. This striped heirloom-style blanket falls into that second category—clean, classic, and calming, with just enough detail to look “special” without being difficult.
Explore more beginner blankets crochet patterns in our pattern library.
If you’ve ever wanted a crochet pattern that feels relaxing to make but still teaches you something, this one checks all the boxes: you’ll alternate cozy solid stripes with airy lace panels, then finish with a pretty scalloped edge that instantly elevates the whole piece. It’s also wonderfully flexible—make it small for a stroller, larger for a crib, or even scale it up into a lap blanket.
Below you’ll find a complete free crochet pattern written in a friendly crochet tutorial style, with stitch help, sizing guidance, and pro tips so your blanket turns out smooth, even, and gift-worthy.
Detailed Description of the Crochet Pattern#
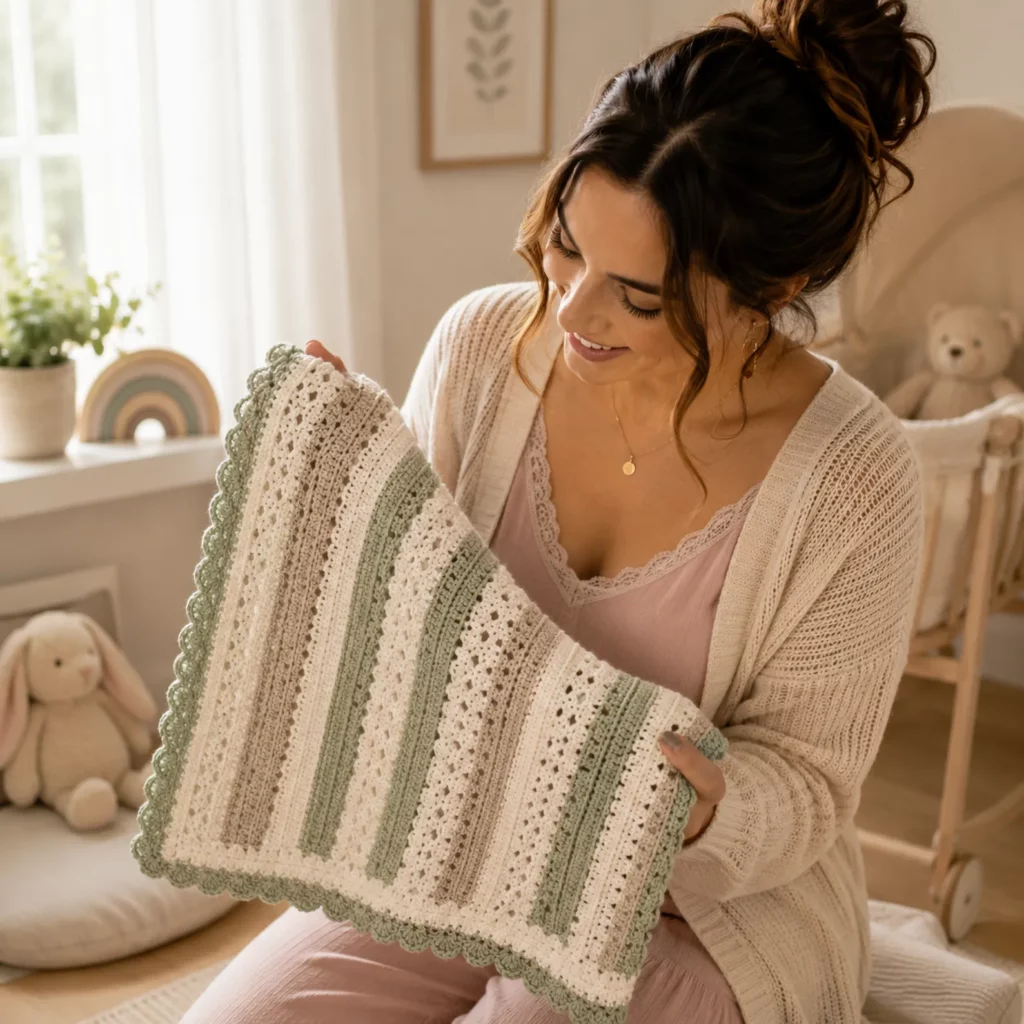
This blanket is a striped rectangle worked back and forth in rows. The look comes from three main elements:
- Solid textured stripes that create gentle ridges and a cozy feel
- Lace eyelet stripes that add lightness and visual interest
- A structured border + scalloped edging that frames everything neatly
What the stitch pattern looks like
The lace sections form small, repeated openings (eyelets) in tidy columns. They’re not overly “holey,” which makes this a smart baby blanket choice—breathable and pretty, but still practical.
How it’s constructed
- Crochet the main blanket in rows using a repeating stripe sequence.
- Add a simple border to straighten edges and create a frame.
- Finish with a scalloped shell edge for a soft, heirloom finish.
No shaping, no complicated joins, and no motifs to sew together—just satisfying stripes you can memorize quickly.
Skill Level Explanation#
Skill Level: Easy / Advanced Beginner
You’ll enjoy this easy crochet pattern if you can already do:
- Chain (ch)
- Single crochet (sc)
- Double crochet (dc)
- Skip stitches and work into chain spaces
- Count rows (or at least use a tally method)
Newer (but very learnable) skills you’ll practice:
- Working a simple lace repeat consistently
- Keeping stripe edges neat with turning chains
- Adding an even border around a blanket
- Making scallops/shells that don’t ruffle
If you’re a true beginner, you can still make it—just take it slowly, use stitch markers, and check your counts at the end of each row.
Materials Needed#
Yarn
For a baby blanket, softness and washability matter most. This design looks beautiful in three calming shades, but you can do two colors or even a single color with texture-only stripes.
Suggested yarn weight:
- Worsted (Category 4) for a cozy, quick finish
- DK (Category 3) for a lighter, drapier blanket
Fiber suggestions:
- Cotton or cotton-blends for crisp stitch definition
- Acrylic baby yarn for softness and easy care
- Bamboo blends for extra drape and a silky feel
Color planning (example):
- Color A: Cream/Off-white (main base + lace contrast)
- Color B: Sage/Soft green (accent stripes + edging)
- Color C: Warm taupe/sand (secondary accent stripe)
Yardage (approximate, worsted weight):
- Stroller (30″ x 34″): 900–1200 yds total
- Crib (36″ x 42″): 1300–1700 yds total
- Throw (45″ x 55″): 2000–2600 yds total
Exact yardage depends on your yarn, hook, and how wide you make the border.
Hook
- Worsted: 5.0 mm (H/8) to 5.5 mm (I/9)
- DK: 4.0 mm (G/6) to 4.5 mm (7)
Tip: If you crochet loosely, go down a hook size so the lace stays tidy.
Notions
- Stitch markers (helpful for border corners)
- Yarn needle
- Scissors
- Measuring tape
- Blocking mats/pins (optional but helpful)
Stitches & Techniques Explained#
Abbreviations
- ch = chain
- sc = single crochet
- dc = double crochet
- sl st = slip stitch
- sk = skip
- sp = space
- st(s) = stitch(es)
- RS/WS = right side/wrong side
- ( ) = repeat what’s inside
- = stitch count (if given)
Turning chains (for neat edges)
For this blanket, clean edges make a big difference. Two tips:
- For sc rows, chain 1 and turn (often does not count as a stitch).
- For dc rows, chain 2 or 3 and turn (choose one and stay consistent).
The lace stitch (beginner-friendly eyelet pattern)
To mimic the neat, repeating openings, we’ll use a simple “eyelet mesh” that stacks nicely in columns.
Eyelet Mesh Row (worked in dc):
- (dc, ch 1, sk 1) repeat across, dc in last stitch.
On the next lace row, you work dc into the dc stitches and keep the ch-1 spaces aligned.
The scalloped edge (shells)
Scallops are typically made with multiple dc in one stitch/space. The trick is spacing them evenly so they lie flat.
Step-by-Step Instructions#
Finished Size (adjustable)
This pattern is written to be fully customizable. Choose your size first, then use the starting chain formula below.
Gauge (recommended to check)
A quick gauge swatch helps your blanket match your intended size.
In solid dc rows:
- Aim for roughly 14–16 dc = 4 inches (10 cm) using worsted and a 5.0 mm hook (varies by yarn).
Gauge isn’t “life or death” for blankets, but it affects yardage and final dimensions.
Notes Before You Start
- Read through the stripe sequence once before starting.
- Count your stitches at the end of each row for the first few repeats.
- If changing colors frequently, carry yarn only if it won’t show—otherwise fasten off for a cleaner look.
Foundation Chain (multiple + sizing)
You’ll want an even number for the eyelet mesh row (because it uses sk-1 repeats).
Foundation:
- Chain a number that equals your desired width in inches × your stitches per inch, then adjust to an even number, and add 2 chains for turning.
Simple starting points (worsted, 5.0 mm hook):
- Stroller width ~30″: ch 110–130
- Crib width ~36″: ch 130–150
- Throw width ~45″: ch 160–190
(These are starting ranges—your personal tension may vary.)
Row 1 (Setup – Solid)
In Color A (cream/off-white):
- Dc in 4th ch from hook (counts as first dc), dc across. Turn.
Row 2 (Solid)
- Ch 2 (or 3), dc across. Turn.
You now have a smooth base for your stripes.
Stripe Pattern Repeat#
You’ll repeat a sequence of solid stripes + lace stripe panels, changing colors as desired. Below is a balanced repeat that creates a “boutique” striped look.
Stripe Sequence (suggested):
- 2 rows Color A (solid dc)
- 2 rows Color B (solid dc)
- 2 rows Color A (lace mesh + stabilizing)
- 2 rows Color C (solid dc)
- 2 rows Color A (solid dc)
Repeat this sequence until your blanket reaches the desired length.
You can tweak this—keep your lace sections always in the same color for a clean, consistent look.
How to Work the Lace Mesh Section
When you reach a lace section, work these two rows:
Lace Row A (Eyelet mesh):
- Ch 3 (counts as dc), sk 1, (dc in next st, ch 1, sk 1) repeat across, dc in last stitch. Turn.
Lace Row B (Stabilizing row):
- Ch 2, dc across. Turn.
This gives you the lace look while keeping the blanket sturdy and easy to border.
Continue Until Desired Length
Common lengths:
- Stroller: 34–36″ long
- Crib: 42–45″ long
- Throw: 55–60″ long
End with 2 solid rows in Color A so the border looks intentional. Fasten off.
Border Instructions (Frame + Scallop)#
Border Round 1 (Single crochet frame)
Join Color A (or Color B if you want the frame to match the scallop).
- Work sc evenly around the entire blanket.
- In each corner: (sc, ch 2, sc).
- Along the sides (row edges), place about 1 sc per row for dc rows, and add a few extra stitches around lace areas if needed to keep it flat.
Join with sl st to first sc.
Tip: If your border ripples, you have too many stitches. If it pulls tight, add a few more stitches evenly.
Border Round 2 (Optional smoothing round)
- Ch 1, sc in each stitch around.
- Corners: sc, ch 2, sc.
Join.
Border Round 3 (Scalloped shell edging)
Switch to Color B (sage) for a classic contrast.
Shell pattern (adjust if needed):
- (sk 2, 5 dc in next st, sk 2, sl st in next st) repeat around.
At corners:
- If the corner is tight, place the 5 dc shell into the corner ch-2 space, then continue the repeat.
Fasten off and weave in ends.
Common Mistakes and How to Avoid Them#
- Wavy edges on the main blanket
Cause: adding or losing stitches at row ends
Fix: mark first/last stitch and count after lace rows - Lace holes look uneven
Cause: skipping the wrong stitch or loose chain-1
Fix: keep chain-1 snug and repeat the same rhythm every time - Border ruffles or curls
Cause: too many or too few stitches on side edges
Fix: redo border and adjust side stitch placement (common and normal) - Scallops don’t sit flat
Cause: shell spacing mismatch
Fix: try (sk 1, 5 dc, sk 1, sl st) for tighter shells or (sk 2…) for wider shells

Expert Tips for Better Results#
- Choose a light main color if you want the lace to pop.
- Use stitch markers for border corners to prevent drifting.
- Lightly block to sharpen the lace and straighten edges.
- Weave in ends as you go if you change colors often.
- Keep stripe widths consistent (2-row stripes look especially polished).
Variations and Customization Ideas#
- Beginner version: skip lace rows and keep all stripes solid.
- Temperature blanket: use lace stripes as “milestone” markers.
- Swap solid texture: try hdc for extra squish or moss stitch for a modern look.
- Palette options: coastal, woodland, modern neutral, or pastel nursery tones.
Benefits of This Crochet Project#
- Looks boutique but uses simple stitches
- Relaxing, repeatable rows
- Breathable lace without oversized holes
- Easy to resize for any use
- Great gift project with a polished finish
Internal Linking Suggestions#
- How to Crochet Straight Blanket Edges
- Best Yarn for Baby Blankets (Soft + Washable)
- Beginner Crochet Border Guide
- How to Weave in Ends Neatly
- Easy Matching Baby Hat Crochet Pattern
FAQ#
Is this suitable for crochet for beginners?
Yes—especially if you know dc and can count stitches. The lace is a simple repeat.
What yarn works best for this blanket?
Soft, washable yarn is ideal: baby acrylic, cotton blends, or bamboo blends.
How do I resize the blanket easily?
Start with an even-number chain for the width, then repeat the stripe sequence until you reach your length.
Why is my border ruffling?
Usually too many stitches along the sides. Remove the border and place fewer sc evenly.
How do I keep the scallops neat at the corners?
Work the shell into the corner ch-2 space if it feels tight, and adjust skip counts slightly if needed.
Conclusion#
This baby blanket crochet pattern is a perfect blend of calm stripes, delicate lace, and a classic scalloped finish. It’s the kind of project you can make while watching a show, yet the final result looks thoughtful and heirloom-worthy.
If you tell me your yarn weight (DK or worsted) and your target size (stroller, crib, or throw), I can suggest a starting chain number and a stripe plan that lands right on your measurements.


