Introduction#
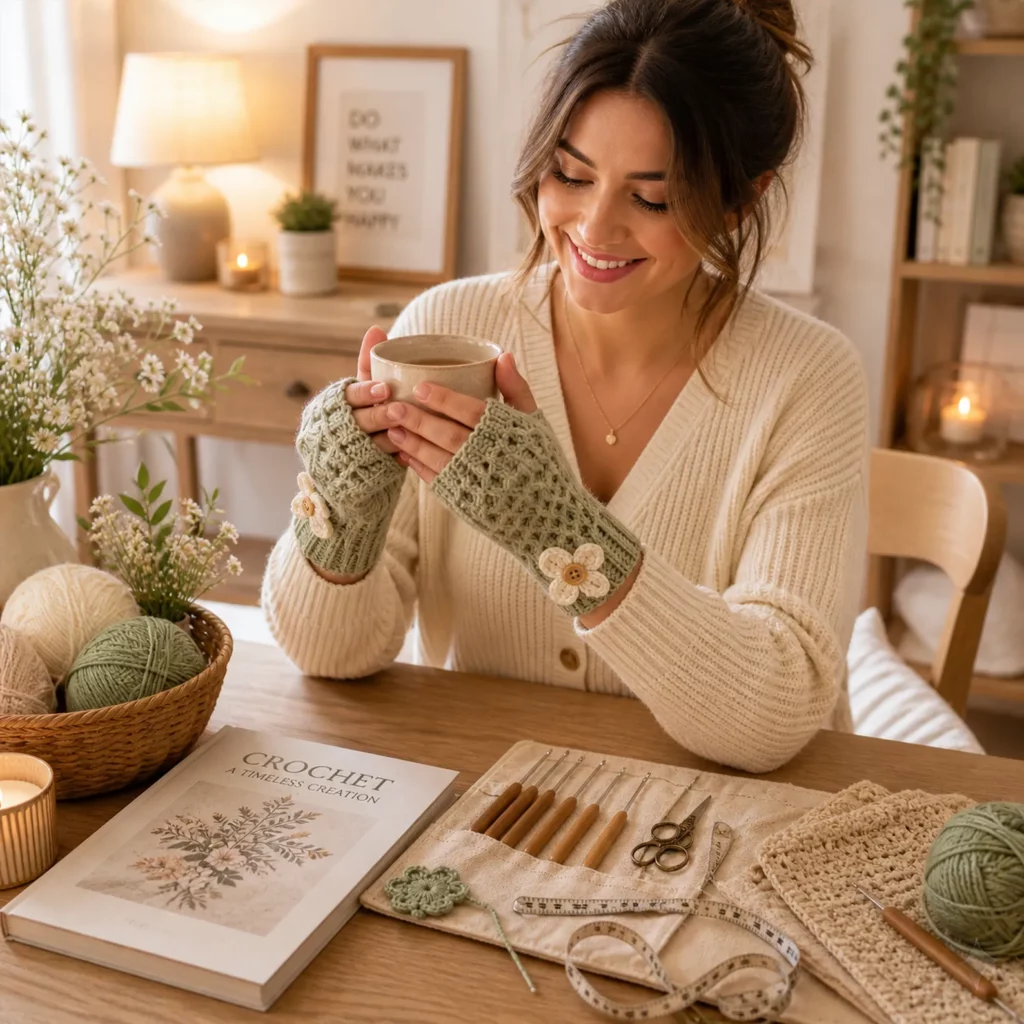
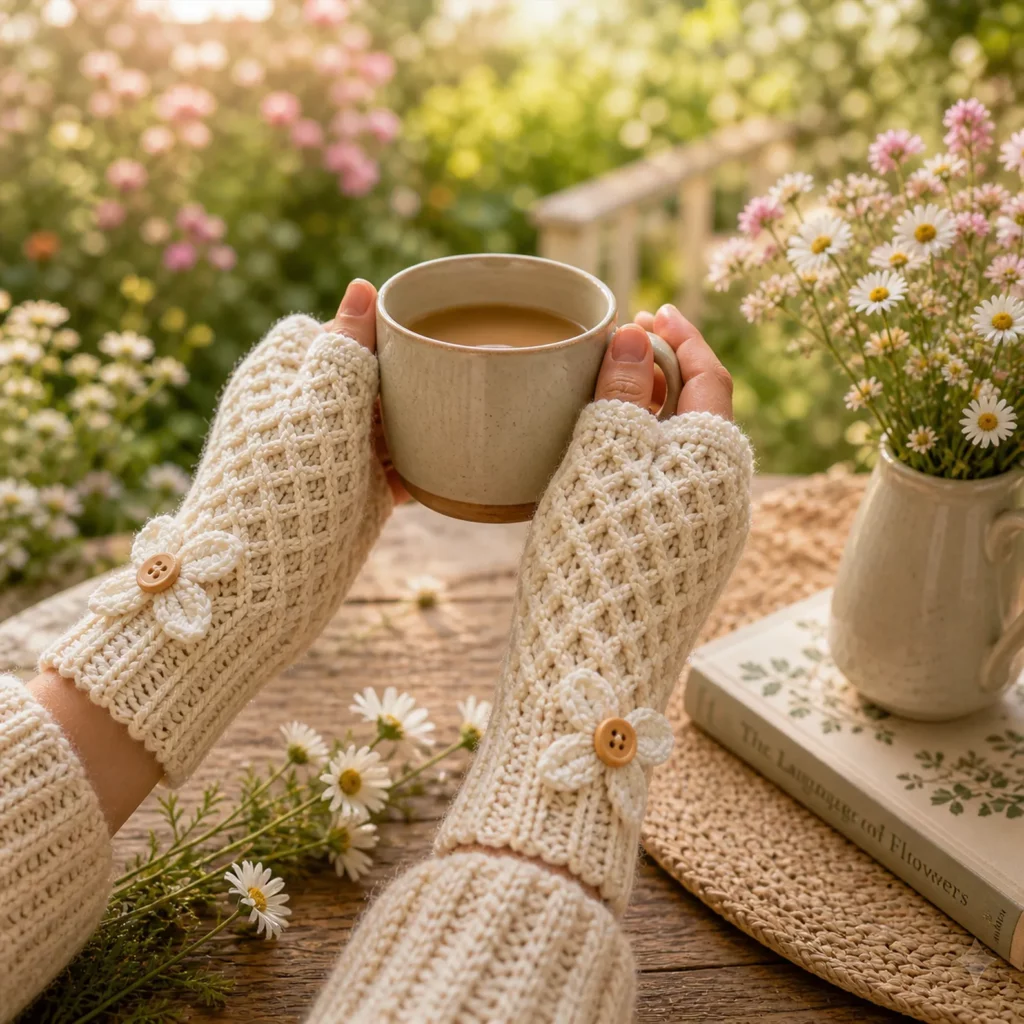
Fingerless mittens are the kind of crochet project you don’t realize you need until you try them—then suddenly you want a pair for every coat. They keep your hands warm while your fingers stay free for texting, typing, driving, crafting, or holding a warm mug. And when the design includes a raised, textured stitch pattern plus a sweet bow detail, they go from “practical” to “gift-worthy.”
Explore more beginner scarves crochet patterns in our pattern library.
This crochet pattern is designed to create soft, cozy fingerless mittens with three standout features:
- A snug ribbed cuff that stays put on your wrist
- A raised lattice-style texture that looks fancy but is built from a repeating stitch pattern
- A bow embellishment with a button center for that boutique finish
If you’ve been searching for an easy crochet pattern that still looks impressive, this is a wonderful choice. It’s also a great crochet tutorial project because it teaches wearable construction, fit adjustments, and neat finishing—without complicated shaping.

Detailed Description of the Crochet Pattern#
These fingerless mittens are worked from the wrist upward. You’ll start with a ribbed cuff in rows, seam it into a tube, then work upward in the round for the mitten body. The mitten body uses a repeating texture stitch that forms a raised, crisscross look—almost like a soft woven lattice. The top edge finishes with a gentle trim, and a simple thumb opening is created by chaining and skipping stitches (no intimidating gusset required).
The bow embellishment is a separate small piece that’s stitched on at the wrist. You can customize it with different button sizes, a pearl center, or even swap the bow for a flower if you prefer.
This is a true DIY crochet accessory: quick enough to finish in a weekend, wearable every day, and easy to size for kids, teens, or adults.
Skill Level Explanation#
This is an easy-to-intermediate crochet pattern.
You’ll need to know (or learn while making it):
- Single crochet and double crochet
- Working in rows and rounds
- Basic ribbing (back loop only)
- Simple counting and consistent tension
- Basic seaming and weaving in ends
- Optional: attaching a button
The only part that feels “intermediate” is keeping the texture stitch consistent. Once you complete the first few repeats, it becomes very rhythmic.
Materials Needed#
Yarn
For fingerless mittens, comfort matters. Choose yarn that feels good on your skin and won’t itch.
Recommended yarn:
- DK (#3) or light worsted (#4) yarn
- Acrylic, merino blend, or soft cotton blend all work well
Yarn tips:
- Merino or wool blend = warmest (great for winter)
- Soft acrylic = budget-friendly and washable
- Cotton blend = great for mild climates and crisp stitch definition
Color suggestions:
- Main color: soft pink (or any color you love)
- Trim color: white/cream
- Bow color: white/cream
- Button: yellow, pearl, or wood
Hook
- DK yarn: 3.5–4.0 mm
- Light worsted: 4.0–4.5 mm
Use a slightly smaller hook for the cuff if you want it snug.
Notions
- Yarn needle
- Scissors
- Stitch marker (optional but helpful)
- Two buttons (for bow centers)
- Optional sewing needle and thread (for extra-secure button attachment)
Stitches & Techniques Explained#
Abbreviations (US terms)
- ch = chain
- sl st = slip stitch
- sc = single crochet
- hdc = half double crochet
- dc = double crochet
- BLO = back loop only
- sk = skip
- sp = space
- rep = repeat
Ribbed cuff (BLO)
Working sc BLO creates stretchy ribbing that hugs your wrist. This helps the mitten stay in place even if the body stitch is more open or textured.
Lattice texture stitch (beginner-friendly version)
The raised “woven” look can be created with a simple repeat that uses:
- dc posts and chain spaces
- working into chain spaces on the next round to create offset texture
It looks complex, but it’s essentially a repeating pattern of “post + space” that stacks into a lattice.
Thumb opening (simple method)
You’ll create the thumb opening by:
- crocheting to the thumb area
- chaining a small number of stitches
- skipping the same number of stitches
- continuing the round
On the next round, you crochet into the chains to stabilize the opening.
Step-by-Step Instructions#
These mittens are written as made-to-measure with a reliable sizing guide, so you can get a great fit without guessing.
Quick sizing guide
Measure:
- Wrist circumference (snug)
- Palm circumference around knuckles (excluding thumb)
- Length from wrist to base of fingers
Typical adult palm circumference:
- Small: 6.5–7.25 in
- Medium: 7.25–8 in
- Large: 8–9 in
Make the ribbed cuff
Crochet the cuff in rows, then seam into a ring.
Foundation: ch 13 (adjust for cuff height)
- ch 11–12 = shorter cuff
- ch 13–15 = taller cuff
Row 1: sc in 2nd ch from hook, sc across, turn.
Row 2: ch 1, sc BLO across, turn.
Repeat Row 2 until the cuff length fits around your wrist (snug but comfortable).
Join into a ring:
Fold the cuff so short ends meet. Sl st through both layers across to seam. Turn seam to inside.
Round setup (join to work in the round)
Join yarn at the edge of the cuff.
Setup round: ch 1, sc evenly around the cuff edge. Join with sl st.
Tip: A good rule is 1 sc per row end. If your cuff has 32 rows, you’ll place about 32 sc around.
You want an even stitch count that works well with the texture repeat. If needed, add or subtract 1 stitch discreetly.
Texture stitch pattern for mitten body
This texture gives a raised lattice look while staying wearable and cozy.
Round A: ch 2 (counts as first dc), dc in next st, ch 1, sk 1 rep around, join.
Round B: ch 2, dc in next dc, dc in next ch-1 sp rep around, join.
Round C: ch 2, dc in next st, ch 1, sk 1 rep around, join.
Repeat Round A–C until you reach the base of your thumb (usually 2–3 inches above the cuff).
If you want a tighter lattice:
- replace ch 1 spaces with no chains (dc in every stitch) and use a front-post round occasionally
If you want a more open lace: - replace ch 1 with ch 2
Create the thumb opening
Try the mitten tube on your hand and mark the thumb placement with a stitch marker.
Most adult sizes work well with 6–10 stitches for the thumb opening.
Work the pattern until you reach the thumb start point, then:
- ch 7 (adjust 6–10 based on your hand)
- sk 7 stitches
- continue the round as normal and join
Next round: work into the chain stitches as if they are normal stitches/spaces. This stabilizes the opening.
Continue to the hand opening
Keep repeating the texture rounds until the mitten reaches the base of your fingers (right where your fingers start bending).
Finish the top edge (trim)
Switch to white/cream (optional).
Simple trim: one round of sc around, join and fasten off.
Scalloped trim (prettier): sl st, ch 3, 2 dc in same st, sk 1, sl st in next st rep around.
Optional thumb edging
Join yarn at the thumb opening and sc evenly around. Join and fasten off.
If it feels tight, add a couple of increases (2 sc in one spot) to relax the opening.
Make the second mitten
Repeat everything for the second hand, but place the thumb opening on the opposite side.
Easy method: lay the first mitten flat seam-down and mirror the thumb placement.
Bow Embellishment#
This bow detail instantly makes the mittens look finished and gift-ready.
Crochet bow (make 2)
With white/cream:
Ch 10.
Row 1: sc in 2nd ch from hook, sc across (9 sc). Turn.
Row 2–Row 6: ch 1, sc across (9 sc). Turn.
Fasten off leaving a long tail.
Pinch the center of the rectangle and wrap yarn around the middle 8–12 times. Tie off tightly at the back.
Sew a button to the center of the bow and stitch the bow onto the mitten near the cuff.
Tip: For a more “petal-like” bow, use hdc rows instead of sc rows.
Common Mistakes and How to Avoid Them#
- Mitten feels too loose: Use a smaller hook, reduce chain spaces, or make the cuff tighter (fewer cuff rows so it stretches more).
- Mitten feels too tight at palm: Add a few stitches in the setup round (increase evenly around).
- Thumb opening pinches: Increase the chain/skip count by 1–2 stitches, or add a sc edging round to loosen it.
- Texture looks uneven: Count your repeats and keep tension consistent; place a stitch marker at the start of each round.
- Cuff twists or gaps at seam: Make sure you seam straight and pick up stitches evenly around the edge.
Expert Tips for Better Results#
- Use soft yarn for comfort: Gloves touch skin constantly, so choose yarn you enjoy wearing.
- Reinforce the thumb opening: A single sc edging round makes a big difference in durability and comfort.
- Block lightly for a polished look: Gentle steam blocking (especially for acrylic blends) can even out the texture.
- Secure the button properly: Buttons take stress, so sew through multiple yarn strands and knot well.
- Make the lattice pop: Choose a yarn with good stitch definition rather than fuzzy novelty yarn.
Variations and Customization Ideas#
- Warmer version: Replace the texture stitch with hdc BLO for a denser fabric.
- Longer mitts: Add extra rounds before the thumb opening and extend length past the knuckles.
- No-bow minimalist: Skip the bow and finish with a clean trim for a modern look.
- Flower instead of bow: Crochet a simple 5-petal flower and sew a button in the center.
- Two-tone style: Make the cuff and trim white and the body a pastel shade for contrast.
- Convertible mitten: Add a flip-top (more advanced) using a separate flap piece that buttons down.
Benefits of This Crochet Project#
- Practical accessory for daily use (phone-friendly warmth)
- Great gift idea that feels handmade and special
- Teaches wearable construction and fit adjustments
- Texture looks impressive without complex shaping
- Works well with small amounts of yarn (stash-friendly)
- Strong crochet blog topic because people search for fingerless glove patterns year-round
Internal Linking Suggestions#
You may also like:
- How to Crochet Ribbing in the Back Loop Only
- Beginner Crochet Lace and Texture Stitches
- Easy Crochet Flower Appliqué Patterns
- Cozy Crochet Headband Pattern
- Crochet Scarf Patterns for Beginners
- Handmade Crochet Gift Ideas for Winter
FAQ Section#
Are fingerless mittens a good crochet pattern for beginners?
Yes. They’re mostly simple tubes with a thumb opening. This pattern uses basic stitches plus a repeating texture.
What yarn is best for crochet fingerless gloves?
Soft DK or light worsted yarn works best. Wool blends are warm, acrylic is washable, and cotton blends are comfortable for mild weather.
How do I resize this free crochet pattern?
Adjust the cuff length to fit your wrist, then add or subtract stitches in the setup round to fit your palm circumference. Crochet more or fewer rounds for length.
How large should the thumb opening be?
Most adults need 6–10 stitches (chain and skip the same number). Start smaller if unsure; you can loosen it by edging with sc.
How do I make them warmer?
Use thicker yarn, reduce chain spaces in the lattice, or switch the mitten body to a denser stitch like hdc.
Can I wash these mittens?
Yes, depending on your yarn. Follow the yarn label. Lay flat to dry and reshape gently.
Conclusion#
These textured fingerless mittens are the perfect mix of cozy and cute: a snug ribbed cuff, an eye-catching lattice texture, and a sweet bow detail that makes them feel like a boutique accessory. Once you crochet one pair, you’ll want to make another—because they’re quick, customizable, and genuinely useful.
If you want exact stitch counts for small/medium/large (instead of made-to-measure), tell me the yarn weight you’re using and your wrist/palm measurements, and I’ll convert the pattern into clear sizes you can publish directly.