


Introduction#
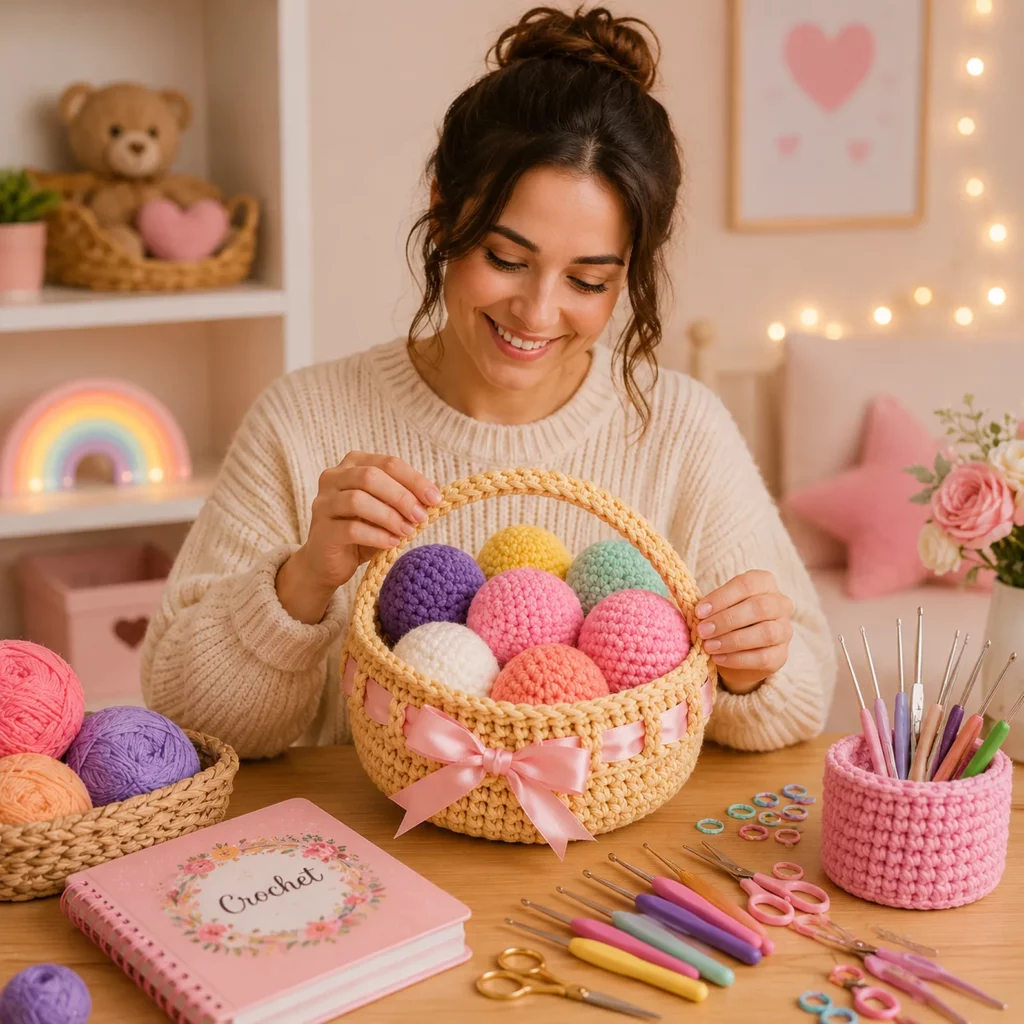
If you’re looking for a crochet pattern that feels joyful, giftable, and useful year after year, a crochet Easter egg basket is hard to beat. It’s the kind of DIY crochet project that instantly becomes part of your seasonal tradition: fill it with soft crochet eggs for décor, tuck in candy for a handmade Easter gift, or use it as a sweet nursery storage basket when the holiday is over. And the best part? You can make it in any colors you like, from classic pastels to bold modern brights.
Explore more beginner home decor crochet patterns in our pattern library.
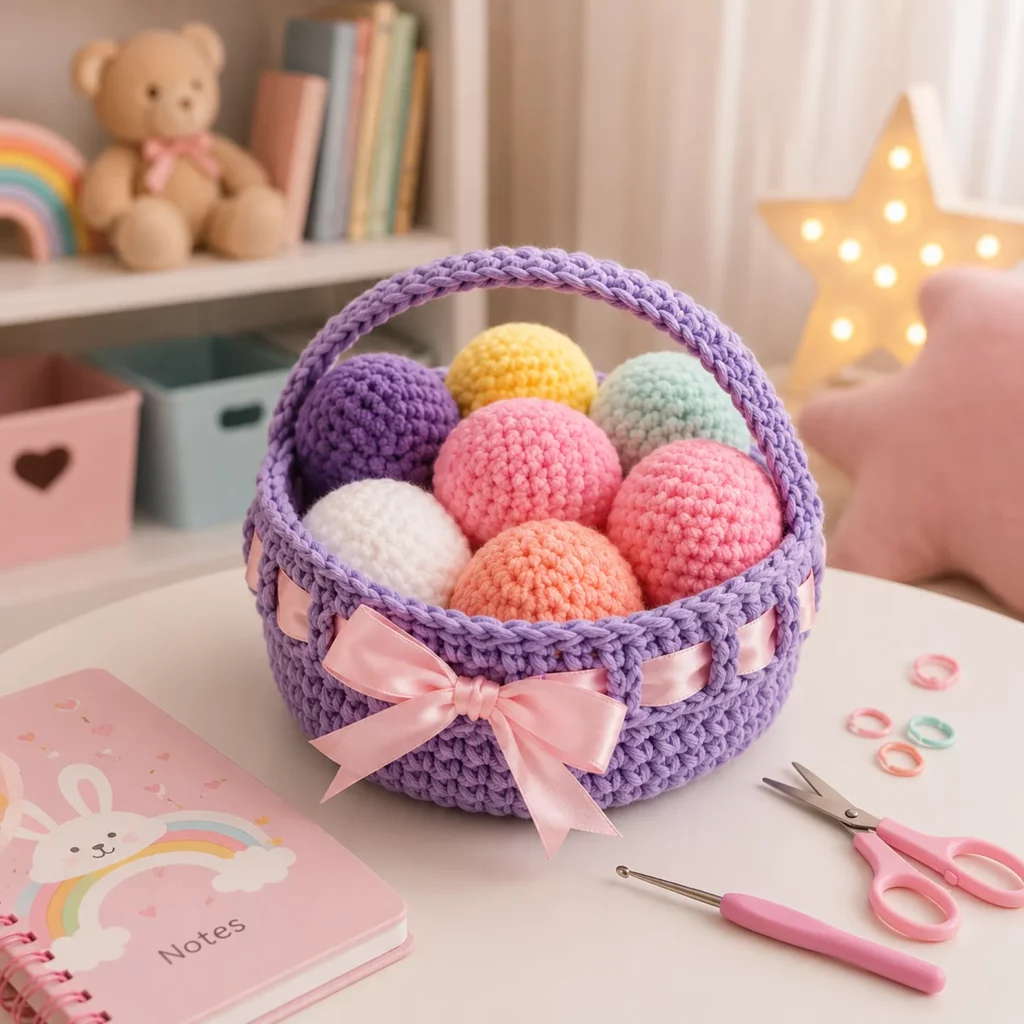
This project is especially beginner-friendly because it’s built from simple shapes and repeatable stitches. The basket is essentially a sturdy oval or round base with straight sides, then a reinforced rim and a handle. The eggs are tiny amigurumi ovals that work up quickly and are perfect for using yarn scraps. Add a ribbon bow and suddenly your basket looks polished—like something you’d find in a boutique, except you made it with your own hands.
In this easy crochet tutorial, I’ll break down every step: how to get a firm basket that holds its shape, how to crochet smooth eggs without lumps, how to reinforce the handle so it doesn’t flop, and how to finish everything neatly so it’s AdSense-friendly, helpful, and genuinely worth saving.
Detailed Description of the Crochet Pattern#
This crochet pattern includes two parts that work beautifully together.
Part one is the basket: a small, structured crochet container with a thick rim and a handle. The texture is a tight stitch pattern (most often single crochet or half double crochet) that creates a sturdy fabric. The rim usually includes a “window” or openwork band that’s perfect for weaving ribbon through, which adds color and makes the basket feel extra finished.
Part two is the set of crochet eggs: soft, smooth, slightly oval shapes made in continuous rounds. These are lightly stuffed and sized to sit snugly inside the basket. Because each egg is quick to complete, it’s a great “mini win” project—ideal for beginners building confidence, or for experienced crocheters who want a relaxing stash-buster.
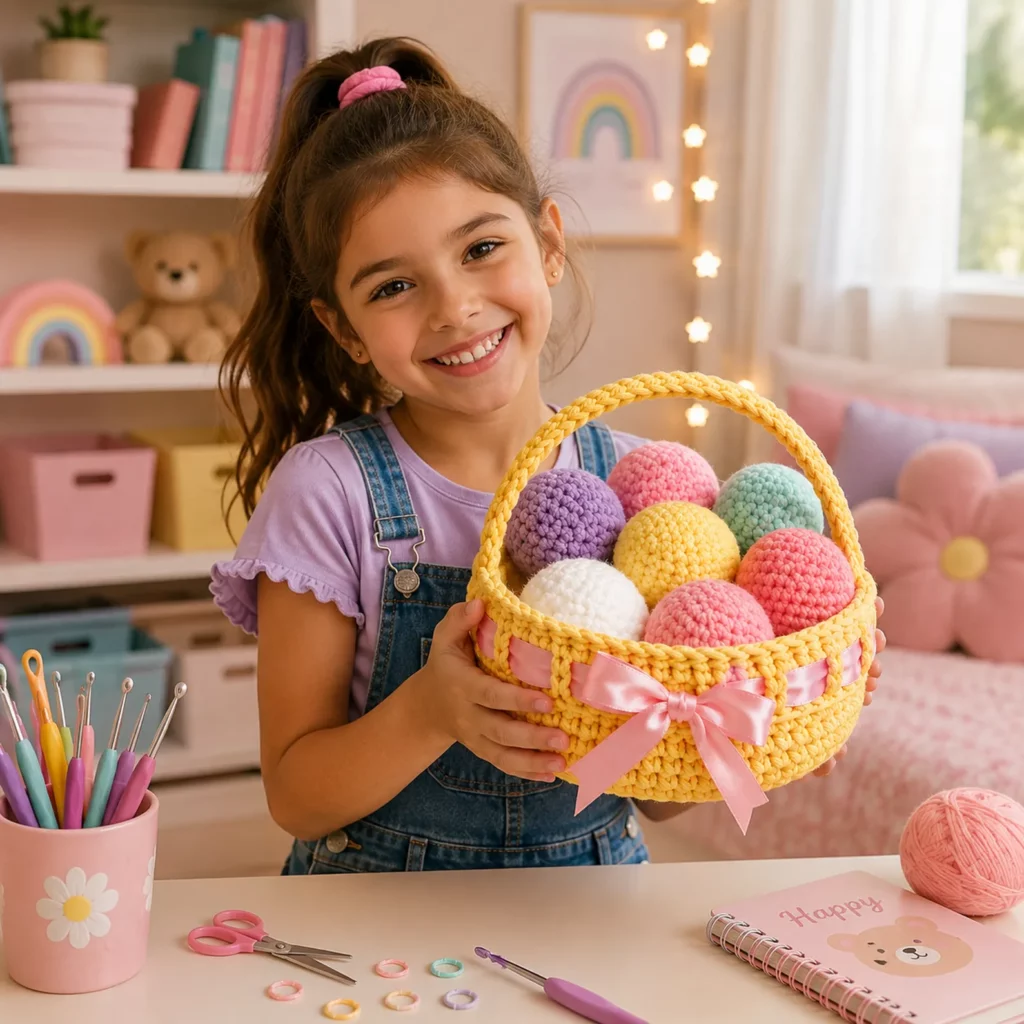
The final look is clean and decorative. It works as a centerpiece, a kids’ Easter basket (best as décor or supervised play if you’re using small parts), or a handmade gift basket. It’s also easily customizable: change basket size, handle style, egg size, color palette, and ribbon type.
Skill Level Explanation#
This is an easy-to-intermediate crochet pattern, depending on how structured you want the basket to be.
Beginner-friendly skills you’ll use
Single crochet or half double crochet
Basic increases and decreases
Working in continuous rounds with a stitch marker
Simple seaming and weaving in ends
Skills that make it “intermediate” (optional)
Maintaining firm tension for a sturdy basket
Reinforcing the rim and handle so the basket holds shape
Neat color changes (if making striped eggs)
Finishing details like ribbon weaving and clean edge rounds
If you’re a total beginner, you can still do it. Just go slowly, count stitches, and choose a yarn that holds shape well.
Materials Needed#
Yarn
For a basket that stands up, yarn choice matters more than usual.
Best yarn choices for structure
Cotton worsted (#4) or cotton blend: crisp stitches, less stretch, great shape
Jute-style twine or macramé cord: very sturdy, rustic look (can be harder on hands)
Acrylic worsted: works, but may stretch more unless you use tight tension and reinforcement
For the eggs
Any smooth yarn (cotton or acrylic) in worsted or DK. Plush yarn can be used, but eggs may look fuzzier and less defined.
Suggested colors
Basket: natural/cream/tan (classic) or pastel shades (spring vibe)
Eggs: a mix of pinks, purples, whites, oranges, yellows, blues—anything cheerful
Ribbon: satin ribbon, grosgrain ribbon, or velvet ribbon in a contrasting color
Hook
Basket: 3.5–4.5 mm with cotton worsted (smaller hook = sturdier fabric)
Eggs: 2.75–3.5 mm depending on yarn (small hook for tight amigurumi fabric)
Notions
Stitch marker
Yarn needle
Scissors
Fiberfill stuffing (for eggs)
Optional: plastic canvas or stiff felt for basket base (if you want extra rigidity)
Optional: fabric glue (tiny dot on ribbon ends to prevent fraying)
Stitches & Techniques Explained#
Abbreviations (US terms)
MR = magic ring
ch = chain
sl st = slip stitch
sc = single crochet
hdc = half double crochet
inc = increase (2 stitches in same stitch)
dec = invisible decrease
BLO = back loop only
FLO = front loop only
st(s) = stitches
Key techniques
Working into the back loop only (BLO) can create a crisp “turn” from base to sides, which helps the basket stand up.
Invisible decreases are best for eggs because they keep the surface smooth.
Reinforced handle is achieved by crocheting a strap, then either slip-stitching around it or crocheting a second layer onto it.
Ribbon weave is created by an openwork round (like ch-1 spaces) near the top of the basket.
Step-by-Step Instructions#
Pattern notes
This is a flexible free crochet pattern that you can size up or down. The stitch counts below create a small basket suitable for decorative eggs. If you want a larger “real” basket, you’ll add rounds to the base and extra height to the sides.
Part 1: Crochet Basket Base (oval style, beginner-friendly)
Step 1: Foundation chain
Ch 21 (this makes a small-to-medium basket; adjust longer for a longer oval)
Step 2: First oval round
Rnd 1: sc in 2nd ch from hook and in each ch across (19 sc).
3 sc in last ch (to turn the corner).
Work sc along the other side of the chain (19 sc).
3 sc in the last ch (other end).
You now have an oval.
Step 3: Increase rounds for the base
Rnd 2: sc around, placing increases at the rounded ends to keep the oval shape smooth.
A simple rule: increase only in the “end curves.” If you placed 3 sc at each end in Rnd 1, you’ll increase across those end stitches each round (for example, inc in each of the 3 end stitches, sc along the sides, repeat at the other end).
Rnd 3–5: Repeat the idea—sc along straight sides, increase at the ends.
Base sizing tip
Stop increasing when the base is roughly the size you want the basket bottom to be. For a small egg basket, a base around 6–7 inches long is a nice target, but you can go smaller or larger.
Part 2: Turn the Corner and Crochet the Sides
The “turn” round
Next round: BLO sc around with no increases.
This creates a clean crease and makes the sides rise up.
Side height rounds
Work sc around (both loops) for 6–10 rounds, depending on how tall you want the basket.
If you want a straighter basket wall, avoid increases.
If you want a slightly flared top, add a few increases evenly spaced in the last 1–2 rounds.
Part 3: Ribbon Weave Round (optional but adorable)
To create the ribbon channel, work an openwork round near the top.
Ribbon channel round
Rnd: (sc, ch 1, skip 1) around.
If your stitch count doesn’t match perfectly, adjust by occasionally doing (sc, ch 1) without skipping, or skipping an extra stitch once. The goal is evenly spaced holes.
Next round to stabilize
Rnd: sc in each sc and also sc in each ch-1 space around.
This locks the holes into a neat row.
Part 4: Reinforced Rim
A sturdy rim makes the basket look professional and helps it hold shape.
Rim rounds
Work 1–2 rounds of sc around.
For extra structure, do one round of reverse single crochet (crab stitch) or slip stitch around the top edge.
Part 5: Handle
You can attach the handle directly to the basket sides.
Handle strap
Attach yarn at one side of basket rim.
Ch 35–45 (depending on desired handle height and basket width).
Attach to opposite side with sl st.
Reinforce the handle
Option A (easy): sc along the chain back to the starting point, then sl st into the basket.
Option B (sturdy): work 2–3 rows of sc back and forth across the handle width, then sew edges down.
Option C (super sturdy): crochet a long strip separately, sew both ends to basket, then slip stitch around the entire strip to thicken it.
Part 6: Ribbon Finish
Cut ribbon long enough to weave through the holes with extra for a bow.
Weave ribbon in and out around the basket.
Tie a bow centered at the front.
If ribbon ends fray, seal lightly with a tiny dab of clear nail polish or fray-check (or fold under and stitch).
Part 7: Crochet Eggs (make as many as you like)
These eggs are small, smooth, and beginner-friendly.
Egg pattern (small/medium)
Rnd 1: MR, 6 sc (6)
Rnd 2: inc around (12)
Rnd 3: (sc, inc) around (18)
Rnd 4: (2 sc, inc) around (24)
Rnd 5–8: sc around (24) for 4 rounds
Rnd 9: (2 sc, dec) around (18)
Rnd 10: (sc, dec) around (12)
Stuff firmly, shaping into an oval (slightly pointier at top if you like).
Rnd 11: dec around (6)
Fasten off, close, weave in ends.
Striped egg option
Change colors every 1–2 rounds during Rnd 5–8 for clean stripes. Always change color on the last yarn-over of the stitch before the new color.
Extra-tidy egg tip
Use invisible decreases and a smaller hook so stuffing doesn’t show through.
Assembly and finishing checklist
Weave in all ends securely (especially inside eggs)
Block the basket lightly if needed (cotton responds well to shaping)
Place eggs inside and adjust arrangement
Make sure handle is firmly attached and symmetrical
Tie ribbon bow and trim ends neatly
Common Mistakes and How to Avoid Them#
Basket is floppy
Use cotton yarn, a smaller hook, and tighter tension. Add an extra rim round or crab stitch. Consider lining the base with stiff felt or plastic canvas.
Oval base becomes wavy
Too many increases. Only increase at the rounded ends, not along the straight sides.
Sides flare out unexpectedly
You may still be increasing. Check your stitch count each round to confirm it stays the same for straight walls.
Handle stretches
Reinforce it. Crochet over the chain with sc, or build a thicker strap, or sew a ribbon inside the handle for support.
Eggs look pointy or lumpy
Stuff gradually and shape as you go. If it looks too pointy, add one more “straight” round before decreases. If lumpy, use smaller pieces of stuffing.
Ribbon holes look uneven
Your stitch count might not divide nicely. That’s okay—adjust skipping slightly so holes look evenly spaced rather than mathematically perfect.
Expert Tips for Better Results#
Choose structure first, softness second for baskets. Cotton yarn and a tight hook give the most “store-bought” shape.
Make a cardboard or plastic canvas base insert if you want a perfectly flat bottom. Trace your crocheted base and cut slightly smaller so it fits inside.
Use stitch markers at the oval ends. This helps you place increases consistently and keeps the oval symmetrical.
Batch-make eggs assembly-line style. Crochet all egg bottoms first, then all mid rounds, then all decreases. It’s faster and keeps sizes consistent.
Add subtle texture to eggs with surface slip stitches or tiny embroidered dots if you want a more “decor” look.
Variations and Customization Ideas#
Mini fruit basket: Make eggs in strawberry, lemon, and grape colors and call them crochet “fruit” balls for play kitchens.
Baby gift basket: Use soft pastel eggs and add a name tag to the ribbon (embroidered or felt).
Holiday swap: Use the same basket pattern for Christmas ornaments, Halloween mini pumpkins, or spring flowers.
Two-tone basket: Crochet the base in one color and sides in another for a modern look.
Lined basket: Sew a simple fabric liner with a drawstring top for a boutique finish.
Handle-free version: Skip the handle and use it as a storage bin for yarn scraps, clips, or small toys.
Benefits of This Crochet Project#
It’s a reusable seasonal décor piece that you can bring out every year
Perfect stash-buster because eggs use small yarn amounts
Great beginner project for learning shaping and structure
Makes a thoughtful handmade gift (especially with custom colors)
Works as décor, toy storage, or party centerpiece
Fast to expand into a “set” once you’ve made one basket and a few eggs
Internal Linking Suggestions#
You may also like these related posts
Free Crochet Pattern: Basic Amigurumi Egg in Three Sizes
Crochet Tutorial: How to Make Stiff Crochet Baskets That Stand Up
DIY Crochet: How to Weave Ribbon Through Crochet Openwork
Easy Crochet Pattern: Mini Storage Basket for Nursery Shelves
Crochet for Beginners: Invisible Decrease and Neat Stuffing Tips
Free Crochet Pattern: Spring Garland With Eggs and Flowers
FAQ Section#
Is this an easy crochet pattern for beginners?
Yes. The basket uses simple stitches in rows or rounds, and the eggs are basic amigurumi shapes. The only part that needs extra patience is keeping the basket firm and sewing ends neatly.
What yarn is best for a crochet basket?
Cotton yarn is the top choice because it holds shape and doesn’t stretch as much as acrylic. For the firmest basket, use cotton and a smaller hook.
How many eggs should I make?
For a small basket, 6–10 eggs looks full and decorative. For a larger basket, make 12–20 depending on size.
Can I wash the basket and eggs?
Spot-cleaning is safest. Cotton can handle gentle hand washing, but you may need to reshape and air dry. Avoid soaking ribbon unless it’s washable.
How do I keep the eggs smooth and round?
Use a smaller hook, invisible decreases, and stuff gradually. Shape with your hands as you add stuffing rather than waiting until the end.
Can I make this basket bigger for real Easter egg hunts?
Yes. Make a wider base by adding increase rounds, crochet taller sides, and reinforce the handle. For a kid-sized carrying basket, a lined base and thicker handle are especially helpful.
Conclusion#
A crochet Easter egg basket is one of those projects that feels cheerful the whole time you’re making it—and even better when it’s finished. The basket gives you that satisfying structured shape, the eggs are quick and fun, and the ribbon detail ties everything together into a piece that looks intentionally designed. It’s a wonderful free crochet pattern to keep in your seasonal rotation, and it’s easy to customize for any color theme.
If you want, tell me whether you prefer a round basket or an oval basket and what yarn type you’re using (cotton, acrylic, or cord). I can suggest the best hook size and exactly how many base rounds to crochet so your basket comes out the perfect size for the number of eggs you want.


