Introduction#
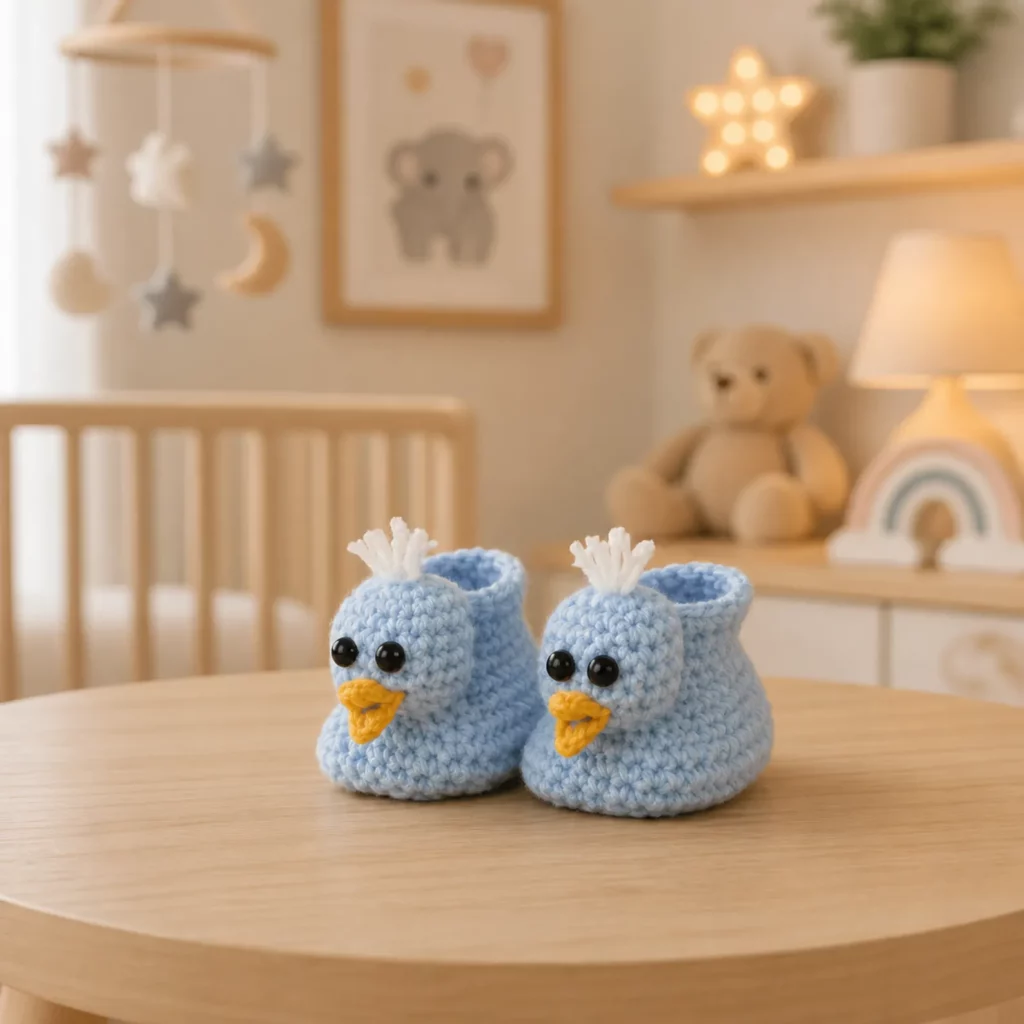
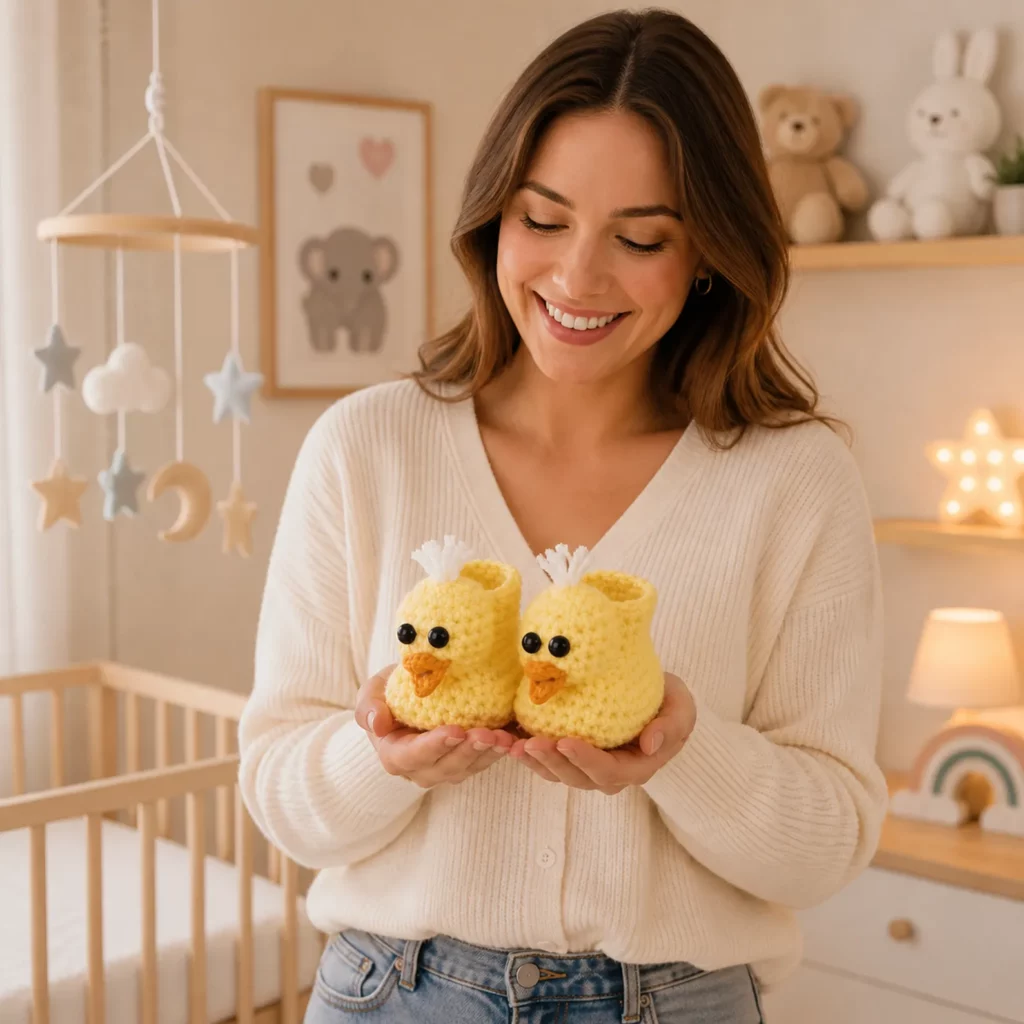
If you’re looking for a baby crochet project that’s fast, cheerful, and totally photo-ready, chick booties are hard to beat. They’re tiny, cozy, and instantly recognizable—especially with the bright yellow body, little beak, and that adorable “fluffy” tuft on top.
Explore more beginner baby crochet patterns in our pattern library.
This crochet pattern will guide you through making a pair of chick baby booties that stay on (the #1 goal for baby footwear). You’ll start with a comfy oval sole, build up sturdy sides, shape a rounded toe, and add simple character details that turn basic booties into a keepsake. The design is beginner-friendly and easy to resize—so you can make newborn booties for a baby shower or size up for first steps photos.
If you want a free crochet pattern that feels special but doesn’t take forever, this is a perfect easy crochet pattern to add to your gift list.
Detailed Description of the Crochet Pattern#
These booties are a closed-toe slip-on style with:
- A rounded sole for comfort and stability
- A gently shaped toe box (so they look like little chicks instead of plain slippers)
- A snug ankle cuff that helps them stay on wiggly feet
- A simple triangle beak on the toe front
- A soft top tuft (made with loop stitches or yarn strands) for the “chick fluff” look
- Optional: tiny wings or embroidered eyelashes if you want extra personality
Why this design works
- The sole and side wall create structure, so the booties don’t collapse.
- The toe shaping gives a clean rounded front (important for the chick face).
- The cuff is designed to be adjustable and can include elastic for extra hold.
- The details are lightweight—cute but not bulky.
Skill Level Explanation#
This is an easy-to-intermediate crochet project.
Great for confident beginners who can:
- crochet single crochet in the round
- increase and decrease
- crochet evenly around an oval
- sew small pieces securely
Intermediate upgrades (optional but easy):
- adding elastic to the cuff
- adding non-slip dots (for toddler use)
- making a neater tuft with loop stitch
This is a lovely crochet for beginners project because the shaping is repeatable and the details are simple.
Materials Needed#
Yarn
Choose soft, washable yarn—babies are messy and booties get washed!
Best yarn options:
- Worsted weight (#4) baby acrylic (soft + easy care)
- Cotton-acrylic blend (breathable + durable)
- DK (#3) baby yarn (smaller, finer bootie)
Colors:
- Yellow (main)
- Orange or golden brown (beak)
- Black (eyes/face embroidery or tiny buttons)
- White (optional tuft if you want a contrast)
Yardage estimate (pair):
- Yellow: 120–180 yards
- Orange: 10–20 yards
- Black: small scrap amount
Hook
Use a hook that makes a dense fabric:
- Worsted: 3.5–4.0 mm
- DK: 3.0–3.5 mm
Tip: If you see holes, go down one hook size.
Notions
- Stitch marker
- Yarn needle
- Scissors
- Measuring tape
- Polyester fiberfill (optional—only if you want to lightly puff the beak)
Optional extras
- Thin elastic thread (for a stay-on cuff)
- Non-slip puffy paint (if toddler slippers)
- Felt circles for baby-safe embroidered eyes (optional)
Stitches & Techniques Explained#
Abbreviations (US terms)
- ch = chain
- sl st = slip stitch
- sc = single crochet
- hdc = half double crochet
- inc = increase (2 sc in one stitch)
- dec = decrease (sc2tog)
- BLO = back loop only
- st(s) = stitch(es)
- rep = repeat
Oval sole basics
You work down one side of a chain, increase at the end, then work back along the other side and increase again. Keep increases mainly at the toe curve and heel curve.
Fold round (BLO)
A BLO round creates a crisp turn from sole to sides—super helpful for booties that hold shape.
Tuft options
You can make the tuft three ways:
- Loop stitch (most “fluffy” and secure)
- Yarn fringe strands knotted through stitches (fastest)
- Small tassel sewn to top (clean and removable)

Step-by-Step Instructions#
Pattern notes
- Worked in continuous rounds
- Make two identical booties
- Sole length determines size
- Keep tension firm
Sizing guide (sole length targets)
Crochet the sole until it matches your desired size:
- Newborn: 3.5–4″
- 0–3 months: 4–4.5″
- 3–6 months: 4.5–5″
- 6–12 months: 5–5.5″
Fit tip: Make the sole about ¼” shorter than foot length because crochet relaxes.
Part 1: Sole (Make 2, Yellow)
Foundation: Ch 11 (adjust for size)
Rnd 1: Sc in 2nd ch from hook and across to last ch.
In last ch: 3 sc.
Working along underside: sc back across.
In last ch at start: 2 sc. (Oval formed)
Rnd 2: Inc in first st, sc across to toe curve.
At the 3-sc toe curve: inc in each of the 3 sts.
Sc across underside to heel curve.
At heel curve: inc in each of the last 2 sts.
Rnd 3: (sc, inc) at start, sc across to toe curve.
At toe curve: (sc, inc) in each of the 3 curve sts.
Sc across underside; mirror increases at heel curve.
Continue increasing until you reach the sole length you need.
Fasten off or continue directly into walls.
Part 2: Side Wall
Join yarn at heel.
Wall Rnd 1 (Fold Round): BLO sc around.
Wall Rnds 2–4: sc around.
You should now have a shallow “bowl.”
Part 3: Toe Shaping (Creates the chick face front)
Mark the toe zone:
- It’s roughly the front ⅓ of the bootie.
Toe Rnd 1:
Sc to toe zone.
Across toe zone: sc, dec repeat.
Sc around rest.
Toe Rnd 2:
Repeat if you need the opening to be narrower.
Try it against a sock/foot measurement: snug but not tight.
Part 4: Ankle Height
Ankle Rnds: sc around for 2–4 rounds until the bootie reaches ankle height.
Part 5: Cuff (Stay-on finish)
Option A (simple cuff):
1 round sc around, fasten off.
Option B (snug cuff):
1 round BLO sc + 1 round sc.
Optional elastic: Weave elastic thread through the cuff stitches to help the booties stay on.
Part 6: Beak (Orange)
Make a small triangle.
Ch 4
Row 1: sc in 2nd ch, sc, sc (3). Turn.
Row 2: ch 1, dec, sc (2). Turn.
Row 3: ch 1, dec (1).
Fasten off leaving a long tail.
Sew beak centered on the toe front.
Optional: add a tiny stitch line across the beak to define the “mouth.”
Part 7: Eyes (Black)
For baby safety, embroider eyes.
- Place eyes above the beak, evenly spaced.
- Use small vertical stitches or tiny knots.
If making for older kids (not infants), you can use small sew-on buttons—secure them extremely well.
Part 8: Top Tuft (White or Yellow)
Option A: Fringe strands (fast)
Cut 6–10 short yarn strands.
Knot them through a stitch at the top center front.
Trim to fluff.
Option B: Loop stitch tuft (secure)
Crochet a tiny tuft patch:
- MR, 6 sc with loop stitch
Sew it to top.
Option C: Mini tassel
Wrap yarn around two fingers 8–10 times, tie and trim, then sew to top.
Part 9: Optional Wings (Super Cute Upgrade)
Wing (make 4, yellow):
Ch 6
Row 1: sc in 2nd ch, hdc, dc, hdc, sc
Fasten off and sew one wing to each side near the toe area.
Common Mistakes and How to Avoid Them#
- Booties fall off: Add a snug cuff (BLO round) or elastic thread.
- Sole ruffles: Too many increases on long sides—keep increases at toe/heel only.
- Toe too tight: Reduce decreases in toe zone.
- Toe too wide: Add one extra toe shaping round.
- Beak looks crooked: Mark toe center stitch and pin beak before sewing.
- Tuft looks messy: Trim evenly and use fewer strands for a cleaner look.
Expert Tips for Better Results#
- Dense stitches matter: Baby booties look best when tight and structured.
- Make matching pairs: Count rounds carefully and measure both soles.
- Pin details first: Eyes and beak placement create the personality.
- Reinforce appliqués: Sew beak and tuft with multiple passes.
- Use washable yarn: Baby gifts should be easy-care.
- Toddler upgrade: Add non-slip dots to the bottom for safer walking.
Variations and Customization Ideas#
- Duck version: Make the beak wider and flatter (oval patch), add tiny wings.
- Easter chick: Add pastel tuft or tiny bow.
- Mini “chick family”: Make newborn + 3–6 month sizes as a cute set.
- Color swaps: Pale yellow, cream, or even fun bright colors for themed photos.
- Add a strap: Small ankle strap with a button for extra hold.
Benefits of This Crochet Project#
- Quick, satisfying make (great for gifts)
- Uses small amounts of yarn (stash-friendly)
- Teaches practical bootie skills: soles, walls, toe shaping, cuffs
- Cute character details make it photo-ready
- Easy to resize for different baby ages
- Perfect for baby showers and springtime gifting
Internal Linking Suggestions#
You may also like…
- Crochet Tutorial: How to Crochet an Oval Sole for Booties
- Best Yarn for Baby Crochet Projects (Soft + Washable)
- Free Crochet Pattern: Simple Baby Booties for Beginners
- DIY Crochet: How to Add Non-Slip Soles to Crochet Slippers
- Crochet Tutorial: Neat Appliqué Sewing Tips
- Free Crochet Pattern Roundup: Animal-Themed Baby Gifts
FAQ Section#
What yarn is best for baby booties crochet pattern?
Soft washable yarn is best—baby acrylic or cotton blends. Avoid scratchy wool for newborn skin.
Is this an easy crochet pattern for beginners?
Yes. It uses mostly single crochet with basic shaping. The chick details are simple appliqués and embroidery.
How do I make the booties bigger or smaller?
Adjust the sole length by changing the foundation chain and number of increase rounds. Then follow the same steps for walls and toe shaping.
How do I keep crochet booties from falling off?
Add a snug cuff with BLO stitches, weave elastic thread into the cuff, or add an ankle strap with a button.
Can I use safety eyes?
For infants, embroidered eyes are safest. Safety eyes can be a choking hazard if pulled loose.
How long does it take to make a pair?
Most makers can finish a pair in 2–4 hours, depending on size and detail level.
Conclusion#
Chick baby booties are the perfect mix of cozy and adorable—bright, cheerful, and quick to crochet, with just enough detail to feel special. This free crochet pattern keeps the construction beginner-friendly while teaching the key skills that make booties fit well and stay on.
If you tell me the baby’s age (newborn, 0–3, 3–6, etc.) and your yarn weight (DK or worsted), I can suggest an exact starting chain and typical round count so your crochet pattern fits perfectly.