Introduction#
A bucket hat is one of those crochet projects that feels instantly wearable. It’s practical (hello, sun shade), stylish (the silhouette works with everything), and surprisingly beginner-friendly because the shaping is basically just smart increases in a circle. Add a few cheerful color bands and you’ve got a hat that looks boutique—even if you only know the basics.
Explore more beginner hats crochet patterns in our pattern library.
This crochet pattern is designed to give you a sturdy, structured bucket hat with a smooth round crown, straight sides, and a brim that holds its shape. The stripes add personality without adding complexity, because they’re just clean color changes in simple rounds.
Below you’ll find a detailed crochet tutorial style guide that walks you through everything: choosing the right yarn, getting the fit right, mastering clean stripes, shaping the brim, and finishing your hat so it looks crisp and professional.
Detailed Description of the Crochet Pattern#
This bucket hat is worked in continuous rounds from the top down in tight single crochet (or a very similar dense stitch). The hat has three clear sections.
Crown: a flat circle that grows with evenly spaced increases until it matches the size you need for your head circumference.
Sides: straight rounds with no increases, which create the “bucket” wall.
Brim: gradual increases again, placed evenly around the circle to flare the brim outward.
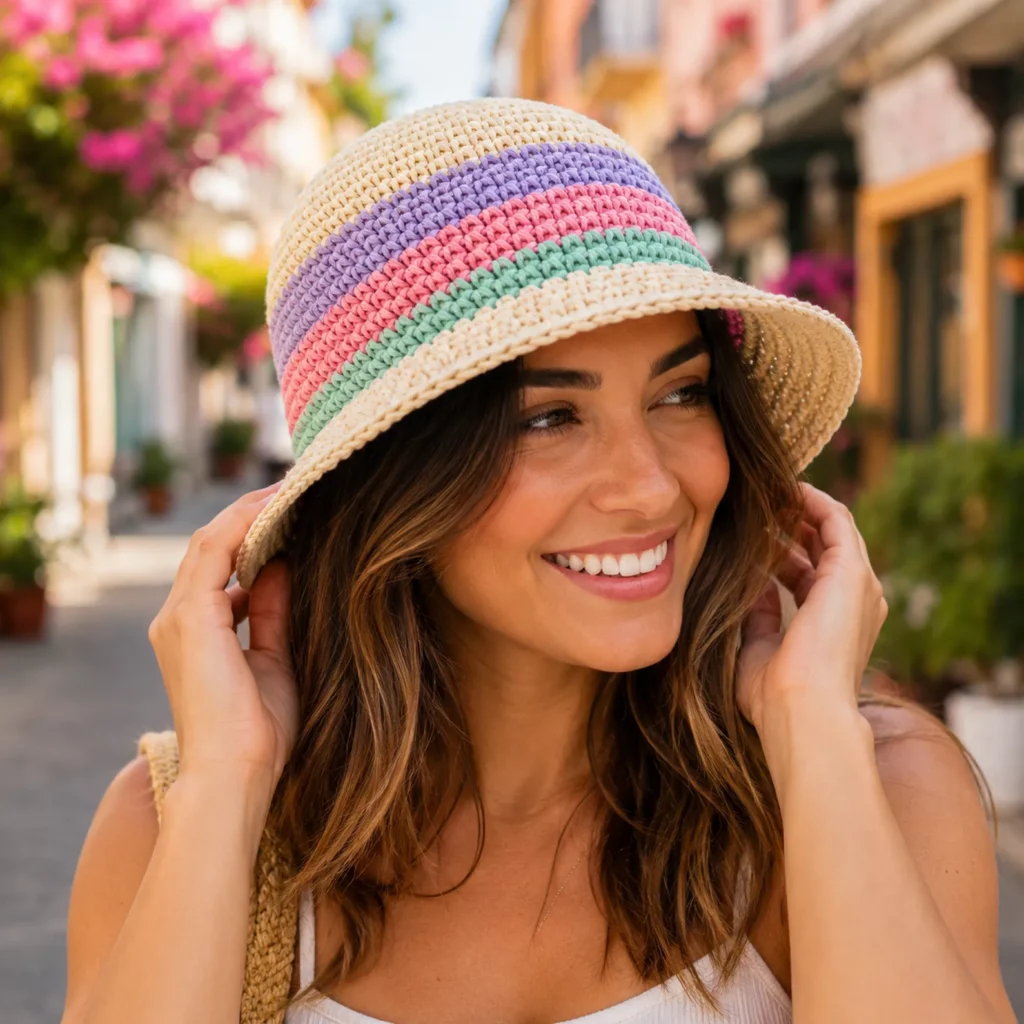
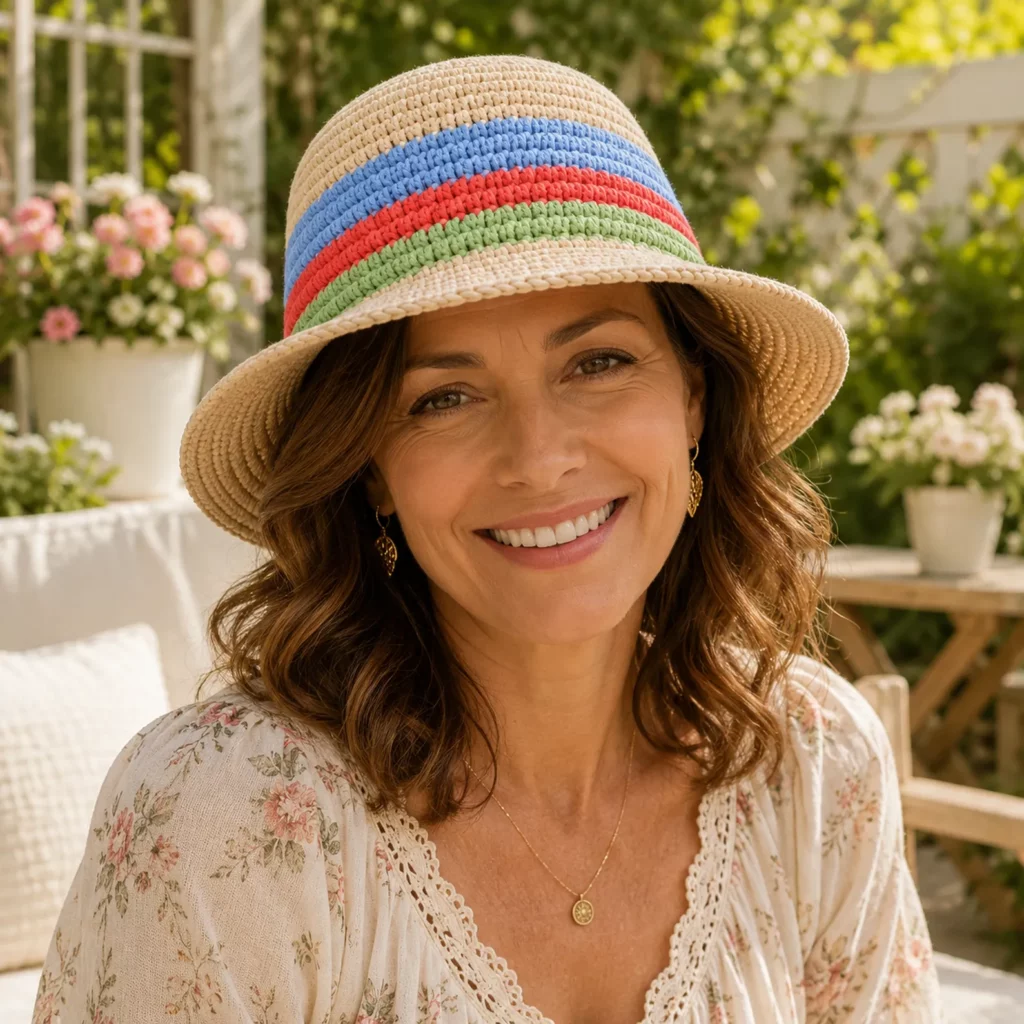
The look is clean and modern, with a neutral main color and a band of bold stripes around the middle. Because the stitches are dense and uniform, the hat has that structured “store-bought” feel—especially when made with cotton or a cotton-blend.
Skill Level Explanation#
Skill Level: Beginner to Confident Beginner
You’ll do great if you already know
Chain (ch)
Single crochet (sc)
Increase (inc)
Slip stitch (sl st) or how to work in continuous rounds
Changing colors at the end of a round
Newer skills you’ll learn (or practice)
How to size a circle for a perfect hat crown
Keeping a straight seam line when working in the round
Clean color changes for stripes (no jagged steps)
Brim shaping that stays flat (no ruffles, no curling)
Optional stiffening/blocking for a more structured brim
If you’ve made a beanie before, this is a perfect next step because it teaches brim shaping and structure without complicated stitches.
Materials Needed#
Yarn
For a bucket hat, the yarn choice determines how structured your brim will be.
Best yarn choices for this style
Cotton (great stitch definition, holds shape well)
Cotton blends (soft but still stable)
T-shirt yarn or macrame-style cord (very structured, more “straw hat” vibe)
Acrylic can work, but it tends to be softer and the brim may flop unless stiffened
Suggested yarn weight
Worsted (Category 4) cotton for a classic bucket hat
Bulky cord/rope yarn for a thicker, more structured look (like a sun hat)
The stitches in this hat look thick and ropey, so a sturdy cotton or cord-like yarn is especially fitting.
Color planning
A: Main color (cream/ivory)
B: Stripe 1 (sky blue)
C: Stripe 2 (coral/red)
D: Stripe 3 (sage green)
Yardage estimate (adult bucket hat)
Worsted cotton: 180–280 yards total
Cord yarn: depends heavily on thickness, but plan extra because dense stitches eat yarn
Hook
Choose a hook that creates a firm fabric. A bucket hat should not feel loose or holey.
Worsted cotton: 4.0–5.0 mm
Cord yarn: 5.5–7.0 mm (varies by cord thickness)
If your fabric feels floppy, go down a hook size.
Notions
Stitch marker (very helpful for rounds)
Yarn needle
Scissors
Measuring tape
Optional: brim stiffener (spray starch, fabric stiffener, or plastic brim insert)
Stitches & Techniques Explained#
Common Abbreviations
MR = magic ring
ch = chain
sc = single crochet
inc = increase (2 sc in same stitch)
sl st = slip stitch
st(s) = stitch(es)
( ) = repeat
[ ] = stitch count
Working in continuous rounds (spiral)
Most bucket hats look cleanest in continuous rounds. Use a stitch marker to mark the first stitch of each round and move it up as you go.
Clean color change for stripes
To change colors neatly at the end of a round
Make the last sc of the round until 2 loops remain on hook
Yarn over with the new color and pull through the last 2 loops
Continue with the new color in the next round
This minimizes color “dots” and keeps stripes crisp.
How to size the crown (the key to a great fit)
The crown is a flat circle. You increase until the circle diameter matches the size for your head.
A simple hat math shortcut
Crown diameter (in inches) ≈ head circumference ÷ 3.14
Example: 22″ head circumference → 22 ÷ 3.14 ≈ 7″ crown diameter
You don’t need perfect math—measure your circle as you crochet and stop increasing when it’s the right diameter.
Step-by-Step Instructions#
Finished Size
This crochet pattern is written as a flexible adult bucket hat with easy sizing adjustments.
Common adult sizes
Small: 20–21″ head circumference
Medium: 22–23″
Large: 24–25″
Notes Before You Start
Use a stitch marker to mark the first stitch of every round
Try the hat on as you go if possible
Keep tension firm so the brim holds shape
If your rounds start to “lean,” that’s normal in spirals. Stripes help disguise it, or you can use joined rounds for perfectly stacked color bands.
Gauge (recommended)
Because yarn choices vary a lot, do a small gauge check.
Make a small circle of sc and measure
Aim for a dense fabric where stitches touch and stuffing wouldn’t show (even though this isn’t stuffed)
If your stitches look open, go down a hook size
Crown (Top of Hat)
Start with Color A (cream/ivory).
Round 1: 6 sc in MR [6]
Round 2: inc around [12]
Round 3: (sc, inc) around [18]
Round 4: (2 sc, inc) around [24]
Round 5: (3 sc, inc) around [30]
Round 6: (4 sc, inc) around [36]
Round 7: (5 sc, inc) around [42]
Round 8: (6 sc, inc) around [48]
Round 9: (7 sc, inc) around [54]
Round 10: (8 sc, inc) around [60]
Keep increasing like this until your crown circle matches your target diameter.
Crown sizing guide (approximate)
Small: 6.5–6.75″ diameter
Medium: 7–7.25″ diameter
Large: 7.5–7.75″ diameter
Tip: If your crown starts to ripple, you’re increasing too fast for your yarn/hook. If it cups, you need one more increase round.
Sides (Bucket Wall)
Once the crown is the right diameter, stop increasing and build height.
Side Round 1 (optional for a crisp edge): sc in BLO around
This creates a ridge and helps the hat fold downward cleanly.
Next rounds: sc around (no increases)
Work until the side height is about 3–4 inches for a classic bucket fit, or 4–5 inches for a deeper bucket look.
Add the Stripe Band
The stripe band sits on the side section. You can place it wherever you like, but it looks best around the middle.
Example stripe plan (each stripe 2 rounds)
2 rounds Color B (blue)
2 rounds Color C (coral/red)
2 rounds Color D (sage/green)
Then return to Color A for 2 rounds before starting the brim
Stripe tip: If you want perfectly straight horizontal stripe edges, use joined rounds instead of a spiral for the stripe section. That means you sl st to join each round and ch 1 to start the next.
Brim (Flare Out)
The brim is created by adding increases evenly around the circle.
Brim Round 1: (8 sc, inc) around
Brim Round 2: sc around
Brim Round 3: (9 sc, inc) around
Brim Round 4: sc around
Brim Round 5: (10 sc, inc) around
Brim Round 6: sc around
Repeat this pattern until the brim is the width you want.
Brim width guide
Subtle brim: 1.5–2″
Classic brim: 2–2.5″
Sun hat brim: 3–4″ (may need stiffening)
If the brim ruffles
Your increases are too frequent. Add more stitches between increases or insert extra plain rounds.
If the brim curls upward
Your increases are too sparse. Add one more increase round sooner.
Finishing Edge
A clean edge makes a huge difference.
Option A (simple and neat): 1 final round of sc, then sl st to finish
Option B (slightly firmer): crab stitch (reverse single crochet) around the brim edge
Option C (decorative): a small picot every few stitches (not necessary for this clean style)
Fasten off and weave in ends securely.
Common Mistakes and How to Avoid Them#
Hat is too tight
Cause: crown diameter too small or stitches too tight
Fix: increase one more crown round, or go up a hook size and recheck diameter
Hat is too loose
Cause: crown too large or loose tension
Fix: stop crown increases earlier, or go down a hook size
Crown ripples (wavy circle)
Cause: too many increases for your gauge
Fix: add a plain round occasionally, or increase more gradually
Brim ruffles
Cause: too many increases too quickly
Fix: add more stitches between increases or add a plain round between increase rounds
Brim flops
Cause: yarn too soft or fabric too loose
Fix: use cotton/cord, go down a hook size, add crab stitch edge, or stiffen the brim
Stripes look jagged
Cause: color changes done mid-round or spiral seam is noticeable
Fix: change color on the last yarn-over of the last stitch; use joined rounds for the stripe section
Expert Tips for Better Results#
Use cotton for the most wearable, breathable bucket hat that still holds its shape.
Add a BLO round where the crown meets the sides for a crisp transition line.
Try the hat on before starting the brim. The fit is easiest to adjust at the side section.
For a stiffer brim, lightly spray starch and shape it flat while it dries.
If you want a “straw hat” feel, use a cord-style yarn and keep tension firm.
For the cleanest stripes, do joined rounds just for the stripe band, then return to continuous rounds.
Variations and Customization Ideas#
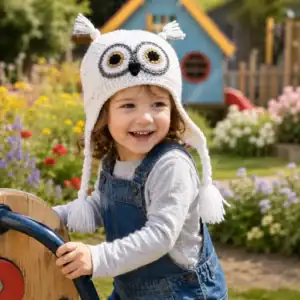
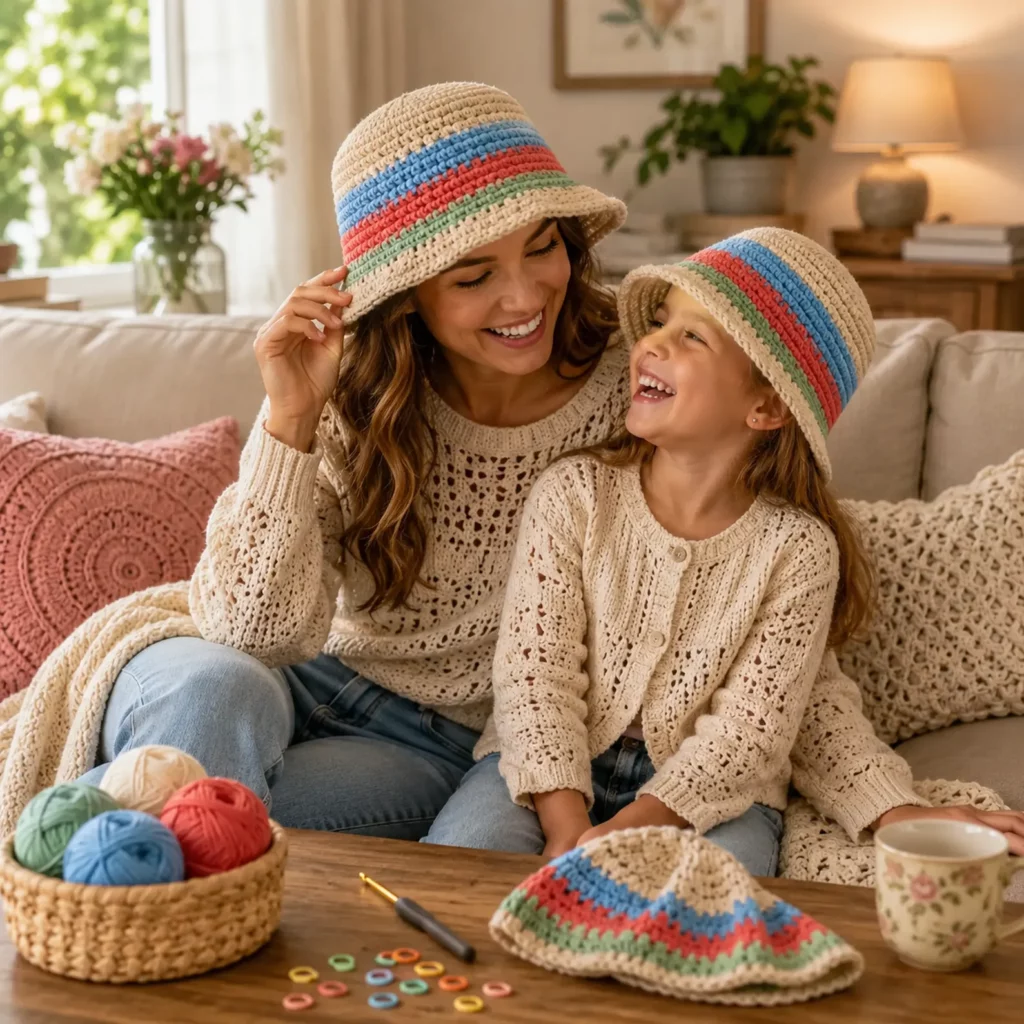
Make it a kid bucket hat
Use the same pattern but stop the crown earlier (smaller diameter) and shorten the sides and brim.
Add a chin strap
Crochet an i-cord or simple chain strap and attach at two side points. Great for windy beach days.
Make a reversible look
Crochet the hat in a slightly softer yarn, keep ends extra neat, and skip stiffener. A double-layer approach also works (more advanced).
Change the stripe layout
Thin stripes: 1 round per color for a sporty look
Wide stripes: 4–6 rounds per color for a bold retro vibe
Monochrome: use only one color for a minimalist bucket hat
Add subtle texture
Swap sc for waistcoat stitch (knit-like look)
Use hdc in BLO for ribbed horizontal ridges
Benefits of This Crochet Project#
Beginner-friendly shaping with a satisfying, logical build
Quick to crochet and easy to customize
Practical and wearable for spring and summer
Great stash buster for leftover stripe colors
A solid crochet pattern you can remake in different yarns for totally different vibes
Internal Linking Suggestions#
How to Crochet a Flat Circle (No Ruffles, No Cupping)
Best Yarn for Crochet Hats (Cotton vs Acrylic vs Cord)
How to Change Colors Cleanly in Crochet Stripes
How to Stiffen a Crochet Brim (Simple Methods)
Easy Crochet Summer Hat Patterns for Beginners
FAQ#
Is this crochet pattern suitable for beginners?
Yes. It uses basic single crochet, increases, and simple shaping. The brim is just controlled increases.
How do I choose the right size?
Measure head circumference, then crochet the crown until the diameter matches (circumference ÷ 3.14). Try the hat on before the brim to confirm fit.
What yarn works best for a bucket hat?
Cotton is ideal for structure and breathability. Cord yarn creates an even stiffer, more sun-hat style look. Acrylic is softer and may need stiffening.
How do I keep the brim from flopping?
Use a smaller hook for tighter stitches, add a crab stitch edge, and consider light starch or fabric stiffener.
Can I make the brim wider?
Yes. Add more increase rounds (with plain rounds between them) until you reach the width you want. Wider brims often need stiffer yarn or stiffening.
Why are my stripes not perfectly straight?
In continuous rounds, stripes can “step” because of the spiral. Use joined rounds for the stripe band if you want perfectly aligned color changes.
Can I wash this hat?
If you use washable cotton yarn, yes. Reshape the brim while damp and lay flat to dry. If you used stiffener, you may need to reapply after washing.
Conclusion#
This striped bucket hat crochet pattern is a fun, wearable project that delivers big results with simple stitches. The round crown gives a comfortable fit, the clean stripe band adds personality, and the structured brim makes it feel like a true summer essential.
If you tell me your head circumference and the yarn you’re using (worsted cotton or cord), I can suggest an exact crown diameter target and a brim increase plan so your hat fits and flares exactly the way you want.