


Introduction#
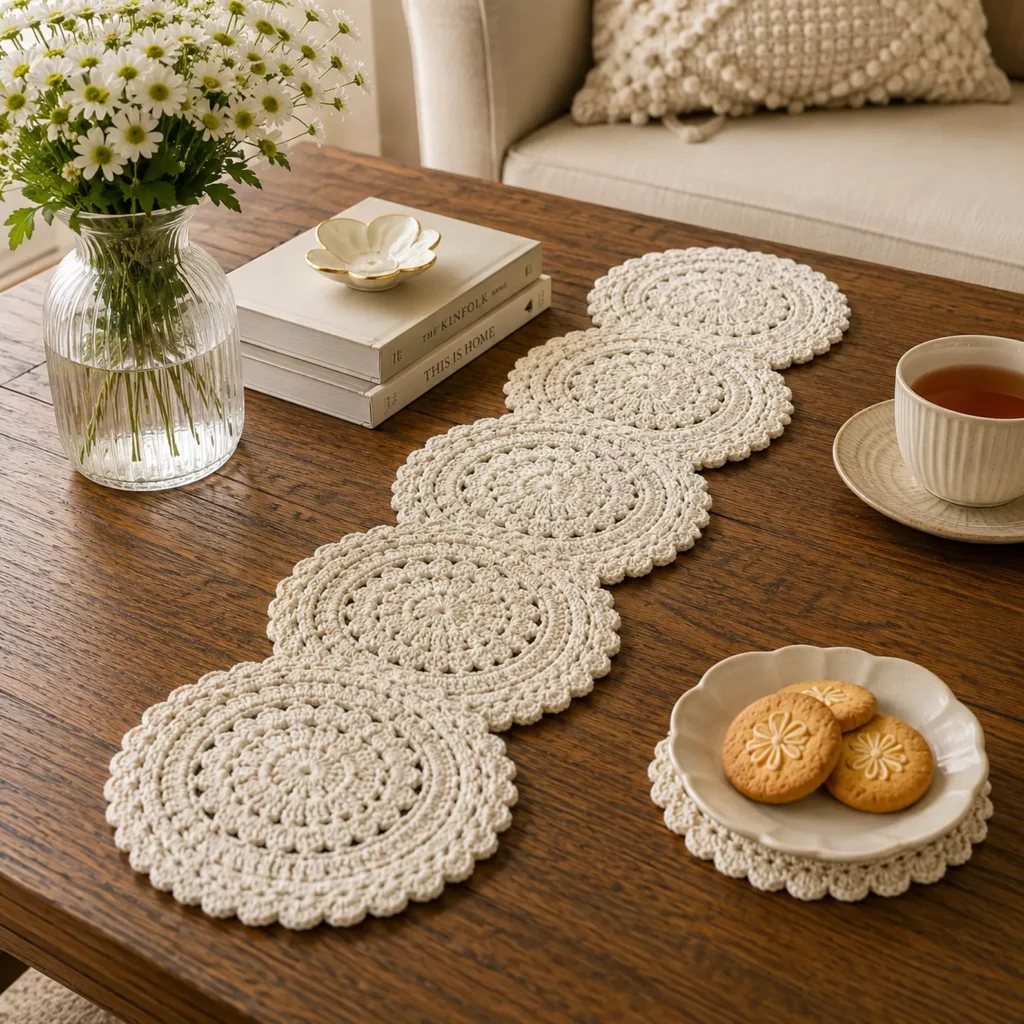
A table runner is one of those crochet projects that instantly changes the mood of a room. You can keep the rest of your décor simple, place a handmade runner down the center of the table, and suddenly everything looks softer, warmer, and more intentional. This medallion-style runner is especially beautiful because it combines the timeless feel of a doily with a modern, clean layout: repeating round motifs linked into a long strand of circles.
This crochet pattern is also incredibly practical to make. Instead of committing to one huge lace piece from the beginning, you crochet one medallion at a time. That makes it easy to work in short sessions, keep your stitch counts tidy, and adjust the finished length without stress. Want a shorter runner for a console table? Make fewer circles. Need a longer dining-table runner? Add more.
Below you’ll find a complete, educational crochet tutorial style guide: materials, stitch explanations, a free crochet pattern for the medallions, how to join them neatly, how to create the scalloped outline, and how to block your runner so it lays flat and looks heirloom-level polished.
Explore more beginner home decor crochet patterns in our pattern library.
Detailed Description of the Crochet Pattern#
This runner is built from a series of matching round medallions. Each medallion has three visual zones that create that elegant, layered look.
Center circle: a tight, slightly textured center (dense stitches worked in the round) that anchors the design and helps it stay flat.
Openwork rings: a few rounds of chain spaces and taller stitches that create “breathing room” and give the lace its airy, decorative character.
Outer scallop edge: a final round of shells that forms a soft, ruffled outline around each circle. When multiple circles are joined in a line, the scallops create a continuous wavy border along the sides, which is what gives the runner its finished, boutique look.
The joining is done at specific points along the outer ring so the circles overlap slightly and sit snugly together. You can join as you crochet the last round (my favorite method because it saves time), or you can stitch the circles together afterward with a yarn needle for maximum control.
Skill Level Explanation#
Skill Level: Confident Beginner to Intermediate
You’ll do great if you already know:
Chain (ch)
Slip stitch (sl st)
Single crochet (sc)
Double crochet (dc)
Working in the round
Counting stitches and repeats
Newer skills you’ll learn (or practice):
Reading round-based lace structure (where stitches belong and why)
Keeping medallions flat (spacing increases correctly)
Joining motifs neatly (join-as-you-go or whip stitch join)
Blocking lace so the pattern opens and the runner lays flat
If you’ve made a simple doily, coaster, or granny square, this is a natural next step. It looks complex, but it’s really a set of repeatable rounds with a predictable rhythm.
Materials Needed#
Yarn or Thread
You can make this pattern with either crochet thread (classic lace look) or fine yarn (faster, slightly more modern and textured).
Best options for a crisp, elegant finish:
Size 10 cotton crochet thread (traditional doily look)
Size 5 crochet thread (bolder, faster, still lacy)
DK cotton yarn (soft and slightly thicker medallions)
Why cotton is ideal: it blocks beautifully, holds stitch definition, and keeps the circles looking clean.
Color suggestions:
Soft white/ivory for a classic heirloom runner
Light gray for a modern farmhouse look
Sand/oatmeal for a neutral, cozy table vibe
Hook
Size 10 thread: 1.5–1.75 mm
Size 5 thread: 2.0–2.25 mm
DK cotton yarn: 3.0–3.5 mm
Tip: If your circles ruffle, go down a hook size or reduce chain-space height. If your circles cup, go up a hook size or add a little more spacing in the openwork ring.
Notions
Stitch markers (helpful for marking join points)
Yarn needle
Scissors
Blocking pins + blocking mat or towel
Optional: spray starch for a crisp, formal look
Stitches & Techniques Explained#
Common Abbreviations
MR = magic ring
ch = chain
sl st = slip stitch
sc = single crochet
hdc = half double crochet
dc = double crochet
tr = treble crochet
sp = space
st(s) = stitch(es)
( ) = repeat
How the lace “stays flat”
Round medallions stay flat because increases are distributed evenly. The moment you add too many stitches, you get ruffles. Too few stitches, and the circle cups like a bowl. The pattern below uses predictable increase logic: solid rounds grow the stitch count, then chain-space rounds create openness without adding bulk.
Shell scallops
A shell is multiple dc worked into the same stitch or chain space. Shells create gentle curves and are perfect for edging. If your shells curl upward, loosen tension slightly or add one extra skipped stitch between shells.
Joining motifs cleanly
Join-as-you-go (JAYG): you connect circles during the final round by slip stitching into the neighboring circle’s chain space. This creates a clean join with fewer ends.
Whip stitch join: you crochet all medallions, then stitch them together with a needle through matching loops. Strong, tidy, and very controlled.
Step-by-Step Instructions#
Finished Size
Each medallion size depends on your thread/yarn. Typical diameters:
Size 10 thread: 4–5 inches per medallion
Size 5 thread: 5–6.5 inches per medallion
DK cotton yarn: 6–8 inches per medallion
Runner length is simply: number of circles × circle diameter minus a little overlap from joining.
How many circles to make
Short console runner: 4 circles
Medium table runner: 5–7 circles
Long dining runner: 8–10 circles
Notes Before You Start
Work in joined rounds (sl st to join each round) for a neat lace look.
Ch-3 at the start of a round usually counts as a dc unless stated otherwise.
If you want perfect symmetry, mark the same “top” join point on every medallion so they align consistently.
Medallion Pattern (Make 4–10)
Round 1 (center)
6 sc in MR [6] or ch 4, join, 6 sc in ring
Round 2
inc around [12]
Round 3
(sc, inc) around [18]
Round 4 (build height and texture)
(ch 3 counts as dc), dc in same st, 2 dc in each st around, join [36 dc]
Round 5 (openwork ring)
(ch 1), (sc in next st, ch 3, sk 1) repeat around, join
You should be creating evenly spaced ch-3 spaces around the circle.
Round 6 (lace spokes)
sl st into first ch-3 sp, (ch 3, 3 dc in ch-3 sp, ch 2) repeat around, join
This round creates raised “spokes” and gives the medallion that layered doily look.
Round 7 (smoothing ring)
sl st into ch-2 sp, (ch 1, sc in ch-2 sp, ch 4) repeat around, join
This creates larger loops for the final scallops and also gives you clean join points.
Round 8 (scalloped edge)
sl st into first ch-4 sp, (ch 1, 7 dc in ch-4 sp, ch 1, sl st in next ch-4 sp) repeat around
Fasten off and weave in ends.
If your scallops feel too ruffled, use 6 dc instead of 7. If they look too flat, use 8 dc.
Joining the Medallions Into a Runner
Option A: Join-as-you-go (recommended)
Crochet the first medallion completely.
On the second medallion, crochet up to Round 8. When you reach the point where you want to connect, replace the “ch 1” between scallops with: sl st into the matching ch-4 sp of the previous medallion, then continue.
Join at 2–4 evenly spaced connection points between circles so they sit snugly without puckering. A practical rule is to join at the “north/south” points if you imagine the circle as a clock face.
Repeat as you add each new medallion so they form a straight line.
Option B: Sew join (maximum control)
Lay circles in a straight line with slight overlap.
Use a yarn needle and matching thread to whip stitch through the outer loops of the ch-4 spaces where circles touch.
Keep joins small and even. Too tight will pucker, too loose will gap.
Optional Outer Unifying Border
If you want the runner to look more “one piece” (and less like separate circles), add a light border around the entire outside. This also stabilizes the joins.
Join yarn at one outer edge.
Round: sc evenly around the outer scallops, placing 1 sc between shells and 3 sc across the top of each shell.
At join gaps between circles, add extra sc as needed so the border stays smooth.
Finish with a tiny picot edge if you love detail: (sl st, ch 3, sl st into first ch) spaced every few stitches.
Blocking (makes the difference)
Wet block: soak in lukewarm water, squeeze gently, lay flat, pin each scallop into shape, and let dry fully.
For a crisp formal runner: lightly starch after blocking and let it dry pinned.
Common Mistakes and How to Avoid Them#
The circles ruffle
Cause: too many stitches or shells too large for your chain space
Fix: use fewer dc in shells (6 instead of 7) or reduce ch spaces by 1
The circles cup like bowls
Cause: not enough increase or tension too tight
Fix: go up a hook size or add one extra dc evenly in a solid round
Joins pucker
Cause: joining too tightly or joining too many points
Fix: use fewer join points and keep slip stitches loose; block after joining
Runner won’t lie straight
Cause: inconsistent join placement from circle to circle
Fix: join each circle at the same “clock positions” so the line stays centered
Scallops look uneven
Cause: chain spaces vary in size
Fix: keep chain tension consistent; blocking smooths minor tension differences
Expert Tips for Better Results#
Use cotton thread for the cleanest stitch definition and best blocking results.
Count your repeats per round and keep them consistent. Medallion projects look best when every circle matches exactly.
If you want a heavier runner that grips the table, use size 5 thread or DK cotton and add the optional unifying border.
Weave ends into the denser rounds near the center instead of along open chain spaces so tails don’t peek through.
For a perfect “boutique” finish, pin every scallop during blocking. Lace doesn’t just flatten itself; it needs shaping.
Variations and Customization Ideas#
Make it longer or shorter
Add or subtract medallions. This is the easiest way to resize without rewriting the pattern.
Change the vibe with color
Classic: white or cream
Modern: gray or taupe
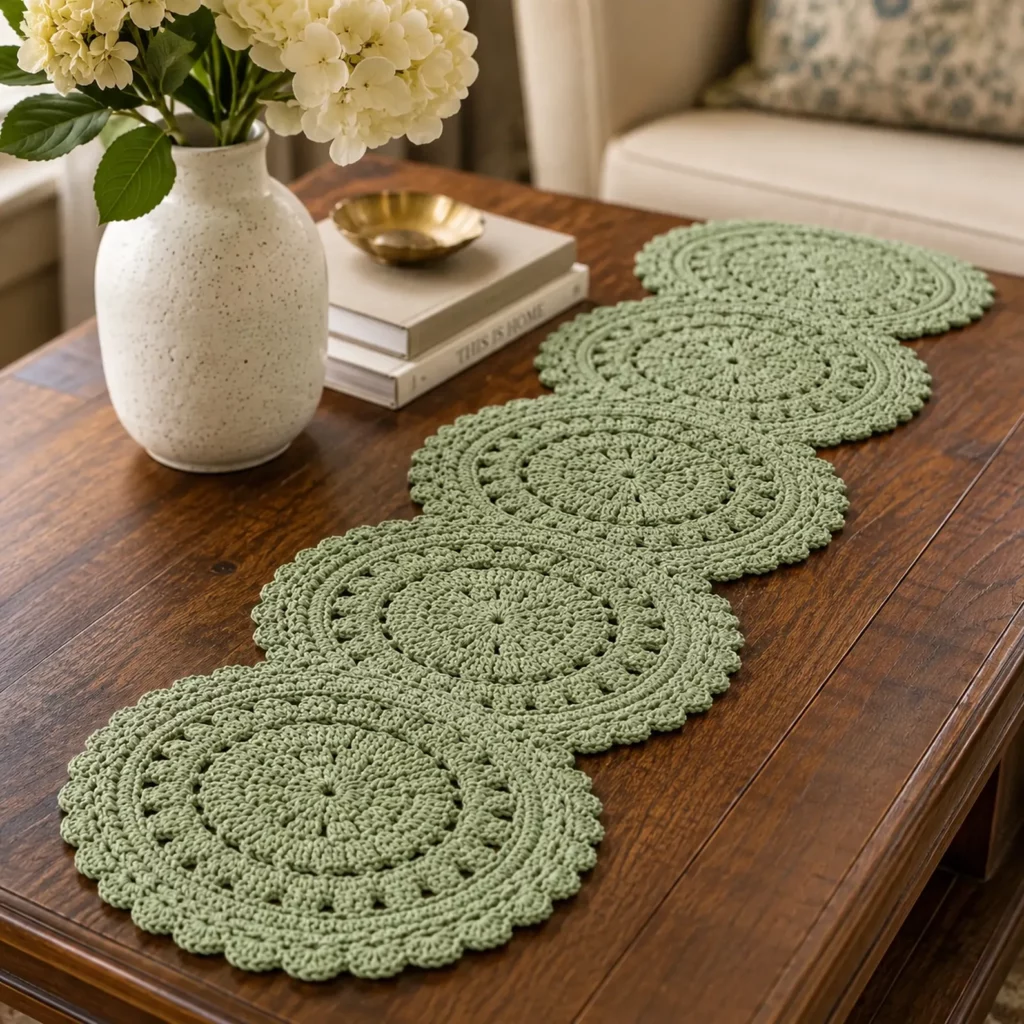
Romantic: dusty rose or soft sage
Two-tone medallions
Work the center in one color and the outer rounds in another for a subtle layered look.
Turn it into matching décor
Use the same medallion pattern to make placemats (1 large medallion each) or coasters (stop after Round 6).
Add sparkle
Use a tiny strand of metallic thread carried with cotton for the scallop round only. It photographs beautifully without overwhelming the lace.
Benefits of This Crochet Project#
A timeless crochet pattern that elevates any table instantly
Motif-by-motif construction makes it easy to pause and resume
Simple resizing by changing the number of circles
Great skill builder for lace, joining, and blocking
A gift-worthy handmade piece for weddings, anniversaries, and housewarmings
Internal Linking Suggestions#
How to Block Crochet Lace for Perfect Results
Beginner Filet and Lace Crochet Basics
Best Cotton Thread for Doilies and Table Runners
How to Join Crochet Motifs Neatly (JAYG vs Sewing)
Easy Scalloped Border Crochet Tutorial
FAQ#
Is this crochet pattern suitable for beginners?
Yes for confident beginners. If you can work in the round and count stitches, you can make the medallions. Blocking is the “secret step” that makes it look professional.
What thread size should I use?
Size 10 cotton thread gives the most traditional lace look. Size 5 is faster and bolder. DK cotton yarn makes a thicker, more modern runner.
How do I make the runner the exact length of my table?
Make one medallion, measure its diameter after blocking, then multiply by the number of circles you need. Remember joins overlap slightly, so subtract about 0.5–1 inch per join depending on how tight you connect them.
Do I have to block it?
For lace, yes. Blocking opens the chain spaces, sharpens the scallops, and helps the runner lie flat. It’s the difference between “nice crochet” and “heirloom lace.”
My circles are different sizes—what went wrong?
Usually tension changes. Try using the same hook, keep chain tension consistent, and block all circles to the same measurement before joining.
Can I wash this table runner?
If made with cotton, gentle hand washing is best. Lay flat to dry and reshape. If you starched it, you may need to re-starch after washing.
How do I keep it from sliding on the table?
Use a slightly thicker thread/yarn, add the optional border, or place a thin non-slip liner beneath it for everyday use.
Conclusion#
This round medallion table runner is the kind of crochet pattern that feels calming to make and impressive to finish. The repeating circles keep the process manageable, the scallops create that heirloom charm, and the modular design makes resizing wonderfully simple. Once it’s blocked and laid on a table, it instantly looks like a piece you’d find in a boutique home shop—only you made it by hand.
If you tell me the thread or yarn you plan to use (size 10, size 5, or DK cotton) and your target runner length, I can suggest an exact medallion count and the best join placement so your runner stays perfectly straight.


