


Introduction#
A crochet pillow is the perfect project when you want something bigger than a keychain but easier than a full blanket. And a cat pillow? That’s the kind of cozy décor piece that makes a room feel instantly warmer. The best part is that this project looks polished even if you’re still learning, because the shape is forgiving and the details are added afterward.
Explore more beginner blankets crochet patterns in our pattern library.
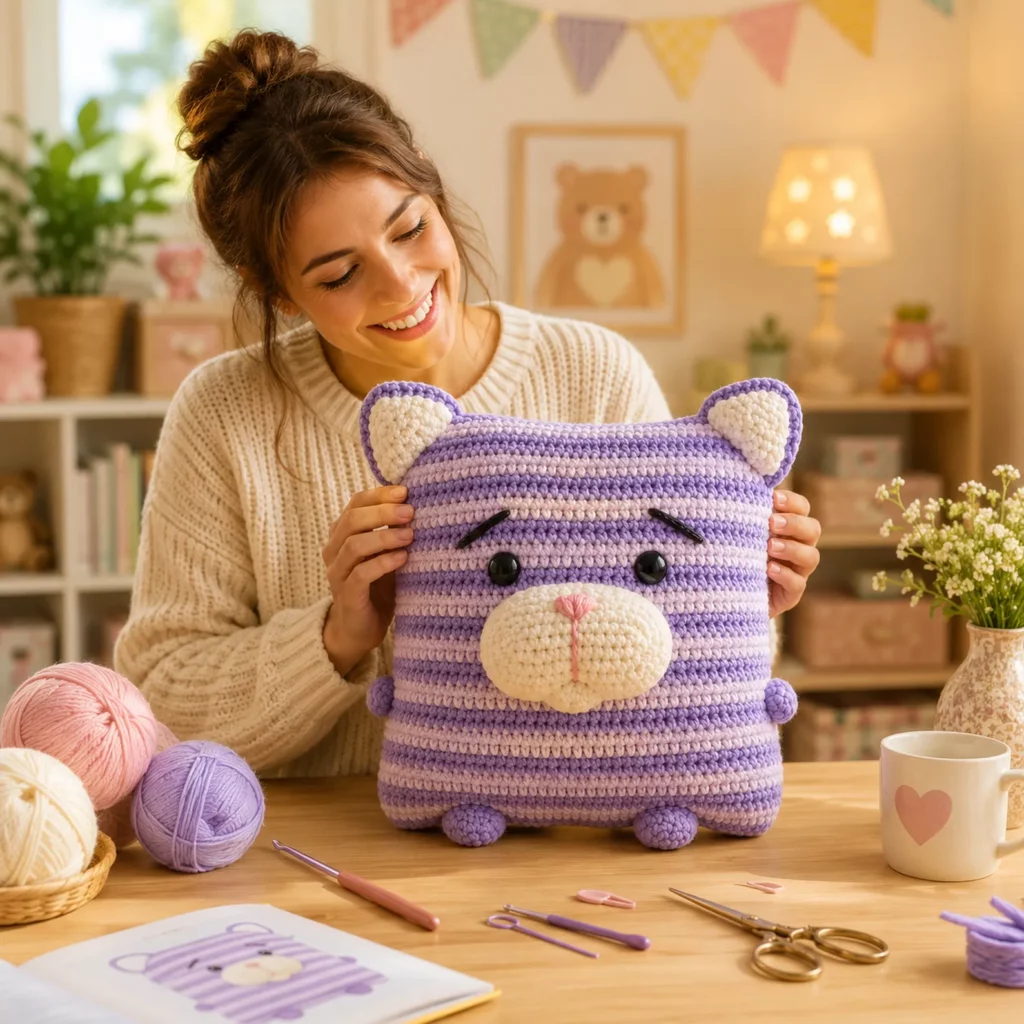
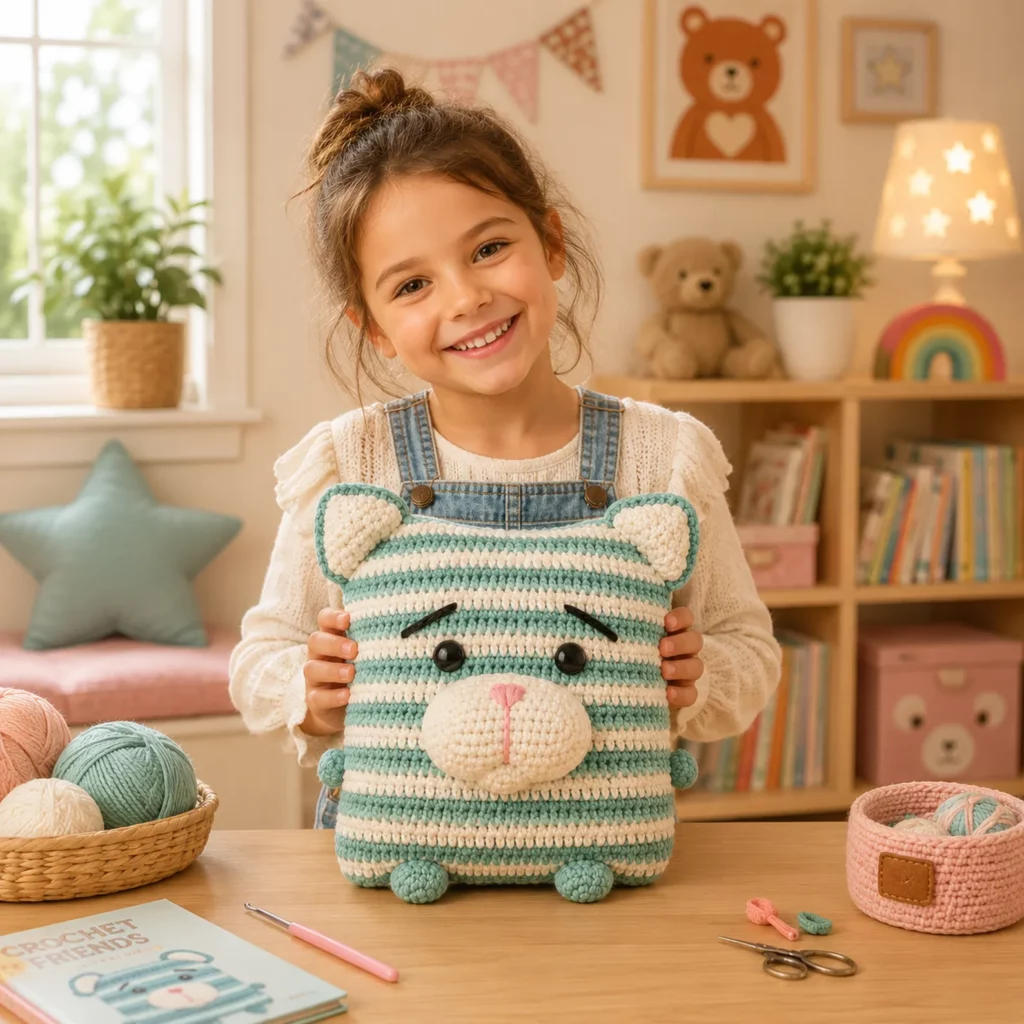
This crochet pattern creates a chubby, striped cat pillow with tiny ears, little paws, and an adorable muzzle that sits slightly raised on the face. It’s designed to be an easy crochet pattern that works well with worsted yarn or plush yarn, and it’s flexible enough to resize for a nursery pillow, couch accent, or travel buddy. If you’ve been searching for a free crochet pattern you can actually finish and use, this one is a satisfying win.

Detailed Description of the Crochet Pattern#
This cat pillow is built from two matching panels (front and back) crocheted in rows. The stripes are made by changing colors at the ends of rows, so you get clean lines without complicated colorwork. The panels are seamed together, stuffed, and then the cat features are added: ears at the top corners, tiny paw nubs at the bottom, and a puffy muzzle centered on the face.
The overall style is “kawaii” and cozy: a rounded-square body, simple features, and wide-set eyes. The stripes add personality while keeping the project beginner-friendly. You can make it minimal (just eyes and nose) or add extra character with embroidered eyebrows, whiskers, or a little tail on the back.
Because it’s a pillow plush rather than a tight amigurumi, the stitches don’t need to be microscopic, but they should still be dense enough that stuffing doesn’t peek through. That’s why single crochet is the main stitch choice for the panels and edging.
Skill Level Explanation#
This is an easy-to-intermediate crochet project. It’s beginner-friendly because the body is simply two rectangles, and you don’t need advanced shaping or complex stitch patterns. The “intermediate” part comes from finishing: sewing the panels neatly, placing facial features symmetrically, and stuffing smoothly so the pillow looks even.
This crochet for beginners project is a great next step if you already know how to chain, single crochet, and count stitches. If you’re brand new, you can still do it, just take your time with the seams and use stitch markers to keep everything lined up.
Materials Needed#
Yarn
Worsted weight (#4) acrylic or cotton-blend is a great beginner choice because it shows stitches clearly and holds shape well. Plush/chenille yarn makes a super cuddly pillow but can be harder to count, so it’s best if you’re comfortable feeling stitches with your fingers.
Suggested colors
Color A: medium blue (main stripe)
Color B: white (contrast stripe)
Accent colors: gray for paws, white for muzzle, pink for nose, black for eyes and embroidery
Yardage estimate (approximate)
Worsted yarn: 350–600 yards total depending on finished size and how thick you make the border
Plush yarn: 250–500 yards total depending on brand and thickness
Hook
Worsted yarn: 4.0–5.0 mm
Plush yarn: 5.0–6.5 mm
Tip: If you see gaps between stitches, go down one hook size for a tighter fabric.
Notions
Stitch markers (helpful for corners and symmetry)
Yarn needle (for seaming and sewing features)
Scissors
Polyester fiberfill stuffing
Optional: safety eyes (choose embroidered eyes for baby-safe gifting)
Optional: felt circles behind safety eyes for extra security
Stitches & Techniques Explained#
Abbreviations (US terms)
ch = chain
sc = single crochet
hdc = half double crochet
sl st = slip stitch
inc = increase
dec = decrease
st(s) = stitches
Single crochet fabric
Single crochet is ideal for a pillow plush because it creates a sturdy fabric that holds stuffing well. It also makes stripes look crisp and evenly spaced.
Clean color changes for stripes
To change colors neatly at row ends, complete the last stitch of the row until the final yarn-over, then yarn-over with the new color and pull through. Turn and continue with the new color. This keeps the color edge tidy and prevents little “steps” in your stripes.
Seaming options
Whip stitch is simple and strong, great for beginners. Mattress stitch is cleaner and nearly invisible but takes a bit more practice. Either works well for this project.
Stuffing for a smooth pillow
Stuff in small pieces and distribute evenly. Push stuffing into corners gently. Overstuffing can distort stripes and create a lumpy shape, while under-stuffing can make the pillow collapse.
Step-by-Step Instructions#
Pattern notes
Work in rows for the panels. Make two identical panels. Seam, stuff, and close. Then attach ears, paws, muzzle, and embroider details. This is written as a customizable “formula” so it fits different phones, beds, or couch sizes depending on what you want.
Step 1: Choose your finished size
Common sizes
Small: 10″ x 10″ (cute nursery accent)
Medium: 12″ x 12″ (classic couch pillow)
Large: 14″–16″ (extra huggable)
Pick your size, then choose your starting chain accordingly. A good rule: panel width in inches is roughly your stitch count divided by 3 to 4 (depends on yarn and hook). If you want accuracy, crochet a small swatch and measure stitches per inch.
Part 1: Front Panel (striped)
Foundation: Ch an even number + 1 turning chain. For a medium pillow, start with ch 41 (40 stitches).
Row 1: sc in 2nd ch from hook and across (40). Turn.
Row 2: ch 1, sc across (40). Turn.
Stripe plan (easy and tidy)
Work 2 rows in Color A, then 2 rows in Color B. Repeat.
If you want thinner stripes, do 1 row each color. If you want chunkier stripes, do 3–4 rows each color.
Continue until the panel height matches your desired width (for a square pillow). For a medium pillow, aim for about 12 inches tall. Fasten off and weave in ends lightly (or leave tails to weave later).
Part 2: Back Panel (striped)
Make a second panel identical to the front panel, including the same number of rows and stripe sequence. Fasten off.
Part 3: Ears (make 2)
Rounded triangle ears look soft and match the pillow style.
Ch 8
Row 1: sc in 2nd ch and across (7). Turn
Row 2: ch 1, dec, sc 3, dec (5). Turn
Row 3: ch 1, dec, sc, dec (3). Turn
Row 4: ch 1, dec (1)
Fasten off leaving a tail.
Optional for more structure
Make 2 ear pieces per ear (4 total), place wrong sides together, and sc around the edge with 3 sc in the tip corner. Lightly stuff or leave flat.
Part 4: Paws (make 2 or 4)
Small stuffed nubs create that “peek-a-paw” look.
Rnd 1: MR, 6 sc (6)
Rnd 2: inc around (12)
Rnd 3: sc around (12)
Rnd 4: (2 sc, dec) around (9)
Rnd 5: sc around (9)
Lightly stuff, flatten, and close the opening by stitching through both layers. Fasten off leaving a tail.
Make 2 paws for the front-only look, or 4 paws if you want two at the back as well.
Part 5: Puffy Muzzle (double bump)
This muzzle is two small circles joined together, lightly stuffed.
Muzzle bump (make 2)
Rnd 1: MR, 6 sc (6)
Rnd 2: inc around (12)
Rnd 3: sc around (12)
Fasten off after the first bump. For the second bump, do not fasten off. Place the bumps side-by-side and join by sc around both: sc 12 around the second bump, then sc 12 around the first bump (24 total). Work one more round sc around (24). Lightly stuff and flatten slightly so it sits nicely on the pillow face. Fasten off leaving a long tail for sewing.
Part 6: Assemble the pillow body
Place front and back panels with right sides facing out (or right sides together if you prefer sewing inside-out and turning).
If sewing inside-out
Whip stitch around sides and bottom, leave an opening along the top. Turn right side out. Insert stuffing gradually. Sew the opening closed.
If sewing right sides out
Whip stitch or mattress stitch around the edge for a decorative seam. Leave a small gap, stuff, then close.
Add ears and paws
Ears: position at the top corners. You can sew them after closing, or insert them into the seam before closing the top for extra security.
Paws: sew two paws along the bottom edge so they peek out slightly.
Part 7: Face details
Place the muzzle first, then the eyes, then the nose and embroidery.
Eyes
Use safety eyes or embroider. For a cute expression, place eyes wide and slightly above the muzzle line.
Nose and mouth
Embroider a small pink triangle or oval nose centered on the muzzle. Stitch a short vertical line down from the nose, then add a small “Y” or gentle curve for the mouth.
Eyebrows (optional)
Short curved black stitches above the eyes give the sweet “concerned kitty” look seen in many plush styles.
Whiskers (optional)
Embroider 2–3 short whisker lines on each side of the muzzle. Keep them short so they don’t snag.
Common Mistakes and How to Avoid Them#
Stripes look messy at the edges: change colors on the final yarn-over of the last stitch and keep your turning chain consistent.
Panels don’t match: count rows and keep the same stripe sequence for both panels. Blocking the panels lightly before seaming helps a lot.
Pillow looks lumpy: stuff slowly with small pieces and distribute evenly, especially into corners.
Face looks off-center: use stitch markers to find the middle of the panel and align the muzzle before sewing.
Ears flop: make double-layer ears or add a tiny bit of stuffing before sewing.
Stuffing shows through: tighten tension and use a smaller hook size.
Expert Tips for Better Results#
Use a swatch to pick the right hook size. Dense fabric makes the pillow look smoother and more professional.
Block before assembly. Even a quick steam-block (for acrylic) or light wet-block (for cotton) will straighten edges and make seaming easier.
Try mattress stitch if you want an invisible seam. It’s worth practicing on a small sample first.
For a removable insert: seam three sides, then add buttons, a zipper, or a hidden envelope flap closure on the fourth side.
If using plush yarn: count stitches by feel, mark every row end, and avoid pulling too tightly to prevent yarn breakage.
Variations and Customization Ideas#
Make it a bear pillow by changing ears to round half-circles and swapping whiskers for a small snout.
Add a tail: a simple stuffed tube sewn to the back adds charm.
Try different stripe patterns: thin stripes, chunky stripes, or a gradient fade.
Add blush cheeks: a light touch of pink embroidery or a small crocheted circle makes it extra cute.
Make it seasonal: red and green stripes for a holiday cat, pastel stripes for spring, or black and orange stripes for Halloween.
Turn it into a gift: embroider a name or initial on the back panel.
Benefits of This Crochet Project#
It’s a practical décor piece that’s also a plush toy.
The construction is beginner-friendly with repeatable rows.
Stripes are simple and don’t require advanced colorwork.
It’s easy to resize without changing the concept.
It’s a great stash buster for leftover yarn colors.
It makes a thoughtful handmade gift for kids, cat lovers, and nurseries.
Internal Linking Suggestions#
You may also like these related posts
How to Change Colors Cleanly in Crochet Stripes
Best Yarn for Plush Crochet Projects
How to Sew Crochet Pieces with Mattress Stitch
Beginner Guide to Embroidering Cute Faces
Easy Crochet Pillow Cover Pattern
Mini Cat Amigurumi Free Crochet Pattern
FAQ Section#
What stitch is best for a crochet cat pillow?
Single crochet is best because it creates dense fabric that holds stuffing well and keeps the pillow shape neat.
Is this a good free crochet pattern for beginners?
Yes. It uses simple rows, easy stripe changes, basic seaming, and beginner-friendly face details.
How do I resize the pillow without rewriting everything?
Increase the starting chain for more width and add more rows for more height. Just make sure both panels match exactly.
Can I use plush yarn for this crochet pattern?
Absolutely. Plush yarn makes it extra cuddly. Use a slightly smaller hook than the yarn label suggests to reduce gaps.
How do I make the stripes look clean and even?
Change colors on the last yarn-over of the final stitch in the row and keep your turning chain consistent.
Are safety eyes safe for babies?
For babies and toddlers, embroidered eyes are safer. Safety eyes are better for décor items or older children.
Conclusion#
This striped cat pillow is the kind of crochet pattern that feels relaxing to make and satisfying to finish. Two simple panels, easy stripes, and cute features combine into a plush that looks polished and gift-ready. It’s a wonderful DIY crochet project for beginners because it teaches clean color changes, neat seaming, and basic shaping without overwhelming you.
From now on, I’ll write your articles without divider lines. If you want, tell me your yarn type (worsted or plush) and your target pillow size (10″, 12″, 14″, or 16″), and I’ll give you an exact starting chain and row count for a perfect fit.


