


Introduction#
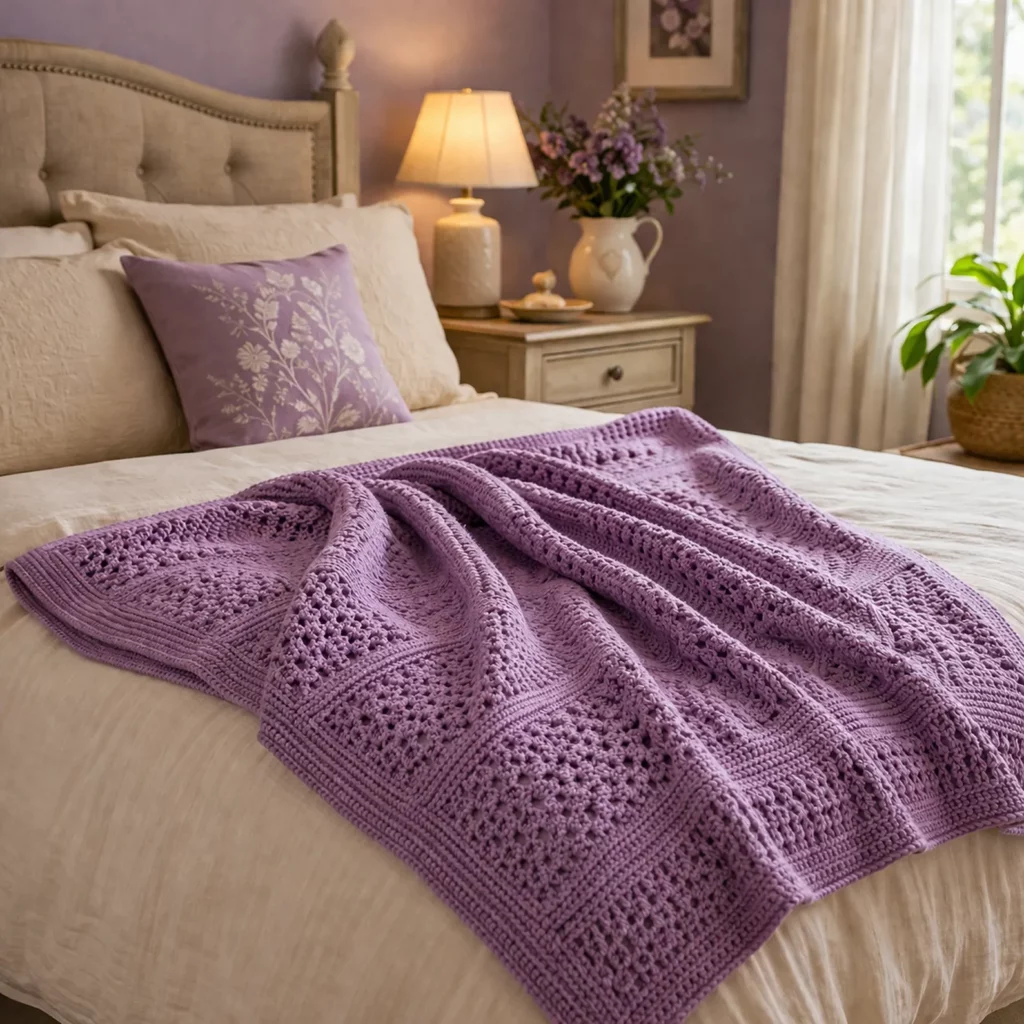
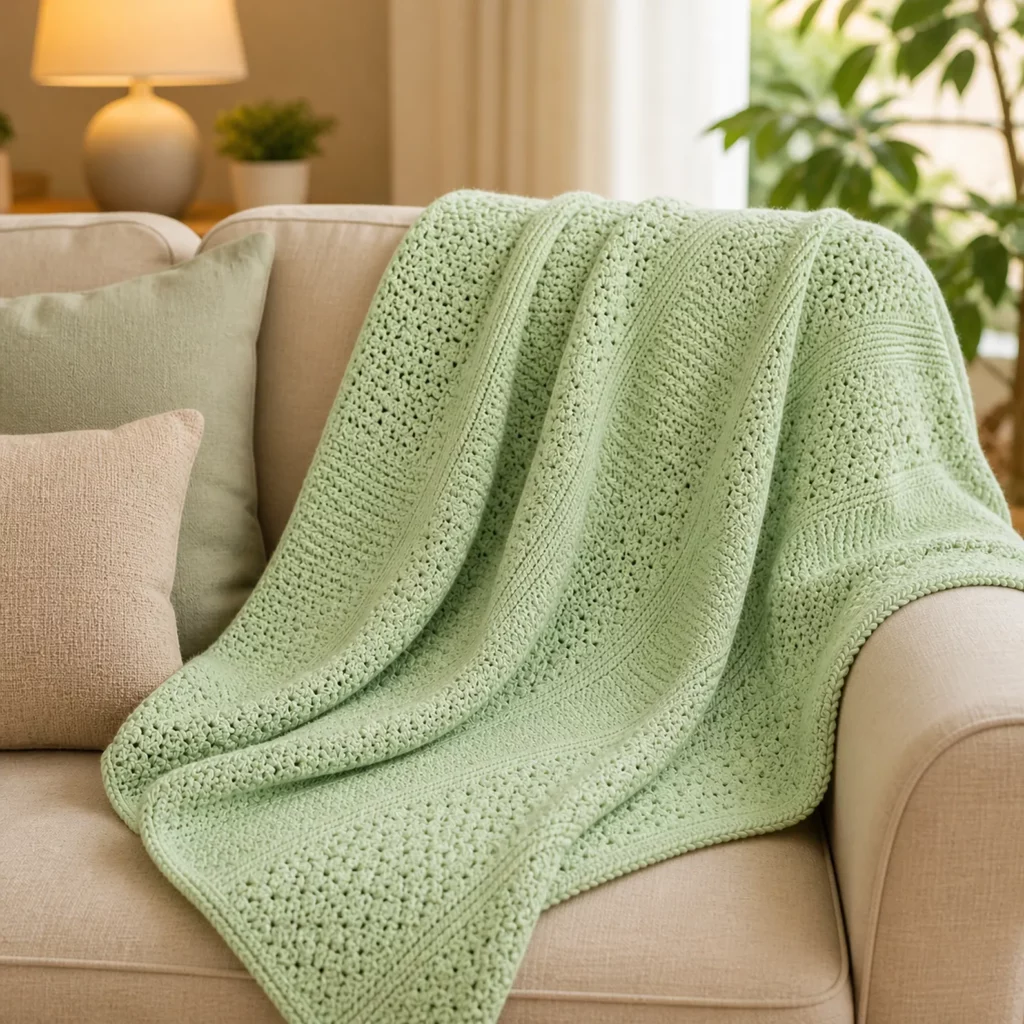
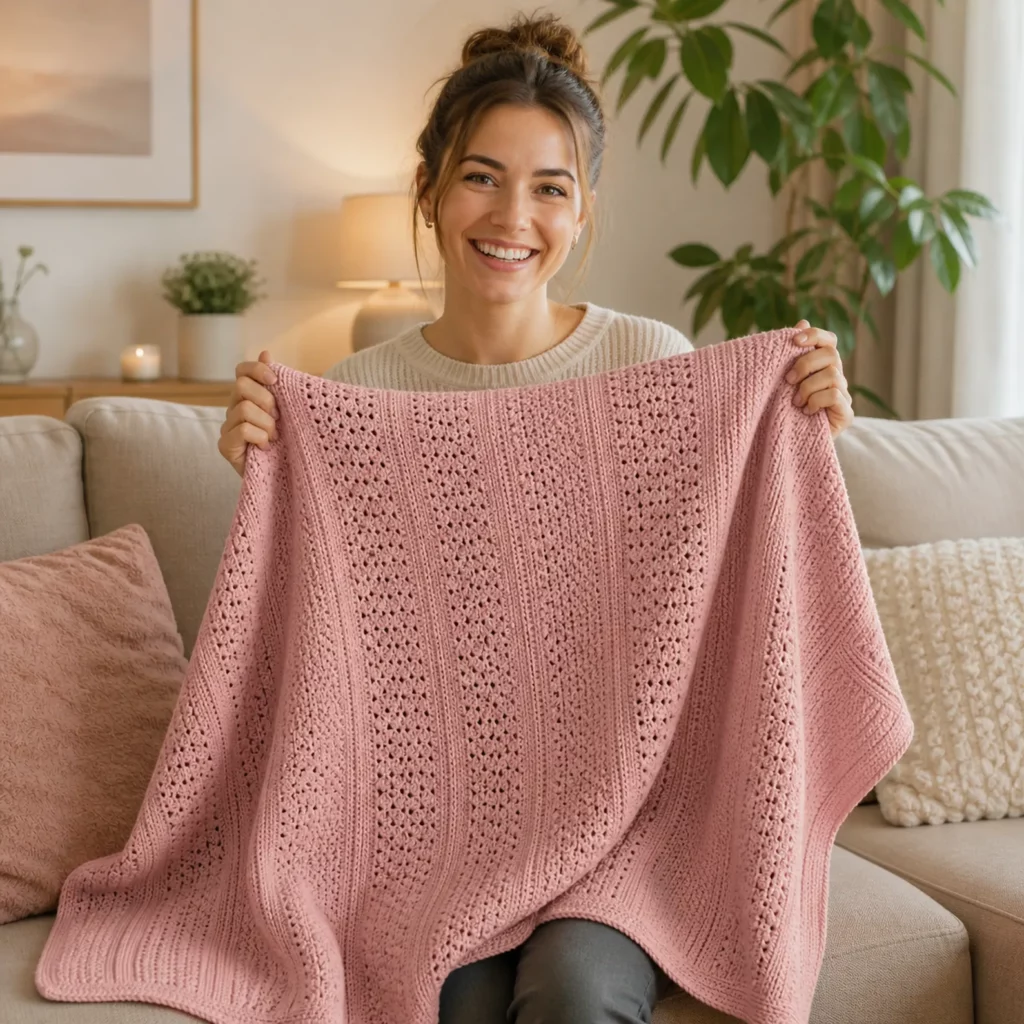
If you’ve ever wanted a blanket that looks elegant on the couch and feels relaxing to crochet, this is the kind of project you’ll come back to again and again. This crochet pattern creates a modern, soft throw by alternating two very beginner-friendly textures:
Explore more beginner blankets crochet patterns in our pattern library.
- a dense ribbed stripe that feels plush and warm
- a light lace stripe that adds breathability and a delicate “openwork” look
The magic is in the contrast. Even in one solid color, the fabric looks rich and expensive because the stitch textures catch the light differently. And because the repeat is simple, it’s a perfect easy crochet pattern to work on while you watch TV, listen to a podcast, or unwind at the end of the day.
Below you’ll find a tutorial-style guide that teaches you the “why” behind the stitches (so you can troubleshoot and customize confidently), plus a complete free crochet pattern you can use to make a baby blanket, lapghan, or full throw.
Detailed Description of the Crochet Pattern#
This blanket is worked flat in rows, then finished with an optional clean border. The overall look comes from repeating “texture blocks”:
- Ribbed texture sections: worked with half double crochet in the back loop only (hdc BLO). This creates subtle ridges—similar to knit ribbing—without complicated techniques.
- Lace eyelet sections: worked with a simple repeat that forms neat openings using a “V” shape (two double crochets with a chain in between). The lace is decorative but still sturdy, making it blanket-friendly.
The result is a fabric that’s:
- cozy (thanks to the ribbing)
- lightweight (thanks to the lace)
- drapey (especially if you choose a soft yarn and avoid overly tight tension)
Because the blanket is made in straight rows with no shaping, you can easily adjust:
- width by changing your starting chain
- length by repeating the stripe sequence more or fewer times
- texture balance by changing how many rib rows you do between lace bands
Skill Level Explanation#
This is an easy crochet project for beginners who already know the basics.
You’ll be comfortable if you can:
- Chain and turn your work
- Single crochet (sc), half double crochet (hdc), and double crochet (dc)
- Count stitches and repeats
- Recognize where to place stitches into a chain space (or into a stitch)
If you’re newer to crochet, this is still a great “level-up” project because it teaches two skills that instantly make your work look more professional:
- working in the back loop only to create texture
- keeping a lacy repeat aligned from row to row
Materials Needed#
To get a soft, cozy blanket with beautiful stitch definition, gather:
- Yarn (worsted / DK works best):
- Worsted weight (#4) is the easiest option for a throw blanket: it works up at a satisfying pace and shows texture clearly.
- DK weight (#3) makes a lighter, drapier blanket (you’ll likely need more yardage and time).
- A smooth acrylic, cotton blend, or anti-pilling acrylic is ideal for clean ribbing and crisp lace.
- Baby (30″ x 36″): ~900–1200 yards
- Lapghan (40″ x 50″): ~1500–2000 yards
- Throw (50″ x 60″): ~2200–3000 yards
- Crochet hook: 5.0 mm (H/8) for worsted yarn (adjust as needed)
- Tapestry needle for weaving in ends
- Stitch markers (especially helpful for the first/last stitch of each row)
- Scissors
- Measuring tape (for checking size as you go)
Yarn + hook tip
For blankets, drape matters. If your ribbing feels stiff or “board-like,” go up a hook size (for example, from 5.0 mm to 5.5 mm). If your lace holes feel too open, go down a hook size or use a slightly tighter yarn.
A quick mini-swatch (just 10–12 rows) can save you from making a whole blanket that feels too dense.
Stitches & Techniques Explained#
You’ll use classic stitches and a couple of simple texture techniques:
- ch: chain
- sc: single crochet
- hdc: half double crochet
- dc: double crochet
- sk: skip
- st(s): stitch(es)
- sp: space
- BLO: back loop only
- sl st: slip stitch
- rep: repeat
Helpful techniques
- Back loop only (BLO):
Every stitch has two top loops (front and back). Working into the back loop only creates a ridge along the fabric. Over multiple rows, those ridges form the ribbed stripe. - V-lace / eyelet stitch placement:
The lace stripe uses a repeating “V” made by (dc, ch 1, dc). You can place the V:- into a specific stitch (for a more structured look), or
- into the chain space (for easier placement)
Either way works—pick one method and stay consistent.
- Neat edges (beginner-friendly trick):
Place a stitch marker in the first and last stitch of each row until you’re confident. Straight edges make a blanket look instantly more polished.
Step-by-Step Instructions#
Pattern notes
- This crochet pattern is written in US terms.
- Turn at the end of each row.
- The blanket is worked as repeating stripe sections:
- Ribbed stripe = hdc BLO rows
- Lace stripe = 2 rows of V-lace style repeat
- Width is adjustable with a simple starting-chain rule.
- A border is optional but highly recommended for a clean finish.
Blanket sizing + starting chain
This pattern works best when your starting chain is a multiple of 6, then add 2.
Suggested starting chains:
- Baby blanket: 98 ch (96 + 2)
- Lapghan: 122 ch (120 + 2)
- Throw: 152 ch (150 + 2)
Want a custom width? Chain until your desired width, then adjust to the nearest multiple of 6 and add 2.
Foundation Row (stabilizes the blanket)
Row 1:
Sc in 2nd ch from hook and in each ch across. Turn.
Why this row matters:
- It gives you a firm, tidy base edge.
- It makes the lace section easier to align later.
- It helps prevent the bottom edge from looking “loose” compared to the ribbing.
Ribbed Stripe Section (Texture Block A)
Row 2: Ch 1, hdc BLO in each st across. Turn.
Rows 3–5: Repeat Row 2.
That’s it—your first ribbed stripe is done.
Customize the look:
- For a more “striped” look, keep ribbing to 4 rows.
- For a cozier, chunkier look, do 6–8 rib rows before each lace band.
Lace Stripe Section (Texture Block B)
This lace is designed to look pretty but stay beginner-friendly.
Row 6 (lace setup):
Ch 1, sc in first st,
sk 2 sts, (dc, ch 1, dc) in next st, sk 2 sts, sc in next st rep across,
sc in last st. Turn.
Row 7 (lace repeat):
Ch 1, sc in first st,
sk 2 sts, (dc, ch 1, dc) in the center of the “V” below (either the center dc or the ch-1 sp), sk 2 sts, sc in next st rep across,
sc in last st. Turn.
Beginner tip:
If you ever feel unsure where to place the V on Row 7, placing it into the ch-1 space is usually the easiest and looks lovely.
Repeat the Stripe Sequence
From here, keep repeating:
- Ribbed stripe: Rows 2–5 (4 rows hdc BLO)
- Lace stripe: Rows 6–7 (2 lace rows)
Continue until the blanket reaches your desired length.
Length guidelines:
- Baby: ~36″ long
- Lapghan: ~50″ long
- Throw: ~60″ long (or longer for extra drape)
Finishing tip:
End with a ribbed stripe section (it frames the blanket and looks more “finished”). Fasten off and weave in ends.
Optional Border (clean, simple, and flat)
A border helps:
- straighten edges
- smooth out small tension changes
- give the blanket a professional, gift-worthy finish
Round 1:
Join yarn in any corner. Ch 1, sc evenly around the blanket, placing (sc, ch 2, sc) in each corner.
- Along the top and bottom edges: 1 sc in each stitch is usually perfect.
- Along the sides (row ends): place sc evenly. A good starting point is 1 sc per row, but you may need to adjust:
- if it waves, you’re adding too many stitches (skip occasionally)
- if it puckers, you need more stitches (add occasionally)
Join with sl st.
Round 2 (optional):
Ch 1, sc in each sc around, corners: (sc, ch 2, sc) in the corner ch-2 spaces. Join and fasten off.
Common Mistakes and How to Avoid Them#
- Edges look uneven or “stepped”:
This usually happens when the first or last stitch is missed. Use stitch markers on both ends of every row until your edges stay consistent. - Ribbing doesn’t show up:
You may be working through both loops instead of BLO. Check your fabric—if you don’t see ridges, switch to back loop only. - Lace band looks messy or misaligned:
Most often it’s a skipped stitch error. Count your repeats and make sure you’re consistently doing:
sk 2, V, sk 2, sc across. - Blanket feels too stiff:
Your hook may be too small or your tension too tight. Go up 0.5–1.0 mm and try again. - Sides wave after adding the border:
This is almost always a stitch-count issue along the row ends. Remove the border and redo with fewer stitches on the sides.
Expert Tips for Better Results#
- Use a smooth yarn for crisp texture. Fuzzy yarns can hide the ribbing and lace details.
- Check your drape early. After the first 2–3 stripe repeats, hold the fabric up. If it stands stiffly, size up your hook.
- Keep stripe notes. Write down how many repeats you make so you can recreate the same size later.
- Steam block lightly (especially for lace). A gentle steam helps the lace relax and the blanket lie flatter. (For acrylic, keep the steam above the fabric—don’t press.)
- Weave ends as you go. If you change colors for stripes, weaving ends while you crochet prevents a giant finishing session later.
Variations and Customization Ideas#
- Two-color stripes:
Use one color for ribbing and a second for lace to highlight the contrast. - Ombre fade:
Change shade every few repeats for a soft gradient look. - More lace, less ribbing:
Do 2–3 rib rows instead of 4–6 to make the blanket lighter and airier. - Denser lace option:
Replace (dc, ch 1, dc) with (dc, dc) (no chain) for fewer holes. - Baby-safe version:
If making for a newborn, keep lace bands smaller and choose a yarn that is soft, washable, and gentle on skin.
Benefits of This Crochet Project#
- A satisfying crochet tutorial style project that’s easy to memorize
- A “fancy-looking” fabric made from beginner-level stitches
- Great for stash busting in a single color or striped colorways
- Custom sizing is simple—perfect if you want baby, lapghan, or throw sizes
- Cozy but breathable—excellent year-round blanket texture
Internal Linking Suggestions#
If you’re building a crochet blog, link this pattern to helpful supporting posts like:
- “How to Crochet HDC in the Back Loop (BLO)”
- “Crochet Blanket Sizes Chart (Baby to King)”
- “How to Keep Crochet Blanket Edges Straight”
- “Best Yarn for Blankets (Soft + Washable Picks)”
- “Easy Crochet Borders for Blankets”
FAQ Section#
What yarn is best for this crochet blanket pattern?
Worsted weight acrylic or an acrylic blend is a great beginner-friendly choice because it’s washable, soft, and shows stitch definition well. Cotton blends also work beautifully for a slightly cooler, heavier drape.
Can I make this as a free crochet pattern for beginners?
Yes. This is a very approachable crochet for beginners project if you already know sc, hdc, and dc. The lace looks advanced, but it’s just a simple repeat with skips and a V stitch.
How do I resize the blanket?
To resize the width, start with a chain that is a multiple of 6 + 2. To resize the length, repeat the stripe sequence until you reach your desired measurement.
Why are my edges not straight?
Most edge issues come from missing the first or last stitch. Use stitch markers at both ends of every row, and make sure you’re placing the final stitch into the last stitch (not the turning chain).
Do I have to add a border?
You don’t have to, but a border makes the blanket look more finished and helps the edges lie flat. A simple single crochet border is usually enough.
How do I keep the lace holes from being too big?
Use a slightly smaller hook, keep your tension consistent, and consider replacing the chain-1 in the V with a chain-0 (placing two dc without the chain) for a tighter look.
Conclusion#
This rib + lace stripe blanket is one of those “keeper” projects: easy enough to relax with, interesting enough to stay fun, and beautiful enough to gift proudly. Once you’ve made one, it’s incredibly easy to customize—different yarn weights, different stripe thicknesses, or even a color-change plan can make the same crochet pattern look brand new every time.
If you want, tell me what size you’re making (baby, lapghan, throw) and what yarn weight you’re using—and I’ll calculate a tailored starting chain and a suggested number of stripe repeats to match your exact dimensions.


