


Introduction#
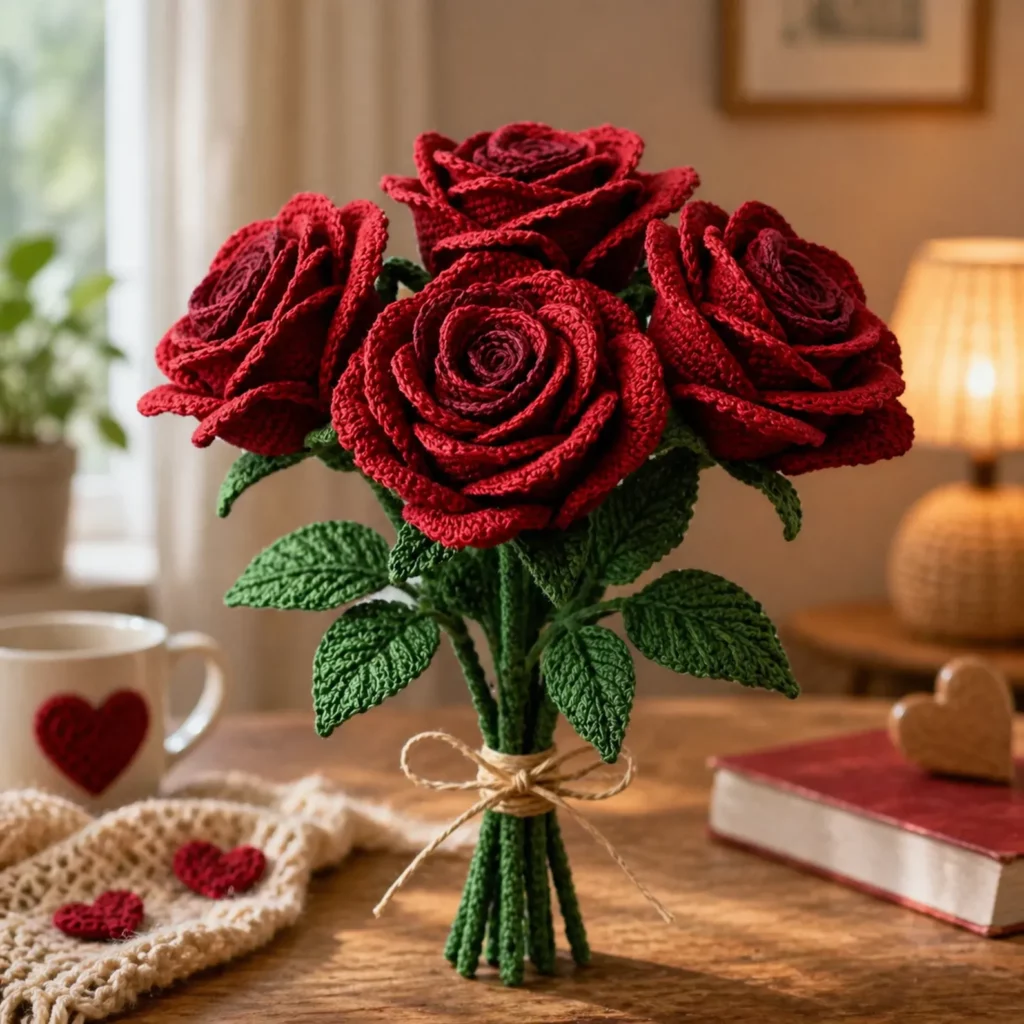
A crochet rose is one of those projects that instantly feels meaningful. It can be romantic without being cheesy, elegant without being fussy, and practical because it lasts forever. Whether you want a handmade gift, a bouquet centerpiece, wedding décor, or a long-lasting “thinking of you” token, a rose made with yarn hits that sweet spot: it’s beautiful, lightweight, and easy to personalize.
Explore more beginner home decor crochet patterns in our pattern library.
The best part? You don’t need complicated stitches to get a realistic look. A convincing rose comes from smart shaping—a curled center, layered petals that gradually get larger, and a sturdy stem with a few textured leaves. This crochet pattern teaches you exactly how to build those components in a way that looks polished and holds its form.
In this guide, you’ll get a complete free crochet pattern with a full crochet tutorial-style walkthrough: materials, stitch explanations, petal shaping tips, assembly options (with and without wire), and plenty of troubleshooting. By the time you finish, you’ll have a rose that looks gift-ready—and a pattern you can repeat to create a whole bouquet.
Detailed Description of the Crochet Pattern#
This realistic crochet rose is constructed in three main parts:
- Rose bloom (petal strip method): a long petal strip that you roll and sew to create a tight center and layered outer petals
- Calyx and sepal (green base): a star-like green piece that cups the bloom and makes it look “finished” at the bottom
- Stem and leaves: a wrapped stem (with optional wire) and several leaves with a gentle center vein shape
This method is beginner-friendly because it avoids complicated 3D petal sculpting. Instead, you crochet one strip of petals, then assemble it like a spiral—tight at the center, looser as you go outward. It’s also easy to customize:
- Make a bud by stopping early
- Make a full bloom by adding more large petals
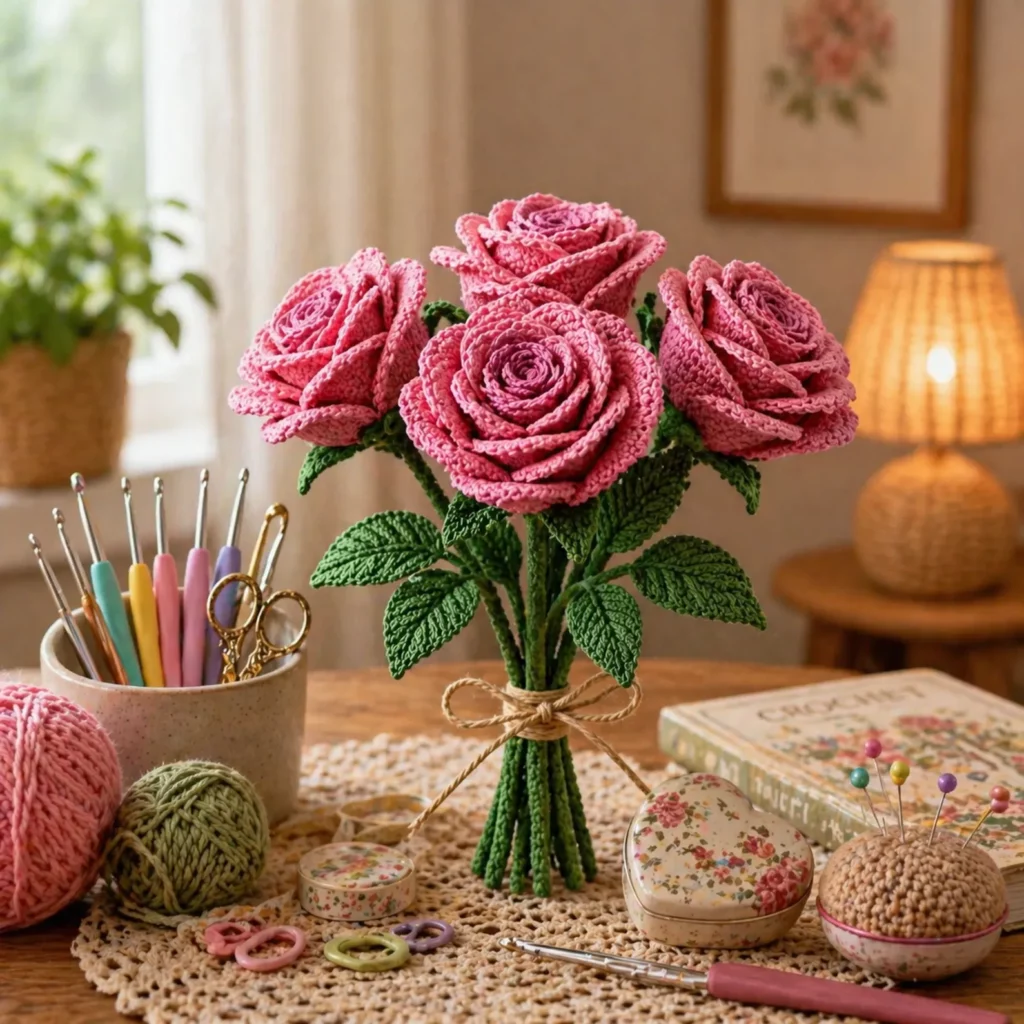
- Make a bouquet by repeating the same steps in different colors
Skill Level Explanation#
This is an easy-to-intermediate crochet pattern.
Beginner-friendly parts:
- Basic stitches (slip stitch, single crochet, half double crochet, double crochet)
- Simple repeats
- Rolling and sewing
Intermediate parts (still totally doable):
- Cleanly shaping petals (keeping them even)
- Neat assembly so petals layer nicely
- Optional wire stem for a firm, poseable rose
If you can crochet a basic swatch and are comfortable counting stitches, you can make this rose.
Materials Needed#
Yarn
The yarn you choose affects the rose’s realism.
Best yarn choices for realistic flowers:
- Cotton (DK or worsted): crisp petals, clear stitch definition, holds shape well
- Cotton blend (cotton/bamboo): slightly softer with nice drape
- Acrylic: works, but petals may be softer and less “structured” unless you stiffen them
Recommended weight:
- DK (#3) for delicate roses
- Worsted (#4) for fuller, bouquet-sized roses
Colors:
- Red (classic rose)
- Green for calyx, leaves, and stem
Hook
- DK: 3.0–3.5 mm
- Worsted: 3.5–4.5 mm
Tip: For flowers, slightly tighter stitches help petals look smooth and intentional.
Notions
- Yarn needle
- Scissors
- Stitch markers (optional)
- Floral wire (optional but recommended for standing roses)
- Floral tape or green yarn for wrapping the stem
- Hot glue (optional, for quick assembly only—sewing is sturdier)
- Optional stiffener: diluted white glue or fabric stiffener (use lightly)
Stitches & Techniques Explained#
Abbreviations (US terms)
- ch = chain
- sl st = slip stitch
- sc = single crochet
- hdc = half double crochet
- dc = double crochet
- tr = treble crochet
- inc = increase (two stitches in one)
- rep = repeat
How the petal strip works
Each petal is built into chain spaces along a strip. Petals get taller as you progress:
- Small petals form the tight center
- Medium petals create the middle bloom
- Large petals create the open rose edges
When you roll the strip, the smallest petals naturally sit in the center, and larger petals flare outward.
A simple realism trick
The rose looks more realistic when the outer petals have slightly wavier edges. You can create this by:
- adding a few extra stitches in the petal top
- using treble crochet in the largest petals
- gently stretching the petal edge after crocheting
Step-by-Step Instructions#
Notes:
- This pattern makes one full rose bloom.
- If you want a bud, stop after the medium petals.
- Read through once before starting so you understand the “size progression” of petals.
Rose Petal Strip (rose color)
Foundation: ch 51 (or any odd number around 45–65 depending on how full you want the rose)
Work into the back bumps of the chain if you want a cleaner edge (optional).
Row 1 (base spaces):
sc in 2nd ch from hook, ch 2, sk 2, sc in next ch rep across.
You’ll create a row of ch-2 spaces that petals will be worked into.
Row 2 (petals in sections):
Turn. Sl st into first ch-2 space to start.
You will work different petal sizes across the strip:
Small petals (for center): work into next 6 spaces
In each ch-2 space: (sc, hdc, dc, hdc, sc), sl st into next sc between spaces.
Medium petals (for mid bloom): work into next 8 spaces
In each ch-2 space: (sc, hdc, dc, dc, hdc, sc), sl st between spaces.
Large petals (for outer bloom): work into next 10–12 spaces (or more for extra fullness)
In each ch-2 space: (sc, hdc, dc, tr, tr, dc, hdc, sc), sl st between spaces.
If you have extra spaces left, keep making large petals until the strip ends.
Fasten off, leaving a long tail for sewing.
Petal shaping tip:
After completing the strip, gently curve the petals with your fingers. The small petals should curl easily; the large petals can be “cupped” outward.
Assemble the Rose Bloom
This is where the magic happens.
- Start at the small-petal end. Roll it tightly into a spiral to form the center.
- Keep rolling, but gradually loosen your roll as petals get bigger.
- As you roll, stitch through the bottom edge of the strip to lock the layers in place.
- When you reach the end, use the yarn tail to sew around the base a few times so it doesn’t unravel.
Pro tip for a realistic bloom:
Don’t make the rose perfectly symmetrical. Let one or two outer petals sit slightly higher or fold outward—natural roses are imperfect, and that’s why they look real.
Calyx (green)
The calyx is the green star under the bloom.
R1: MR, 6 sc [6]
R2: inc x6 [12]
R3: (sc, inc) x6 [18]
Now make sepals (pointy leaves) around:
sl st in next st, ch 6, sc in 2nd ch from hook, hdc, dc, hdc, sc (back down the chain), sl st in next st
Repeat this sepal 5 times around (total 6 sepals).
Fasten off with a long tail.
Attach calyx:
Place the calyx under the bloom base and sew around. The sepals should peek out from under the petals.
Stem (green)
You can make the stem two ways.
Option: Wire stem (recommended for bouquets)
- Cut floral wire to your preferred length (8–14 inches).
- Wrap wire with green floral tape OR crochet a tube around it.
Crochet tube wrap method:
Ch 6, sl st to join into a ring.
Work sc around the ring for as many rounds as needed to match wire length.
Insert wire inside as you go.
Fasten off and sew the tube top to the base of the calyx.
Option: No-wire stem (softer, floppy stem)
Ch 60–90 (depends on length).
Work sl st back down the chain to thicken it.
Fasten off.
Sew to the calyx base.
Leaves (make 2–4, green)
Leaves make the rose look finished and realistic.
Ch 10
Work around the chain to make an oval leaf:
- sc in 2nd ch from hook
- hdc in next, dc in next 3
- hdc in next, sc in next
- 3 sc in last chain (tip)
Now continue on underside of chain:
- sc in next, hdc in next, dc in next 3, hdc in next, sc in last
Fasten off with tail.
Optional leaf vein (recommended):
Surface crochet a line down the center with sl st, or embroider with a thin strand of yarn.
Attach leaves to stem by sewing or wrapping with yarn/floral tape.
Common Mistakes and How to Avoid Them#
My rose looks flat, not layered
- You may be rolling too loosely at the center. Roll the first 2–3 small petals tightly.
- Make sure you have enough large petals at the end.
Petals look messy or uneven
- Count your ch-2 spaces and keep the petal stitch sequence consistent.
- Use the same tension throughout the strip.
The bloom unrolls
- Sew the base as you roll instead of waiting until the end.
- Stitch through multiple layers at the base every few turns.
Leaves curl too much
- Add a border round of sc around the leaf to stabilize it.
- Or use cotton yarn for better structure.
Stem feels weak
- Use wire, or crochet a thicker tube.
- If using chain cord, slip stitch back down for extra thickness.
Expert Tips for Better Results#
- Use cotton yarn for crisp petals and cleaner flower edges.
- For a “luxury bouquet” look, make petals slightly larger by using tr stitches in the outer petals.
- Lightly shape petals with your fingers: cup the center, flare the outer petals.
- If you want a very upright rose, add a little hot glue inside the base after sewing (optional).
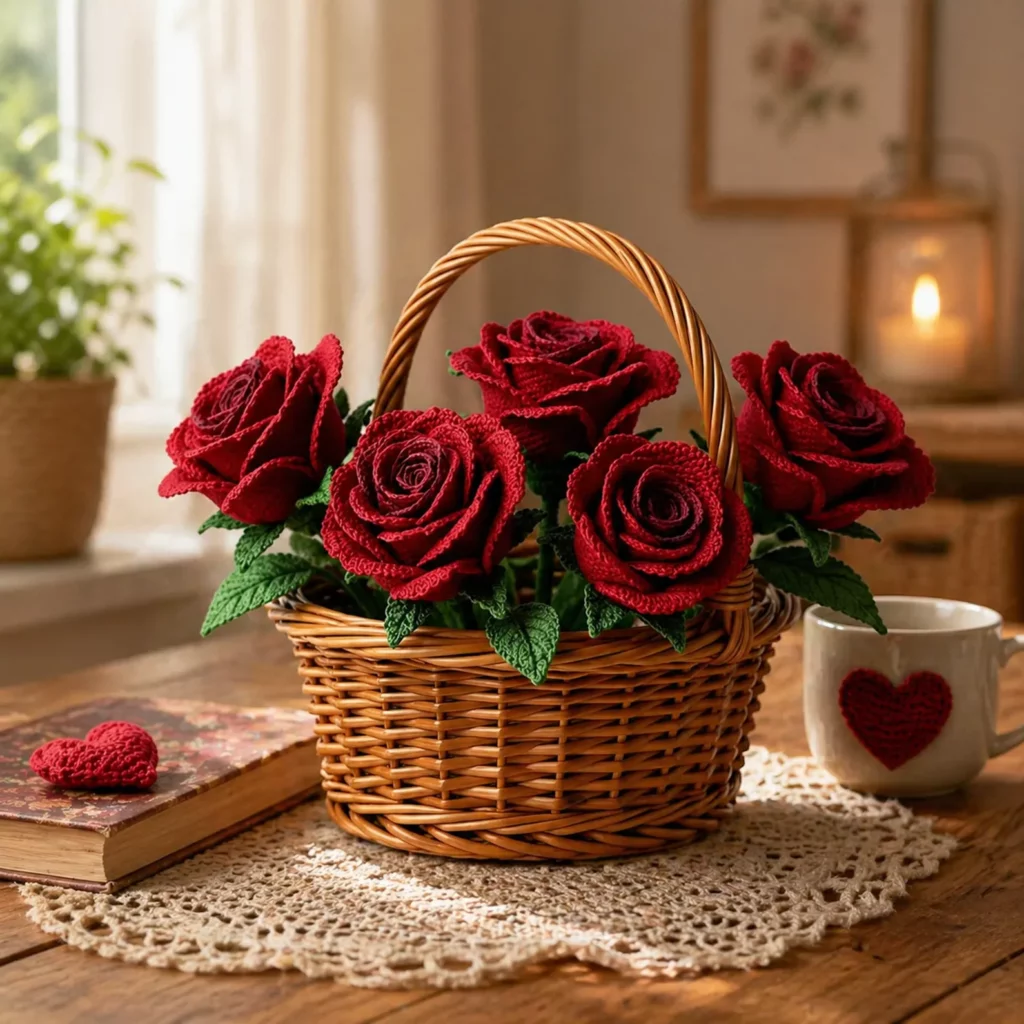
- Make roses in sets of odd numbers (3, 5, 7) for prettier bouquet arranging.
Variations and Customization Ideas#
- Rosebud: Stop after small + medium petals and roll tightly.
- Open garden rose: Add more large petal spaces and loosen the outer roll.
- Two-tone rose: Use one color for the first half of the strip and another for the outer petals.
- Mini rose: Use DK or sport yarn with a smaller hook and a shorter starting chain.
- Bouquet version: Make 5–9 roses, vary bloom openness, and mix leaf counts.
- Gift topper: Skip the wire stem and sew the rose onto a clip, pin, or gift wrap ribbon.
Benefits of This Crochet Project#
- Beautiful handmade gift that lasts forever
- Quick to make once you learn the petal strip method
- Great stash-buster for leftover yarn
- Versatile: décor, bouquets, accessories, wedding crafts
- Beginner-friendly stitches with a high-end result
- Perfect blog content because it teaches real shaping and assembly skills
Internal Linking Suggestions#
If you’re building a crochet blog, link this post to:
- How to Crochet a Magic Ring
- How to Crochet a Leaf Motif
- Beginner Guide to Crochet Flowers
- How to Crochet with Cotton Yarn
- How to Make a Crochet Bouquet
- Easy Crochet Gift Ideas
FAQ Section#
Is this crochet rose pattern beginner-friendly?
Yes. The stitches are basic. The only “new” part is rolling and sewing the petal strip, which gets easier with practice.
What yarn is best for realistic crochet flowers?
Cotton yarn is the best for structure and stitch definition. Acrylic works too but may be softer and less crisp.
How do I make the rose bigger?
Start with a longer chain (more petal spaces) and add more large petals at the end. You can also use thicker yarn.
Can I make this without wire?
Yes. Use a crocheted cord stem instead. It will be softer and less poseable.
How do I keep the petals from drooping?
Use cotton yarn, tighter tension, and shape the petals while you sew. A wire stem also helps keep everything upright.
Can I wash crochet roses?
Usually yes, depending on yarn. Cotton roses can be gently hand-washed and reshaped while drying. Always follow the yarn label.
Conclusion#
A realistic crochet rose is one of the most satisfying projects you can make because it looks impressive while still using approachable stitches. Once you learn the petal strip method, you can create roses in any color, size, and style—buds, full blooms, bouquet sets, or gift toppers.
If you tell me the yarn weight you plan to use (DK, worsted, or thread) and whether you want a bud, medium bloom, or full open rose, I can tailor the starting chain length and petal counts so your finished rose comes out exactly the size you want.


