Introduction#
If you love crochet that feels artistic and wearable at the same time, a mandala motif cardigan is one of the most satisfying projects you can make. It has that “wow” factor from far away, but when you look closer you see every round, every little chain space, and every carefully joined section that turns motifs into a real garment.
Explore more intermediate granny squares crochet patterns in our pattern library.
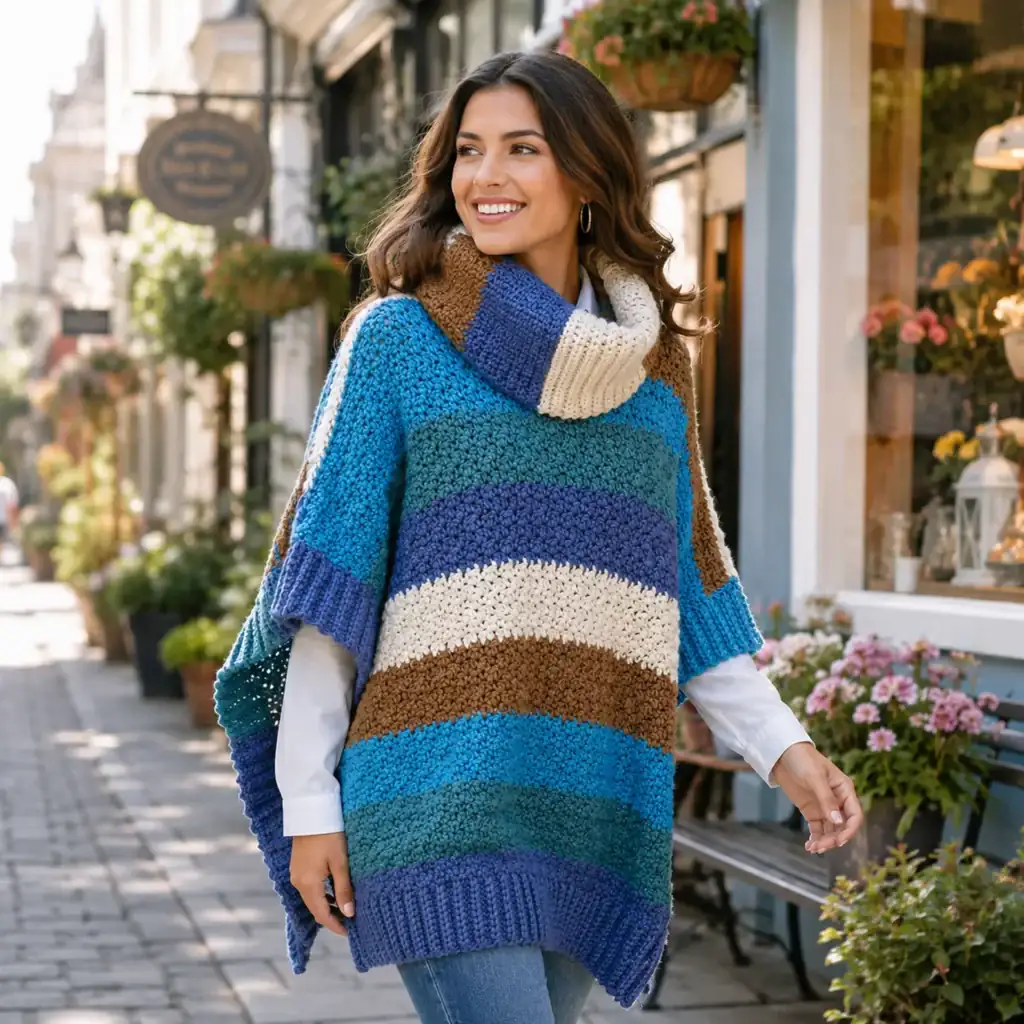
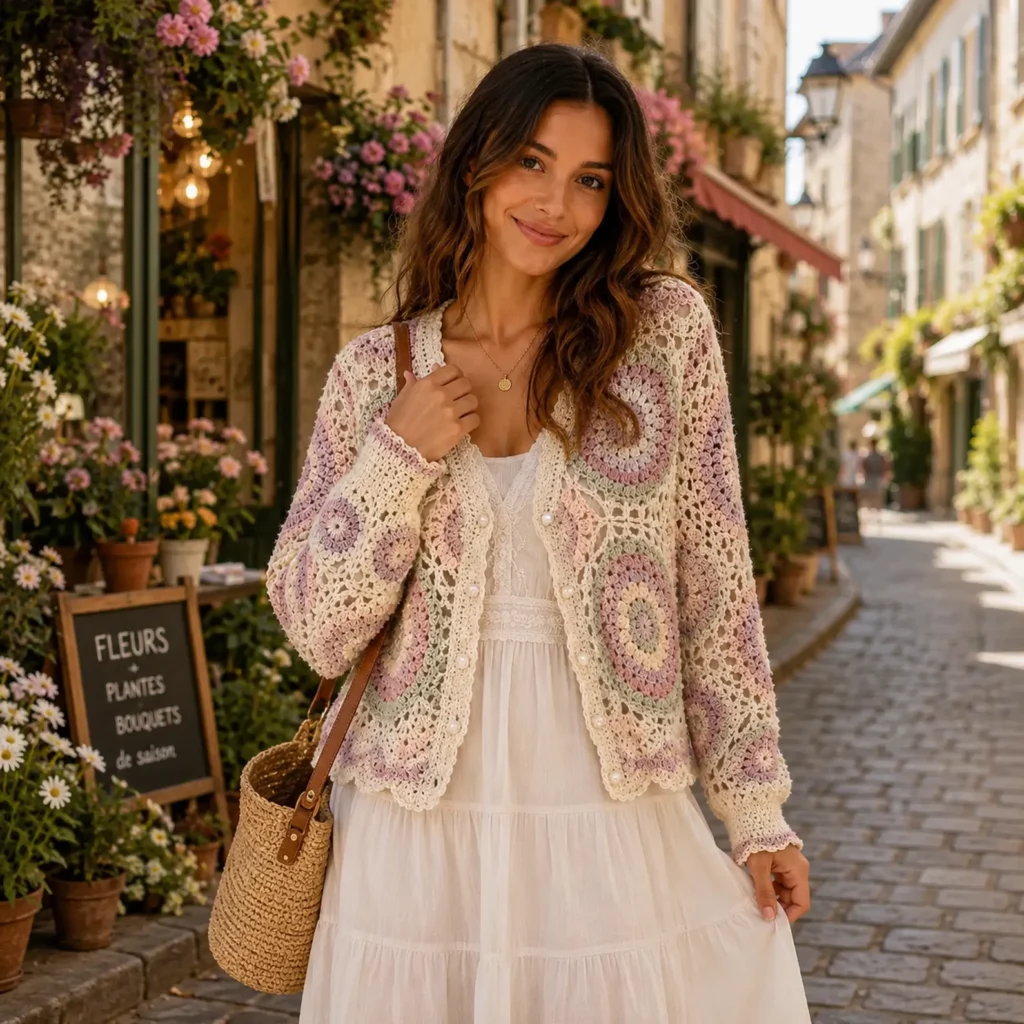
This crochet pattern is all about building a lightweight cardigan from large circular motifs framed into squares, then joining them into a soft, lacy fabric. The final look is delicate and feminine, with a pretty scalloped hem, a clean V neckline, and a button band that makes it easy to style. It’s the kind of DIY crochet piece you can throw over a simple top and instantly look put-together.
In this crochet tutorial, I’ll walk you through the construction, motif recipe, joining method, and finishing details so you can confidently make your own version in your favorite colors.
Detailed Description of the Crochet Pattern#
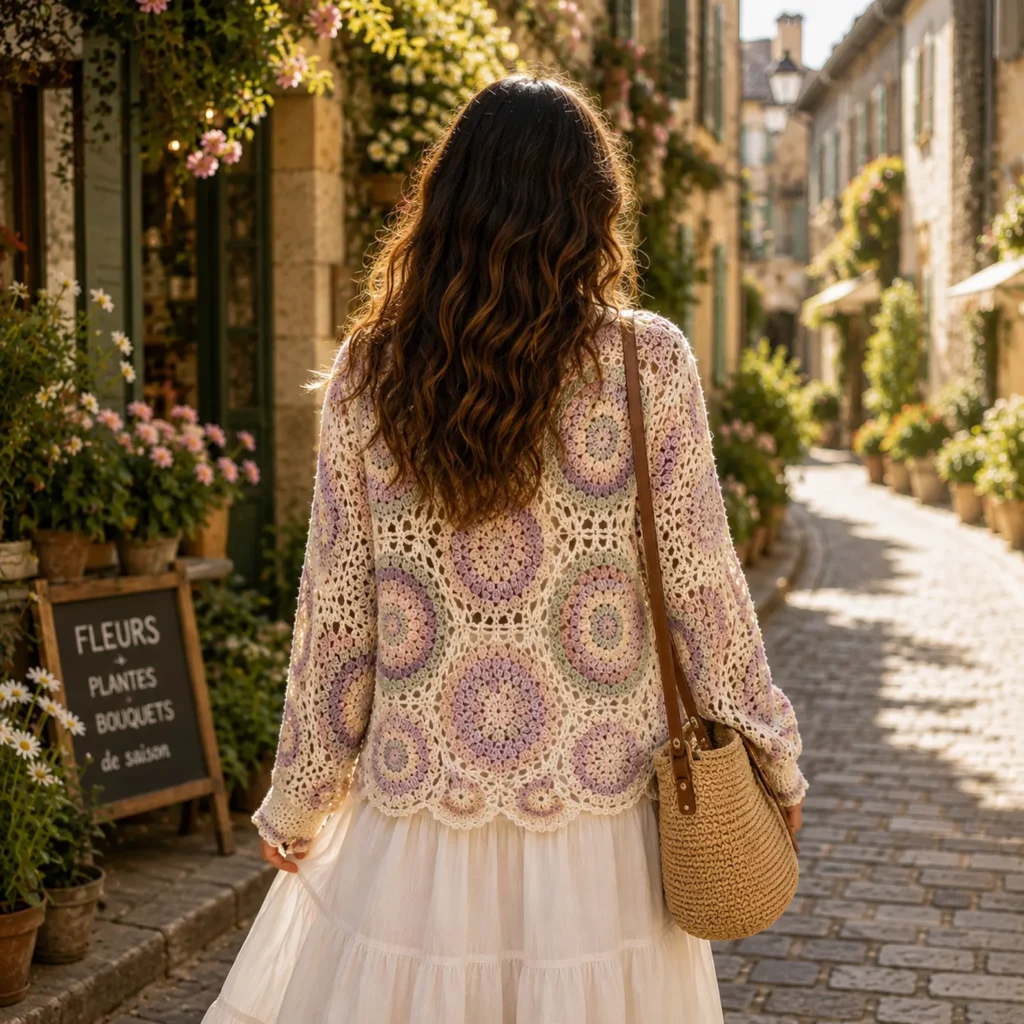
This cardigan uses a motif-based construction. The main fabric is made from large “mandala style” circles that grow outward in rounds, then are squared off so they can be joined like granny squares. Between the large motifs, smaller lace connectors fill the gaps and create an airy, floral lattice.
Key design features you’ll be making
- Large circular mandala motifs with textured rounds and color changes
- Squaring rounds that turn circles into joinable squares
- Lacy connector sections that create openwork “flower” spaces between motifs
- Drop-shoulder construction for a relaxed fit through the body
- Long sleeves with a slightly roomy shape and fitted ribbed cuffs
- Scalloped hem edging for a soft decorative finish
- V-neck front opening with a neat button band
This is the type of crochet pattern that looks complex, but it’s built from repeating steps. Once you complete one full motif and understand the joining, the rest becomes a rhythm of “motif, join, repeat.”
Skill Level Explanation#
This is best described as an intermediate crochet pattern, but confident beginners can absolutely attempt it if they’re patient and willing to practice.
You’ll be comfortable if you can
- Crochet in the round with consistent stitch counts
- Read repeats and count chain spaces
- Join motifs neatly and evenly
- Maintain even tension in lace sections
You’ll learn or strengthen these skills
- Clean color changes between rounds
- Squaring a circle motif
- Joining motifs as you go (or joining afterward)
- Creating stable edging that doesn’t ripple
- Building a button band with evenly spaced buttonholes
If you’ve already made granny squares or a simple lace shawl, this cardigan is a great next step.
Materials Needed#
Yarn
A light, smooth yarn will make the lace look crisp and keep the cardigan drapey.
Recommended yarn weights
- DK weight yarn for a balanced fabric that isn’t too heavy
- Sport weight yarn for a lighter, airier cardigan
Fiber suggestions
- Cotton or cotton blend for crisp stitch definition and a cool feel
- Bamboo blend for extra drape
- Acrylic blend for softness and easy care
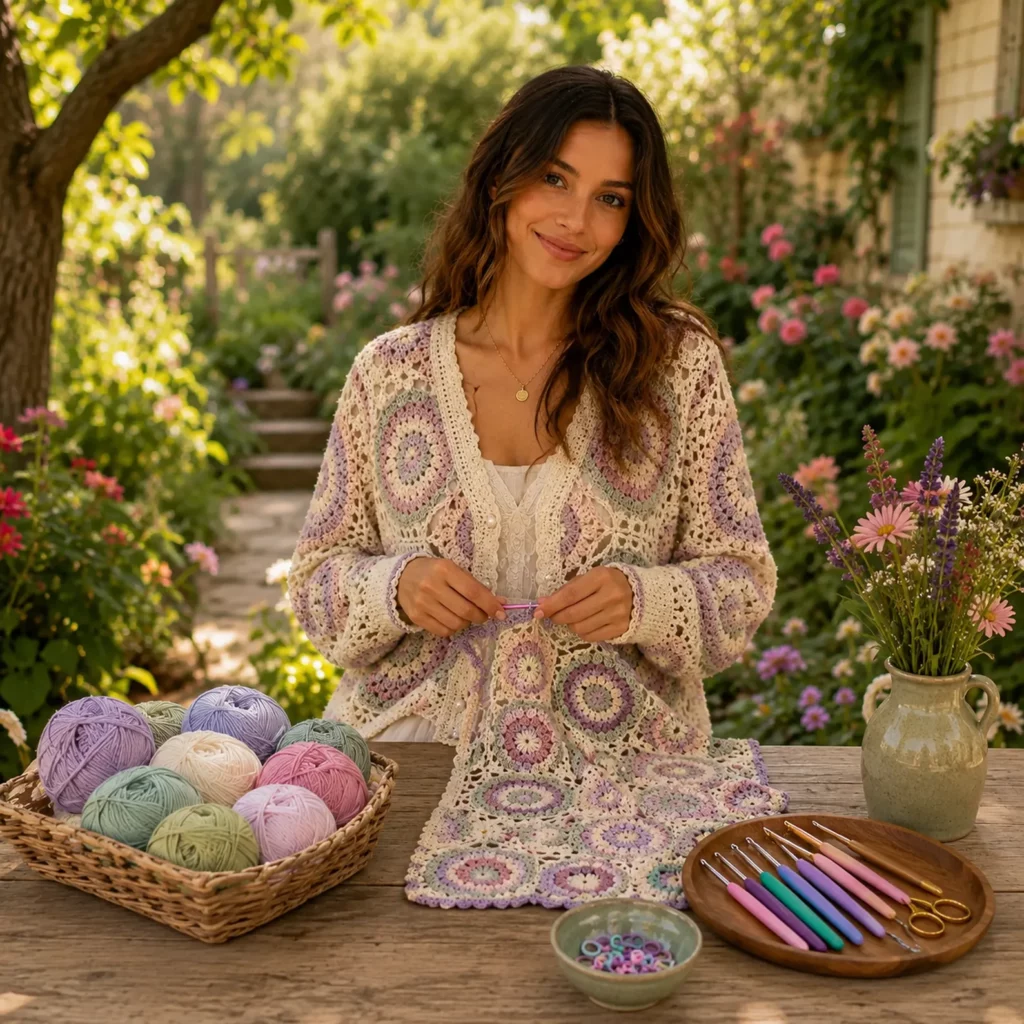
Color planning tips
This style shines with soft color changes. A simple approach is to choose
- A main neutral for the lace framework and joining rounds
- Two to four accent colors for mandala rounds
You can also use a cake yarn or gradient yarn for the mandalas, then a solid neutral for the joining and edging.
Yardage guidance
Because motif garments vary by size and length, yardage is best estimated by motif count. As a practical starting point for DK yarn
- Smaller sizes often use around 1400 to 1800 yards
- Medium to large sizes often use around 1800 to 2400 yards
- Extended sizes or longer lengths can use around 2400 to 3200 yards
If you want the cardigan to feel lighter, choose sport weight and plan for a bit more yardage.
Hook
- 4.0 mm to 4.5 mm hook for DK
- 3.5 mm to 4.0 mm hook for sport
Use the hook that gives you a fabric you like. For lace garments, many crocheters prefer a slightly larger hook for drape, but not so large that the motifs lose structure.
Notions
- Stitch markers for corners and neckline shaping
- Yarn needle for weaving ends and sewing buttons
- Scissors
- Measuring tape
- Buttons, typically 3 to 5 depending on your preferred spacing
- Optional blocking tools such as pins and a mat
Stitches & Techniques Explained#
This crochet pattern is built from common stitches arranged in pretty combinations.
Common abbreviations in US terms
- ch chain
- sl st slip stitch
- sc single crochet
- hdc half double crochet
- dc double crochet
- tr treble crochet
- sp space
- st stitch
- rep repeat
Color changes in the round
To keep rounds looking clean, change color on the last yarn over of the final stitch in the old color. Then complete the next stitch in the new color.
Working into chain spaces
Many lace rounds use chain spaces rather than individual stitches. Insert your hook into the chain space, not under just one strand, to keep the lace sturdy.
Squaring a circle motif
A mandala grows as a circle, but you’ll add “corner-making” clusters at four evenly spaced points. Those corners turn the circle into a square shape so motifs can be joined.
Joining motifs
You have two beginner-friendly options
- Join as you go by slip stitching or single crocheting through chain spaces while you crochet the final squaring round
- Join after making all motifs using a whip stitch seam or a flat slip stitch join
For lace garments, a flat join is usually the neatest and keeps the fabric flexible.
Blocking
Blocking is not optional for lace if you want the motif pattern to open up and look finished. A gentle wet block or steam block helps corners sharpen and lace spaces become even.
Step-by-Step Instructions#
This is a free crochet pattern written in a tutorial format so you can adapt it to your size. The heart of the cardigan is the motif, so we’ll start there, then cover layout, joining, sleeves, and finishing.
Sizing approach
Motif cardigans are easiest to size by measurements rather than strict stitch counts.
Helpful fit notes
- Choose 2 to 6 inches of positive ease depending on how relaxed you want it
- For a closer cardigan, keep ease smaller and use fewer motifs or smaller motifs
- For an oversized look, add motifs or increase motif size by adding extra rounds
Target measurements to decide before starting
- Full bust and desired ease
- Finished length from shoulder to hem
- Sleeve length from shoulder to cuff
- Wrist circumference for cuff fit
Motif recipe overview
The large motifs look like a mandala with textured “petal” rounds and color striping. A reliable mandala-style motif structure looks like this
- Center ring and first round of stitches
- Increase rounds to expand the circle
- Petal round made from clusters and chain spaces
- Texture round to frame the petals
- Squaring round with corners
Below is a versatile motif you can use to recreate the look.
Large mandala square motif
Make multiple motifs in the same size.
Foundation
- Make a magic ring, or ch 4 and join to form a ring
Round one
- Ch 3, work 11 dc into the ring, join
Round two
- Ch 3, dc in same st, 2 dc in each st around, join
Round three
- Ch 1, sc in each st around, join
This round stabilizes the circle and makes the next lace round easier.
Round four
- Ch 3, dc in next st, ch 1, skip 1, dc in next st, dc in next st
- Repeat around, join
This creates evenly spaced chain spaces for petal shaping.
Round five
- In each ch-1 space, work a shell such as 2 dc, ch 2, 2 dc
- Between shells, sc or sl st to anchor depending on your spacing
The goal is a repeating “petal” texture round.
Round six
- Work a framing round in dc or hdc, increasing where needed to keep it flat
If the circle begins to ruffle, reduce increases. If it cups, add increases.
Round seven
- Create larger arches with chain spaces, such as ch 5 arches anchored with sc
This forms the airy openwork ring.
Round eight
- Work clusters into the arches, such as 3 dc clusters with chain spaces between
This is where the motif begins to look like a detailed mandala.
Round nine
- Begin squaring
At four evenly spaced points, work corner groups like- 2 dc, ch 2, 2 dc in the same space
Between corners, work clusters and chain spaces that keep the sides straight.
- 2 dc, ch 2, 2 dc in the same space
Round ten
- Complete the square shape
Continue corners in the corner spaces
Work dc and chain spaces along the sides so each motif has the same stitch count on each side.
Important motif tips
- Each motif must end with the same number of stitches and the same corner structure
- If you change colors, keep color changes consistent across motifs for a cohesive look
- Block each motif lightly before joining to make assembly easier
Small connector motifs
To create that lacy framework between large squares, add smaller “flower” or “diamond” connectors in gaps.
Simple flower connector idea
- Make a small ring
- Work a round of petals using (dc, ch 2, dc) into spaces
- Add a joining round that creates four points so it can connect to corners or side spaces
You can also use classic lace filler squares, but the key is consistency so your fabric lies flat.
Cardigan layout
A balanced cardigan layout often uses
- Large motifs across the back and fronts
- Large motifs down the body for length
- Large motifs on sleeves
- Smaller connectors to fill negative space and shape the neckline
A common, easy-to-understand arrangement
- Back panel built from a rectangle of large motifs
- Left front and right front each built from a narrower rectangle
- Sleeves built from motifs joined into tubes or panels
If you want a quick planning method
- Make two large motifs and measure the width across one squared motif
- Multiply by how many motifs you want across the back
- Use that measurement to match your bust plus ease
Joining the body
Choose one joining method and stick with it.
Join-as-you-go method
- On the final squaring round of a motif, replace some chain spaces with slip stitches that connect to the neighboring motif’s matching space
- This creates a flexible, clean join with minimal bulk
Join-after method
- Lay blocked motifs in the final arrangement
- Seam with a whip stitch through the outer loops of each motif’s edge stitches
- Keep seams loose so lace doesn’t pucker
Construction order that reduces mistakes
- Assemble the back panel first
- Build each front panel
- Join fronts to back at shoulders
- Join sides leaving armholes
- Build sleeves and attach
- Add edging, cuffs, and button band last
Sleeves
This cardigan has long sleeves with motif fabric and a fitted cuff.
Sleeve options
- Motif tube sleeve made by joining motifs into a cylinder
- Motif panel sleeve that is seamed underneath
A tidy sleeve plan
- Use one large motif near the upper sleeve
- Use additional motifs or connector sections to reach wrist length
- Keep sleeve shaping gentle so the sleeve remains comfortable
To shape sleeves slightly
- Reduce the number of connectors as you approach the cuff
- Add a few decrease-style joins by skipping a lace arch occasionally
This creates a subtle taper without complex stitch math.
Ribbed cuffs
The cuffs appear more solid and structured than the lace body, which keeps the sleeves from feeling too floppy.
Easy ribbed cuff method
- Attach yarn around the sleeve opening
- Work a foundation round of sc evenly around
- Work ribbing in rows
- Ch for cuff height, sc back across
- Sl st into next sleeve stitch, turn
- Sc BLO back across, repeat around
This creates a professional ribbed cuff that stretches and hugs the wrist.
Hem edging with scallops
A scalloped hem gives the cardigan that delicate finished look.
Simple scallop edging that works well on lace
- Round one
- Sc evenly around the hem, placing extra sc in deep valleys so it lies flat
- Round two
- Skip 2, 5 dc in next st or space, skip 2, sl st in next repeat around
If your scallops ripple
- Reduce the number of dc per scallop or skip more stitches between scallops
If the hem pulls tight - Increase the number of skipped stitches less often or add an extra base round
Neckline and button band
This cardigan has a clean V-neck with a structured band.
Band foundation
- Attach yarn at the bottom of one front edge
- Work sc evenly up the front edge, around the neck, and down the other side
- Work a second round of sc to stabilize
Build the band
- Work additional rows of sc or hdc
- Keep tension firm so the band doesn’t wave
Buttonholes
For a neat button band, place buttonholes on one side.
Easy buttonhole method
- Crochet to the buttonhole location
- Ch 2 or ch 3 depending on button size
- Skip 2 or 3 stitches
- Continue across
Button spacing tips
- Place the top buttonhole below the V-neck point so the neckline lays neatly
- Place the bottom buttonhole above the hem scallops
- Space the rest evenly
Sew buttons
- Sew buttons securely
- For extra strength, add a small backing button inside the band behind each button
Common Mistakes and How to Avoid Them#
Motifs are different sizes
- This happens when tension changes or round counts vary
- Fix by counting carefully and blocking motifs before joining
Fabric ripples after joining
- Usually caused by inconsistent joins or too-tight seaming
- Fix by loosening seam tension and making sure each edge matches stitch for stitch
Lace looks messy or uneven
- Often caused by inconsistent chain tension
- Try using a slightly larger hook for lace rounds only, or focus on making chains the same height every time
Neckline band waves
- Caused by picking up too many stitches along the edge
- Fix by skipping row edges occasionally and keeping band tension firm
Hem scallops curl or flare
- Curling means the base is too tight
- Flaring means there are too many stitches or scallops
- Adjust by changing how many stitches you skip between scallops or how many dc are in each shell
Sleeves feel too wide
- Motif garments can get roomy quickly
- Use fewer motifs on sleeves, or taper with fewer connector sections toward the cuff
Expert Tips for Better Results#
- Block motifs in batches as you go so assembly stays stress-free
- Use stitch markers in corners during the squaring rounds to keep corners perfectly aligned
- Keep a simple color plan written down so your round colors stay consistent across motifs
- Weave in ends after every motif or every two motifs to avoid a huge finishing pile
- Use a smooth, strong yarn for joining and edging so the structure holds up with wear
- Add a subtle stabilizing sc round along the neckline before the band for a cleaner V shape
- Try on the cardigan before you commit to button placement so the front edges overlap exactly how you like
Variations and Customization Ideas#
- Open-front version by skipping buttons and making a slightly wider neckline band
- Cropped version by using fewer motifs vertically and keeping scallops smaller
- Longer coat-style version by adding one extra row of motifs and a deeper scalloped hem
- Short sleeve version by stopping sleeves above the elbow and adding a small cuff
- Solid color version for a more classic lace look
- Gradient mandalas with a single neutral joining color for a designer finish
- Add pockets by crocheting two lace squares and sewing them to the lower fronts
- Add a lining for extra modesty by sewing in a lightweight knit lining behind the lace
Benefits of This Crochet Project#
- It’s a showpiece garment that still uses repetitive, relaxing rounds
- Motif construction makes it easy to customize sizing and length
- Lace fabric is breathable and perfect for layering in spring and summer
- It’s a great way to practice color changes and consistent stitch counting
- The finished cardigan looks boutique and handmade in the best way
Internal Linking Suggestions#
- How to Crochet a Mandala Motif for Beginners
- Granny Square Joining Methods That Lie Flat
- Crochet Gauge and Blocking Guide for Lace Projects
- How to Add a Button Band to a Crochet Cardigan
- Best Summer Yarn for Lightweight Crochet Garments
- Easy Crochet Lace Edging Patterns
- Beginner Crochet Cardigan Pattern With Simple Panels
FAQ#
Is this crochet pattern beginner-friendly
It’s best for advanced beginners who can crochet in the round and count stitches. If you’ve made granny squares before, you can learn this with patience and careful joining.
What yarn is best for a lace cardigan
Cotton blends and smooth acrylic blends are great because they show stitch detail clearly and block well. Bamboo blends add extra drape, which looks beautiful in lace.
How do I adjust the size without rewriting the pattern
Motif garments are very flexible. You can adjust by adding or removing motifs, changing motif size with extra rounds, or modifying the front opening width with connectors and edging.
Do I have to block the motifs
Blocking makes the lace open up and helps motifs match in size. Even a light steam block can dramatically improve the final look.
How many buttons should I use
Three to five buttons works well for most V-neck lace cardigans. Place the top button below the V point, then space the rest evenly.
How do I keep the neckline from stretching out over time
Use a firm sc foundation round, keep the band stitches tight, and consider adding a thin elastic thread inside the band if your yarn is very drapey.
Conclusion#
A mandala lace cardigan is the perfect crochet pattern when you want something artistic, lightweight, and truly special. The motif construction makes it enjoyable to work on in small pieces, while the scalloped hem, ribbed cuffs, and button band give it that finished, wearable feel. Once you’ve made one, you’ll probably want another in a different color palette because it’s so customizable.
If you tell me your preferred yarn weight and your bust measurement, I can suggest an easy motif layout plan so your cardigan fits the way you want without guesswork.