


Introduction#
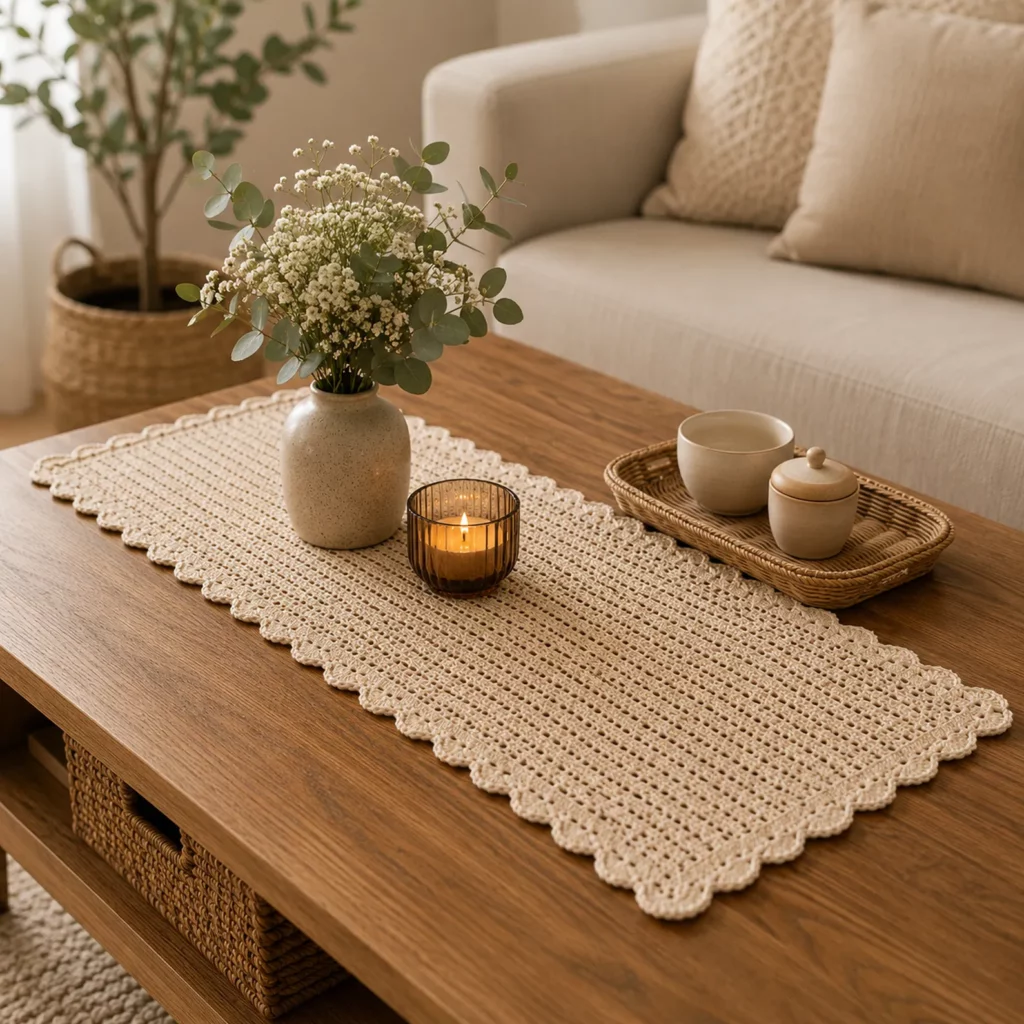
A lace table runner instantly makes a room feel more finished—without needing a full tablecloth or a big decor budget. If you love classic, airy crochet with a clean “handmade heirloom” look, this crochet pattern is for you. It creates a long rectangular runner with a light, structured mesh in the center and a pretty scalloped edge that frames the piece beautifully.
Explore more beginner home decor crochet patterns in our pattern library.
What makes this project especially satisfying is how relaxing it is to crochet. The body of the runner uses a repeat that’s easy to memorize (perfect for evening stitching), while the border adds that polished, boutique-style finish. It’s also a wonderful “in-between” make: more impressive than a dishcloth, but not as time-consuming as a blanket.
Below you’ll find a high-value, beginner-friendly crochet tutorial that explains the stitch pattern, how the border is formed, how to adjust the size for any table, and how to block lace so it looks crisp and professional.
Detailed Description of the Crochet Pattern#
This crochet pattern is an elegant rectangular runner built in two main phases:
- Center panel (filet-style lace): A repeating structure of double crochet posts and chain spaces creates long, vertical openwork columns. The overall effect is tidy, airy, and modern-classic—like a simple filet crochet grid with a strong “ribbed” look.
- Framing rounds: A neat border round squares the edges and prepares the runner for the decorative finish.
- Scalloped edging: A repeated shell/scallop pattern forms soft waves around all four sides. This edging is what gives the runner that traditional lace charm.
The result is a runner that looks delicate but wears well, especially when made with cotton yarn. It works for everyday tables, holiday gatherings, dressers, buffets, and coffee tables—anywhere you’d like a touch of texture without visual clutter.
Skill Level Explanation#
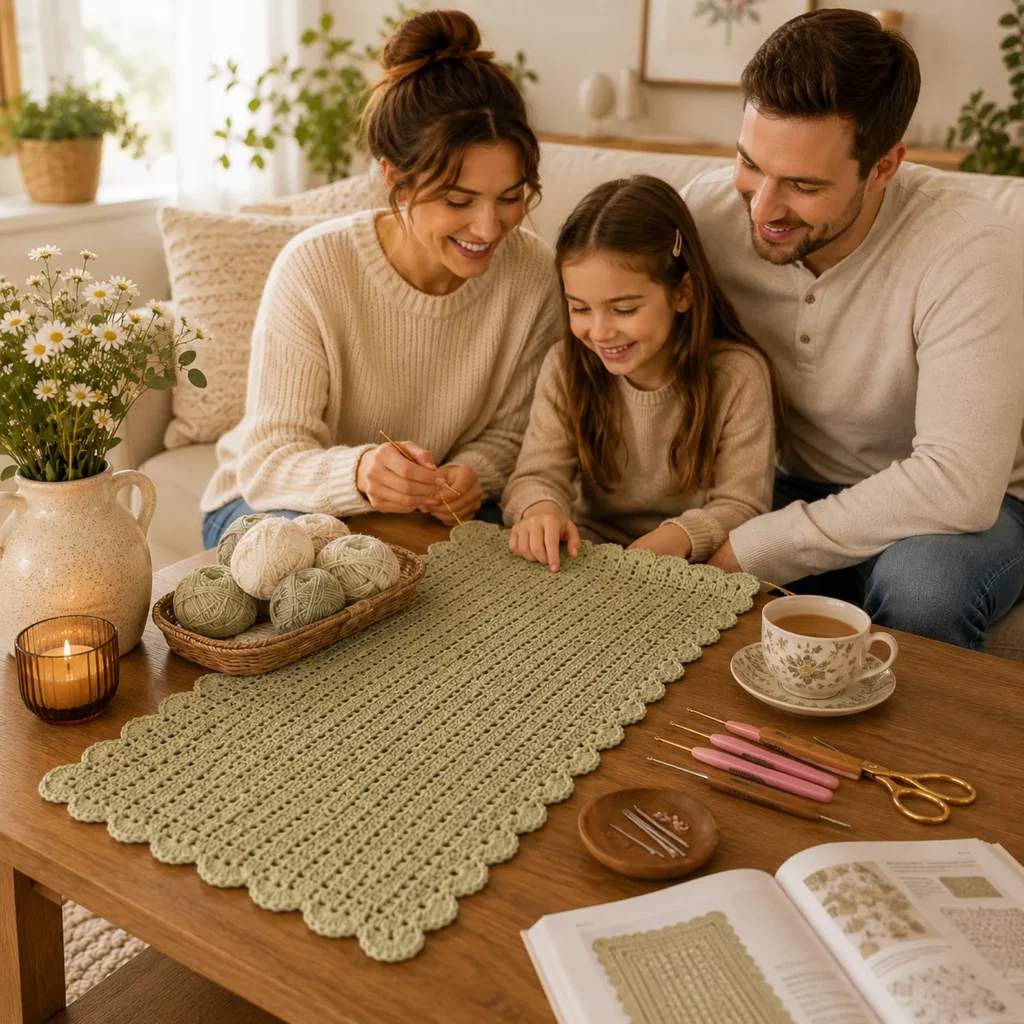
This is an easy crochet pattern that suits advanced beginners.
You’ll be comfortable if you know:
- Chain (ch)
- Single crochet (sc)
- Double crochet (dc)
- Slip stitch (sl st)
- Working in rows and turning
You’ll learn or practice:
- Filet-style repeats (dc + chain spaces)
- Even edge tension (so the border sits flat)
- Working a border evenly around corners
- Blocking lace for a crisp finish
If you’re newer to lace, don’t worry—this pattern uses simple stitches. The “lace” effect comes from spacing and repetition, not complicated techniques.
Materials Needed#
Yarn
For a runner like this, cotton is the top choice because it blocks sharply, washes well, and holds its shape.
Recommended options:
- Category 2 (Sport) cotton for a delicate, doily-like finish
- Category 3 (DK) cotton for a balanced everyday runner
- Category 4 (Worsted) cotton for a thicker, more rustic look
Color tips:
- Light neutrals (cream, ecru, white) highlight the openwork beautifully.
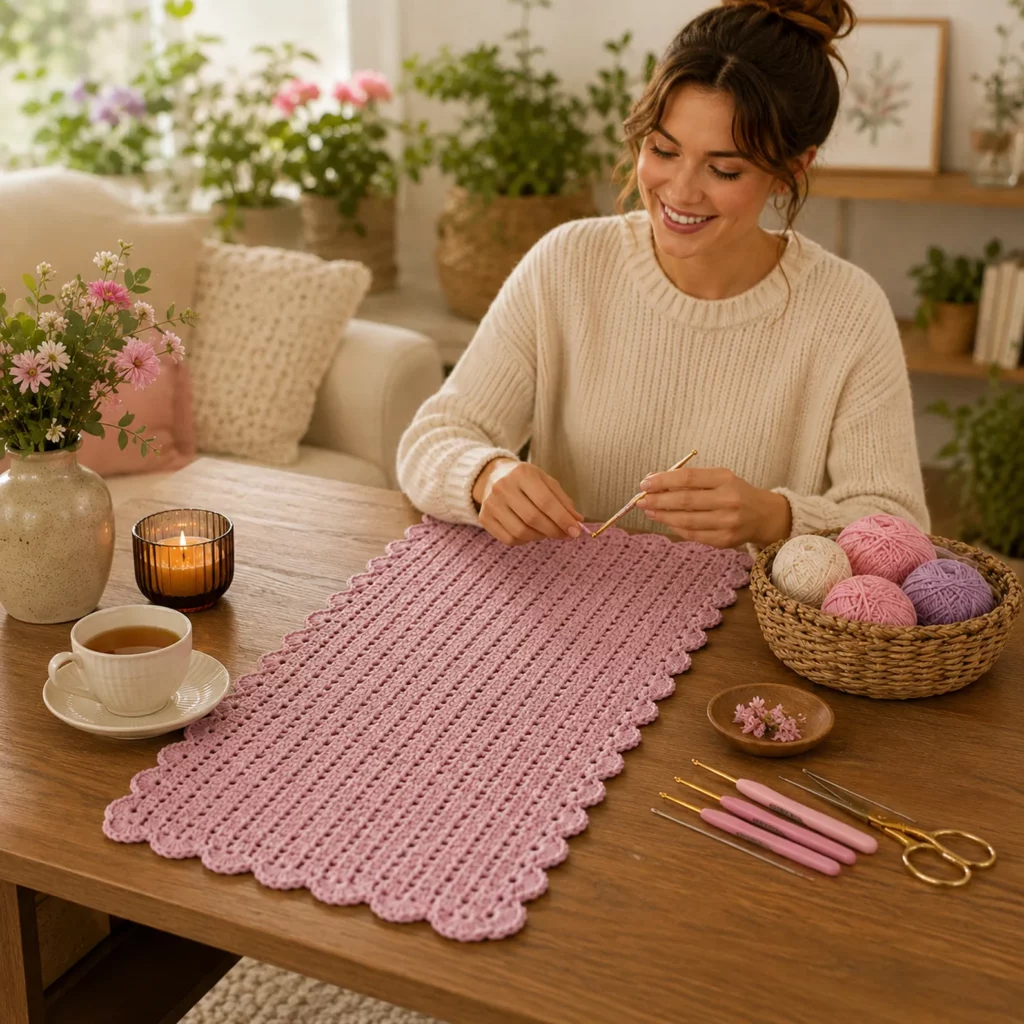
- Soft pastels feel vintage and romantic.
- Deep tones (navy, forest) look striking but make the lace texture subtler.
Hook
Choose a hook that creates a fabric with clear holes but still good structure:
- Sport: 3.0–3.5 mm
- DK: 3.5–4.0 mm
- Worsted: 4.0–4.5 mm
Notions
- Stitch markers (helpful for corners and repeats)
- Scissors
- Tapestry needle
- Measuring tape or ruler
- Blocking supplies (mat, pins, spray bottle or steamer)
Optional upgrades
- A thinner hook for the border (if your edging tends to ruffle)
- Starch spray for extra crispness (especially for holiday decor)
Stitches & Techniques Explained#
Abbreviations
- ch = chain
- sc = single crochet
- dc = double crochet
- sl st = slip stitch
- sp = space
- st(s) = stitch(es)
- rep = repeat
- sk = skip
Filet-style mesh (the “grid” look)
This crochet tutorial uses a simple rhythm:
- Solid sections: dc worked into dc
- Open sections: chain spaces created by chaining and skipping stitches
A common filet unit looks like:
- dc, ch 1, sk 1, dc
That creates a tidy, evenly spaced hole.
Turning chains and edge consistency
Many runners get wavy edges because turning chains vary in height or tension. A helpful rule:
- For dc rows, use ch 2 or ch 3 consistently (pick one and stick to it).
- Keep your first and last dc of each row snug and easy to identify.
Working borders around a rectangle
When you crochet around the edge of rows, you’ll place stitches into the side of the row (the “post area”), not into the tops of stitches. A reliable approach:
- Place 2 sc per dc row along the side for a smooth edge, adjusting slightly if needed so it lies flat.
Scalloped edging
The edging is formed by repeating shells (multiple dc worked into the same space) separated by small anchor stitches. If your shells ripple, reduce either:
- the number of dc in each shell, or
- the chain spaces between shells
Step-by-Step Instructions#
This is a free crochet pattern written to be easy to resize. You’ll create the center panel to your desired width and length, then add the border.
Finished size guide
You can make this runner any size. A common starting point:
- Narrow runner: about 10–12 in (25–30 cm) wide
- Standard runner: about 12–16 in (30–40 cm) wide
- Length: typically 36–72 in (90–180 cm) depending on table size
Gauge (helpful but flexible)
Lace runners are forgiving. Still, it’s useful to measure:
- how wide your repeat becomes after a few rows
- how many rows you get per 4 inches (10 cm)
Crochet pattern overview
- Make a foundation chain to set the width
- Work filet-style rows to the length you want
- Add a clean border round to square edges
- Add scalloped edging all the way around
- Block to finish
Center Panel (Filet-Style Lace Body)
This center section creates long vertical openwork columns.
Foundation chain
Ch a number that fits your desired width using this easy formula:
- Start with an odd number of chains, so the repeat (dc + ch spaces) lands evenly.
A practical starting point for DK cotton: - ch 55 (narrow)
- ch 67 (medium)
- ch 79 (wide)
If you’re not sure, chain and measure before starting row 1.
Row 1
- Dc in the 4th ch from hook (counts as first dc)
- Ch 1, sk 1 ch, dc in next ch repeat across
Turn.
You should see a neat grid of dc separated by open spaces.
Row 2
- Ch 3 (or ch 2, if you prefer—be consistent)
- Dc in first dc
- Ch 1, sk 1 sp or sk 1 st as needed, dc in next dc repeat across
Turn.
Row 3 and onward
Repeat Row 2 until the runner reaches your desired length.
Length tips:
- For a dresser/console: 30–40 in (76–102 cm)
- For a dining table: aim for the runner to hang 6–12 in (15–30 cm) over each end, or stop short for a modern look
Fasten off after the final row.
Framing Round (Clean-Up Border)
This round evens the edges and gives the scallops a stable base.
Join yarn with sl st in any corner.
Round A (single crochet frame)
- Work sc evenly along the top edge: typically 1 sc in each dc and 1 sc in each ch-1 space
- In the corner: (sc, ch 2, sc) to turn the corner neatly
- Along the side edges: work 2 sc per dc row (adjust if needed so it lies flat)
- Repeat around all four sides
- Join with sl st to the first sc
If the edge ruffles, you have too many stitches—remove a few evenly.
If it cups inward, add a few.
Scalloped Edging (Decorative Finish)
This edging creates the soft wave border.
Round B (shell scallops)
Join with sl st in any corner ch-2 space.
Corner setup:
- In corner ch-2 space: work a smaller shell so corners don’t flare too much
A neat corner option: - (sc, ch 2, sc) in the corner space, then continue the scallops along the side.
Scallop repeat along sides (simple and pretty):
- Sk 2 sts, 5 dc in next st (shell), sk 2 sts, sc in next st repeat around
At corners:
- Instead of forcing a shell into the corner, do:
- (sc, ch 2, sc) in the corner space
- then resume the shell repeat along the next side
Join with sl st to finish. Fasten off and weave in ends.
Edging adjustment tip:
- If your stitch count doesn’t land perfectly, it’s normal. On the last few repeats, you can “cheat” neatly by skipping 1 stitch instead of 2, or skipping 3 once, to make the pattern meet evenly.
Common Mistakes and How to Avoid Them#
- Wavy sides on the center panel
This usually comes from inconsistent turning tension. Use a stitch marker in the first and last stitch of each row until you feel confident. - Borders that ripple
Too many stitches along the side edges. Reduce your “2 sc per row” placement slightly—try 1 sc in one row edge, then 2 sc in the next, repeating. - Borders that pull tight and curl
Too few stitches along side edges. Add extra sc evenly until the edge relaxes. - Scallops that don’t look even
Shells need consistent spacing. Count your skips and keep shells anchored with a firm sc. - Runner looks “meh” before finishing
Lace often looks unfinished until it’s blocked. Blocking is not optional for best results—it’s the secret sauce.
Expert Tips for Better Results#
- Use cotton for crisp definition
Cotton shows lace structure and scallops beautifully. - Try a smaller hook for the edging
If your scallops feel loose, drop down 0.25–0.5 mm just for the final round. - Block in two stages
First block the rectangle square (before scallops), then lightly block again after the edging to open the shells. - Add stitch markers at each corner
It prevents accidentally missing a corner space when you get into a rhythm. - For a super polished finish
Weave in ends in a zigzag path through dc posts so they don’t peek through the open spaces.
Variations and Customization Ideas#
- Change the center texture
Keep the same border but swap the center for:- moss stitch (linen stitch)
- V-stitch columns
- simple granny stripe rows
- Make matching pieces
Use the same stitches to create:- placemats
- a dresser scarf
- a mantle runner
- smaller side-table runners
- Add stripes
Subtle stripes (two close neutrals) look elegant and modern. - Dress it up for holidays
Add a metallic thread carried alongside the yarn for a gentle shimmer. - Create a wider statement runner
Increase the foundation chain for width and keep length moderate for a bold centerpiece base.
Benefits of This Crochet Project#
- A true decor staple that works in any season
- Relaxing, repetitive stitching that’s easy to pick up and put down
- Highly customizable sizing for any table
- Great skill builder for filet-style spacing and borders
- Budget-friendly—a small amount of cotton yarn goes a long way
Internal Linking Suggestions#
- Easy Crochet Coasters Pattern (cotton-friendly)
- How to Block Crochet Lace (beginner guide)
- Crochet Placemat Pattern (matching set idea)
- Filet Crochet Basics (dc + chain spaces explained)
- Best Cotton Yarn for Home Decor Projects
FAQ Section#
How do I choose the right size for a table runner?
Measure your table length and decide how much drape you want. Many people like 6–12 inches of overhang on each end, but a modern look often stops short of the edges.
Is this crochet pattern good for beginners?
Yes. The stitches are basic, and the lace effect comes from chain spaces. If you can double crochet and count repeats, you can make this.
What yarn makes lace look the neatest?
Cotton (or a cotton blend) is ideal. It holds its shape, blocks cleanly, and handles frequent washing.
My border is wavy—what should I fix first?
Count how many sc you’re placing along the side edges. Too many makes ripples; too few makes curling. Adjust side stitch placement before changing the scallop round.
Do I really need to block a crochet lace runner?
For best results, yes. Blocking opens the holes, straightens edges, and makes scallops lie flat. It’s the difference between “homemade” and “handcrafted.”
Can I turn this into a placemat instead?
Absolutely. Make the same width, but stop after a shorter length (about 12–18 inches), then add the same border.
Conclusion#
This crochet pattern is a perfect blend of simple and sophisticated: an easy filet-style body you can crochet on autopilot, finished with a scalloped lace border that elevates the whole piece. Make it in classic cream for a timeless look, or customize the size and color to match your home.
If you tell me the yarn weight you plan to use (sport, DK, or worsted) and your target runner size, I can calculate a more exact starting chain range and help you fine-tune the scallop repeat so it fits your stitch count cleanly.


