Introduction#
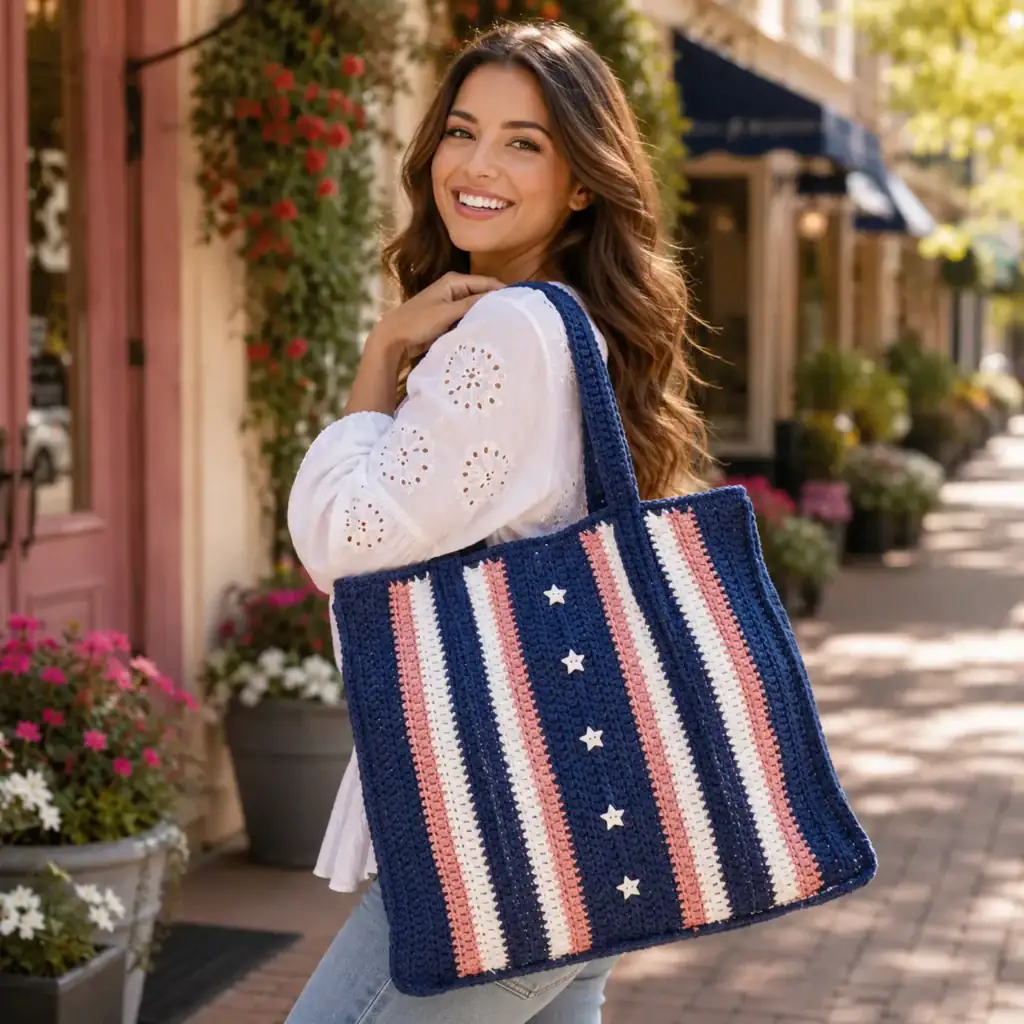
A crochet bag can be the quickest way to make your handmade wardrobe feel elevated—if it has the right ingredients: a dense stitch, clean edges, and just enough structure to hold its shape. The challenge is that many “cute pouch” patterns stretch out fast, gape at the top, or look a little too soft for everyday wear.
Explore more beginner bags crochet patterns in our pattern library.
This crochet pattern solves that by using a plush, raised texture (a petal-like cluster stitch) that naturally creates thickness and stability. Then we finish it with a simple top edging that looks polished, plus an optional snap closure and strap hardware so you can wear it as a crossbody or carry it as a clutch.
If you’re looking for a free crochet pattern that feels practical, stylish, and genuinely wearable—this is the one. It’s also a fantastic skill-builder: you’ll practice texture, panel construction, neat seaming, and “pro” finishing details that make handmade bags last.
Detailed Description of the Crochet Pattern#
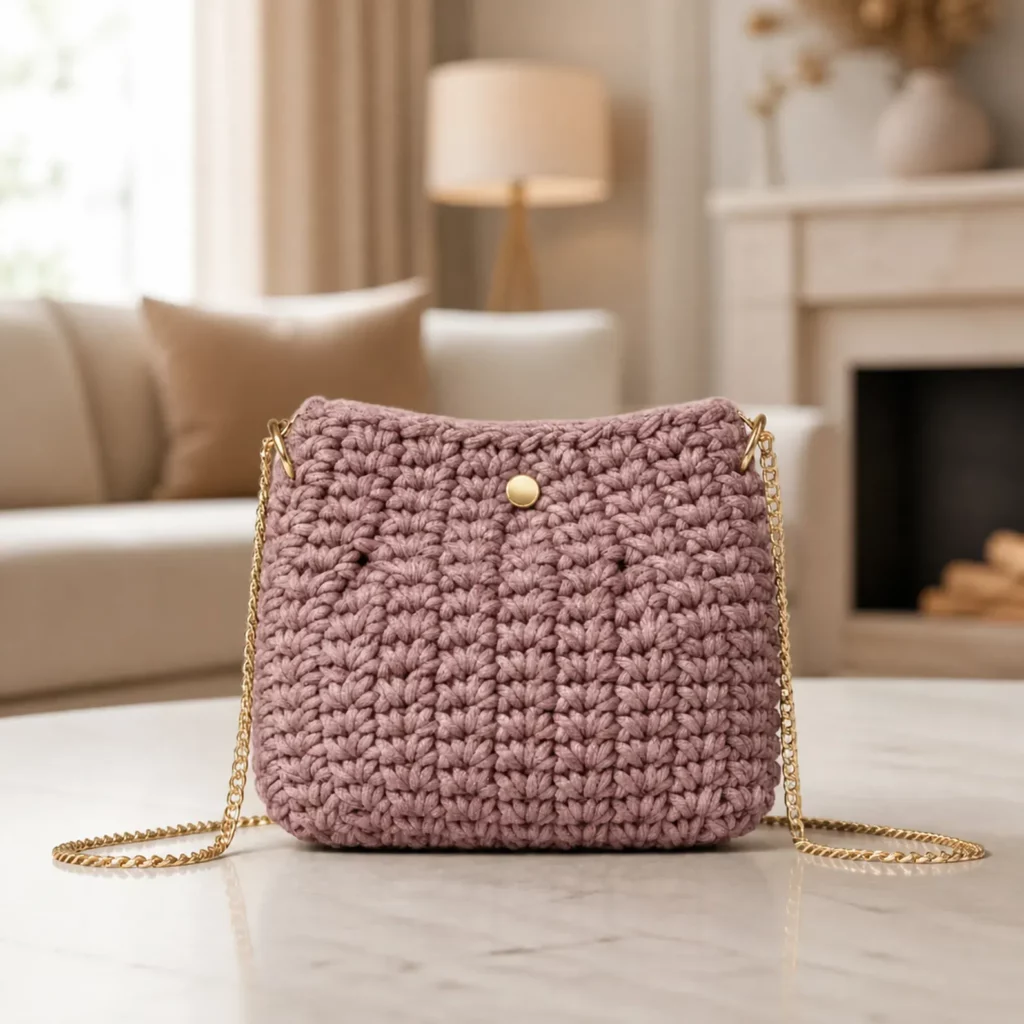
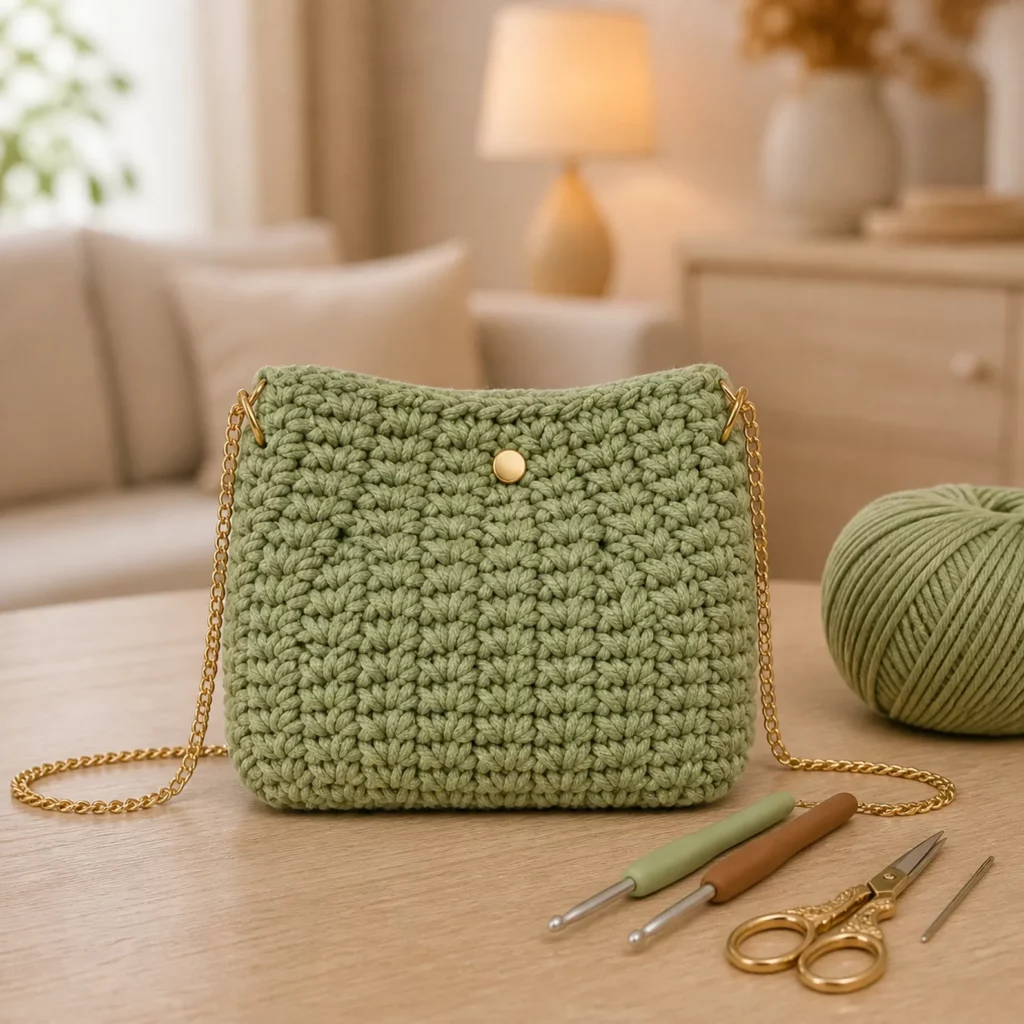
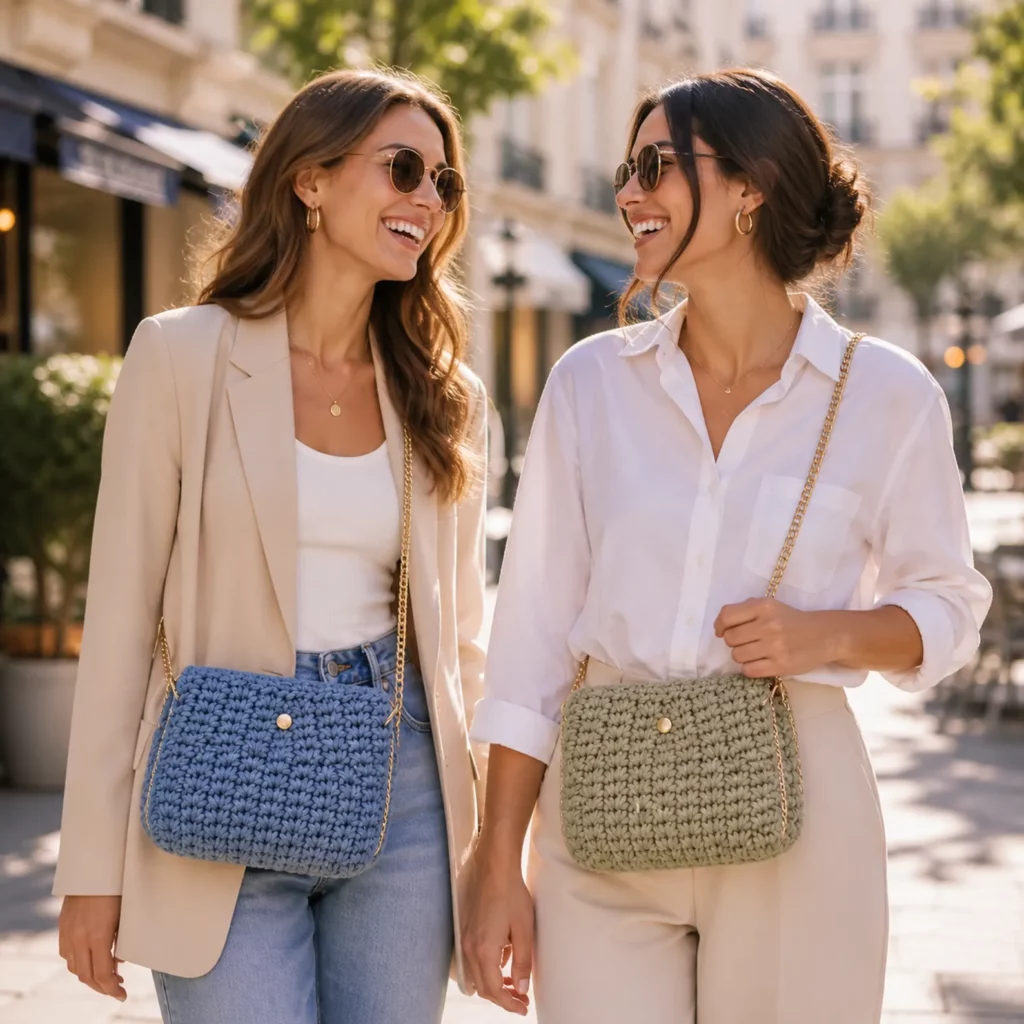
This project is a compact crossbody clutch with a richly textured surface that resembles small “petals” or “buds” stacked in rows. The fabric is intentionally dense and slightly cushioned—exactly what you want for an accessory that needs to hold its shape and protect what’s inside.
Design highlights
- Two-panel construction: You crochet a front and back panel, then seam them to form the pouch.
- Raised texture: Repeating clusters create depth and a high-end look (especially in solid colors).
- Clean top edge: One or two rounds of single crochet stabilize the opening so it doesn’t stretch.
- Optional snap closure: A centered closure keeps the silhouette sleek and secure.
- Optional strap hardware: Add D-rings and a chain strap for a boutique crossbody vibe.
Why this stitch works for bags
Cluster-based textures aren’t just pretty—they’re practical:
- They create a thicker fabric without needing extra lining layers.
- They reduce visible gaps, making the bag feel more secure.
- They add gentle firmness, helping the clutch stand and keep its shape.
This is the kind of DIY crochet project that looks expensive because the texture and finishing do the heavy lifting.
Skill Level Explanation#
This is an easy-to-intermediate crochet project.
It’s ideal for confident beginners who can:
- crochet evenly in rows
- count stitches and keep consistent edges
- seam panels with a yarn needle (whip stitch or mattress stitch)
- work simple edging around an opening
Intermediate (optional) upgrades include:
- attaching D-rings/swivel hooks
- installing a magnetic snap
- adding a fabric lining for a truly professional interior
If you’ve made scarves, dishcloths, or a basic pouch and want your first “real accessory,” this easy crochet pattern is a perfect next step.
Materials Needed#
Yarn
For a structured clutch, choose yarn with body and good stitch definition.
Recommended yarn choices:
- Worsted weight (#4) cotton (best all-around option)
- Mercerized cotton (sleek, strong, excellent texture definition)
- Cotton-linen blend (matte, sturdy, elevated look)
- Braided cotton cord (3–5 mm) (most structured, modern finish)
Avoid (if you want it to hold shape):
- very soft acrylic (can stretch and slouch unless lined)
- fluffy or fuzzy yarns (hide texture and weaken structure)
Yardage estimate:
- Worsted cotton: 250–400 yards (size-dependent)
- Cotton cord: 150–250 yards (works up faster)
Hook
Choose a hook that makes a dense fabric:
- Worsted cotton: 4.0–5.0 mm
- Cotton cord: 5.0–6.5 mm
Tip: If your fabric feels flexible or gappy, go down one hook size.
Notions
- Stitch markers (helpful for edges and snap placement)
- Yarn needle
- Scissors
- Measuring tape
Hardware (optional but recommended)
- 1 magnetic snap (or sew-on snap)
- 2 D-rings (½”–¾”)
- 2 swivel hooks (matching size)
- 1 chain strap (or leather/webbing strap)
- Optional: jump rings + small pliers
Optional lining supplies (highly recommended)
- Cotton fabric (fat quarter often works)
- Needle + thread or sewing machine
- Optional: lightweight fusible interfacing (extra firmness)
- Optional: plastic canvas insert (flat bottom and maximum structure)
Stitches & Techniques Explained#
Abbreviations (US terms)
- ch = chain
- sl st = slip stitch
- sc = single crochet
- dc = double crochet
- sp = space
- st(s) = stitch(es)
- rep = repeat
- RS/WS = right side / wrong side
The texture stitch: Petal Cluster (CL)
There are several ways to create a petal look. For a sturdy clutch, I recommend a closed cluster made from partial double crochets because it’s dense, tidy, and consistent.
Cluster (CL) in a stitch or space:
- Yarn over, insert hook, pull up a loop (3 loops on hook)
- Yarn over, pull through 2 loops (partial dc made)
- Repeat Steps 1–2 two more times in the same stitch/space (you’ll have 4 loops on hook)
- Yarn over, pull through all loops to close the cluster
This creates a plush “bud” that reads as a petal when repeated in rows.
Keeping straight edges with textured stitches
Textured patterns can get wavy if the edges change row-to-row. Two simple habits fix that fast:
- Mark the first and last stitch of each row until you’re confident.
- Decide whether your turning chain “counts” or not (this pattern uses a turning chain that does not count as a stitch).
Seaming for a boutique finish
- Whip stitch: strong, quick, slightly visible (great for thick yarn)
- Mattress stitch: nearly invisible seam (best for polished look)
For bags, I usually prefer mattress stitch because it keeps the edge clean and reduces bulk.
Step-by-Step Instructions#
Pattern notes
- Written in US terms
- Bag is made from two identical panels
- Keep tension firm for structure
- Example finished size: 9″ wide x 6.5″ tall (easy to resize)
Stitch multiple
To resize width, start with a chain that works with this repeat:
- Multiple of 2 + 1 (keeps the edges neat with the cluster + chain pattern)
Part 1: Crochet the Panels (make 2)
Foundation: Ch 33
(Adjust as needed. For a similar clutch proportion, aim for an 8–10″ width.)
Set-up rows (stabilize the bottom edge)
Row 1: Sc in 2nd ch from hook and across. Turn.
Row 2: Ch 1, sc across. Turn.
These rows help the bottom edge stay straight and prevent “curling” under the textured fabric.
Begin the texture
Row 3 (texture set-up):
Ch 1, sc in first st, sk 1 st, CL in next st, ch 1 rep across to last st, sc in last st. Turn.
Row 4 (work into spaces):
Ch 1, sc in first st, CL in next ch-1 sp, ch 1 rep across, sc in last st. Turn.
Repeat Row 4 until the panel measures 6–7 inches tall (or your preferred height).
Fasten off.
Make Panel 2 exactly the same.
Part 2: Check size + block (quick but worth it)
Lay panels together and check:
- same width
- same height
- edges mostly straight
If needed, lightly steam-block or wet-block and let dry flat. This step makes seaming easier and the finished clutch look sharper.
Part 3: Seam the clutch
Place panels right sides together (texture facing inward), align edges.
Using a yarn needle and matching yarn:
- seam down one side
- seam across the bottom
- seam up the other side
Leave the top open.
Turn right side out.
Optional shape upgrade (boxed corners):
To give the bottom a slightly “bag-like” depth, pinch one bottom corner into a small triangle and stitch across it. Repeat on the other corner. Even a ½” box makes the clutch sit nicer.
Part 4: Top edging (structure + clean finish)
Join yarn at a side seam near the top opening.
Round 1: Ch 1, sc evenly around the opening. Join with sl st.
Round 2: Ch 1, sc around again for a firmer edge. Join.
Fasten off and weave in ends.
Optional pro finish:
Add one round of sl st or crab stitch for a crisp, polished edge.
Part 5: Add a closure (choose one)
Option A: Sew-on snap (beginner-friendly)
- Find the center point of the front panel, about ¾” below the top edge.
- Sew one half of the snap to the inside front.
- Close the clutch, mark placement on the inside back panel.
- Sew the other snap half.
Option B: Magnetic snap (most boutique)
Magnetic snaps work best when reinforced.
- Cut two small squares of felt/interfacing (about 1.5″ x 1.5″).
- Mark placement on the inside of the clutch.
- Insert prongs through crochet and reinforcement square.
- Fold prongs flat securely.
Tip: If you plan to line the bag, install the snap through the lining + reinforcement for the cleanest look.
Part 6: Strap tabs + hardware (optional crossbody)
To wear this as a crossbody, add D-rings at the upper side edges.
Tab (make 2):
- Ch 9
- Row 1: Sc in 2nd ch from hook and across (8). Turn.
- Rows 2–6: Ch 1, sc across (8).
Fasten off leaving a long tail.
Thread each tab through a D-ring, fold in half, and sew securely to the inside upper side edge near each side seam. Reinforce with multiple passes.
Attach swivel hooks and your chain strap.
Part 7: Optional lining (strongly recommended)
A lining makes your clutch:
- more durable
- less stretchy
- safer for small items
- more professional inside
Simple lining method:
- Measure interior width + height, add seam allowance.
- Sew a fabric pouch (box the corners if you want depth).
- Insert lining, fold top edge under, and whip stitch to the inside top edging.
- Reinforce around snap and strap tab areas.
Common Mistakes and How to Avoid Them#
- Edges look wavy:
Mark the first/last stitch and keep turning chains consistent. - Panels don’t match:
Count rows and measure as you go. Add/remove a row before seaming. - Fabric feels floppy:
Use cotton/cord, go down a hook size, and consider lining. - Seam looks bulky:
Use mattress stitch and avoid over-tightening. - Top edge ripples:
You likely worked too many sc. Redo edging with fewer stitches (especially around side edges). - Snap area stretches or warps:
Reinforce with felt/interfacing and (ideally) a lining.
Expert Tips for Better Results#
- Choose yarn that shows texture: smooth cotton makes the “petals” pop.
- Keep tension firm: bags should feel denser than garments.
- Block before seaming: it instantly improves shape and symmetry.
- Reinforce stress points: strap tabs + snap area need extra strength.
- Weave ends like you mean it: run tails in multiple directions; bags get tugged.
- Test hardware placement first: clip strap on temporarily and check hang before sewing tabs permanently.
Variations and Customization Ideas#
- Mini phone bag: narrow the width and make it taller; add a long strap.
- True clutch: skip hardware; add a wristlet loop.
- Zipper top: sew zipper into lining and stitch lining to the clutch.
- Two-tone look: one color for panels, contrast edging for a designer finish.
- Add a flap: crochet a flap from the back top edge and close with snap.
- Swap the texture:
- lemon peel stitch (simple + dense)
- griddle stitch (modern texture)
- waistcoat stitch (knit-like, very structured)
Benefits of This Crochet Project#
- A practical accessory you’ll actually use
- Dense, textured fabric that looks boutique-level
- Great skill-builder: texture + seaming + finishing
- Easy to resize for different styles
- Works beautifully in neutrals or bold colors
- Makes an excellent gift (especially lined with a neat closure)
Internal Linking Suggestions#
You may also like…
- Free Crochet Pattern: Simple Crochet Pouch for Beginners
- Crochet Tutorial: Mattress Stitch for Invisible Seams
- Best Yarn for Crochet Bags (Cotton vs Cord vs Acrylic)
- Crochet Tutorial: How to Add a Fabric Lining to a Crochet Bag
- DIY Crochet: Installing Magnetic Snaps in Crochet Projects
- Free Crochet Pattern Roundup: Quick Weekend Accessories
FAQ Section#
What yarn works best for a structured crochet bag pattern?
Worsted cotton or braided cotton cord are the best choices. They resist stretching and give strong stitch definition, which makes the texture look crisp.
Is this a good crochet pattern for beginners?
Yes—especially confident beginners. The texture repeats in a simple rhythm, and the construction is just two panels plus seaming and edging.
How do I resize this clutch?
Change the starting chain to adjust width (use a multiple of 2 + 1). Add/remove repeat rows to adjust height. Just make sure both panels match exactly.
Do I need to line the bag?
It’s optional, but highly recommended. A lining improves durability, prevents stretching, and keeps small items from catching inside textured stitches.
Why are my clusters uneven?
Uneven clusters usually come from inconsistent tension when closing the cluster. Try to keep the final yarn-over (the one that closes the cluster) relaxed, not tight.
Can I add a chain strap without D-rings?
You can, but D-rings are more durable. If you skip them, crochet sturdy side loops into the top edging and reinforce them well.
Conclusion#
This textured crossbody clutch is the ultimate “small project, big payoff.” The petal-like texture makes it look luxe, the dense fabric helps it hold its shape, and the clean top edge plus snap closure give it that finished, boutique feel.
If you tell me what yarn you’re using (worsted cotton or cord size) and whether you want it more “mini” or more “everyday roomy,” I can adjust the starting chain and row count so your crochet pattern comes out perfectly proportioned.