Introduction#
A structured crossbody is one of those “worth it” crochet projects: it’s practical, wearable, and looks surprisingly high-end when you use the right stitch and finishing touches. If you’ve ever wanted a handmade bag that doesn’t slouch, doesn’t stretch out after a week, and actually looks like something you’d find in a boutique… this crochet pattern is for you.
Explore more beginner bags crochet patterns in our pattern library.
This tutorial-style guide will show you how to crochet a classic flap bag with a refined woven texture (a herringbone-style stitch), clean edges, detachable strap hardware, and a polished turn-lock closure. You’ll learn how to build a firm rectangular base, crochet crisp sides, shape a flap that sits neatly, and reinforce key stress points so the bag holds up to real daily use.
The pattern is designed to be approachable even if you’ve never crocheted a bag before. And because it’s built from simple panels and repeatable rows, it’s easy to resize—turn it into a mini “phone bag,” a medium everyday crossbody, or even a dressy clutch.
Detailed Description of the Crochet Pattern#
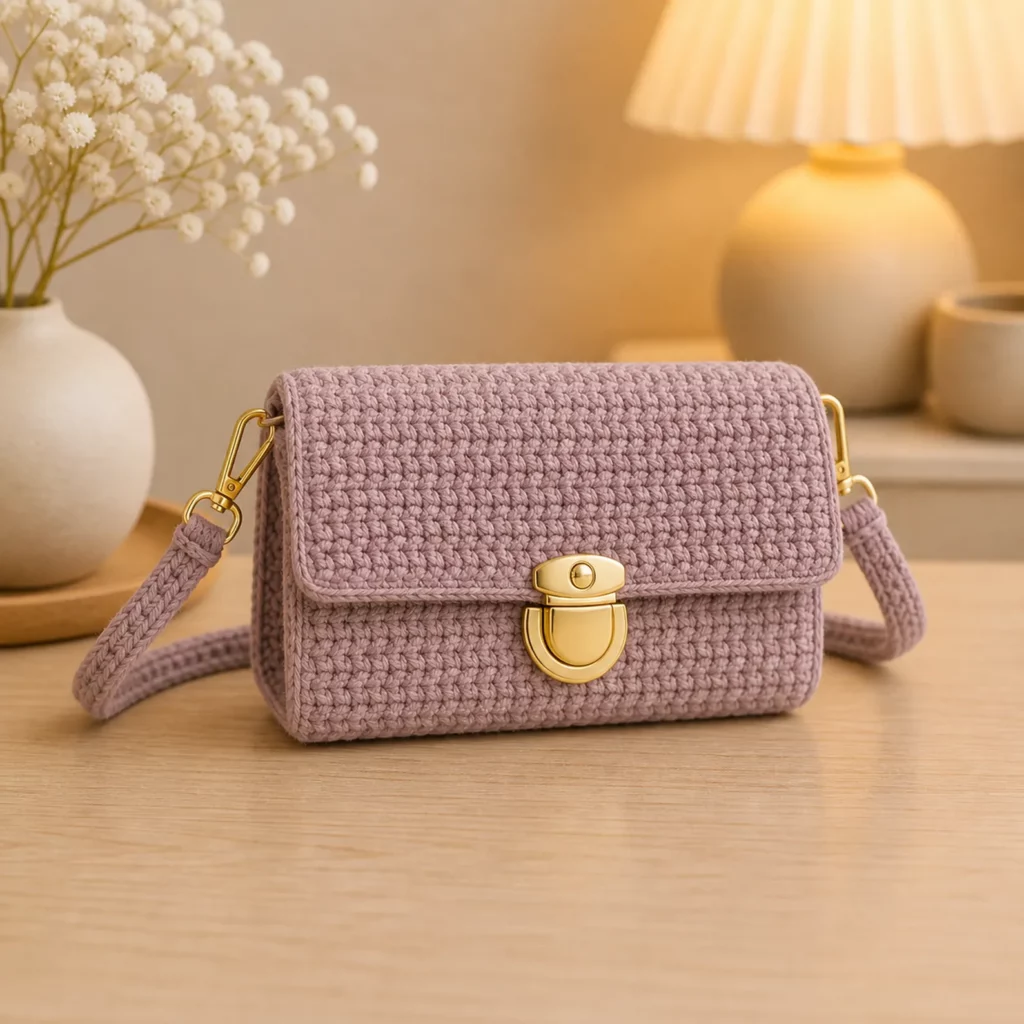
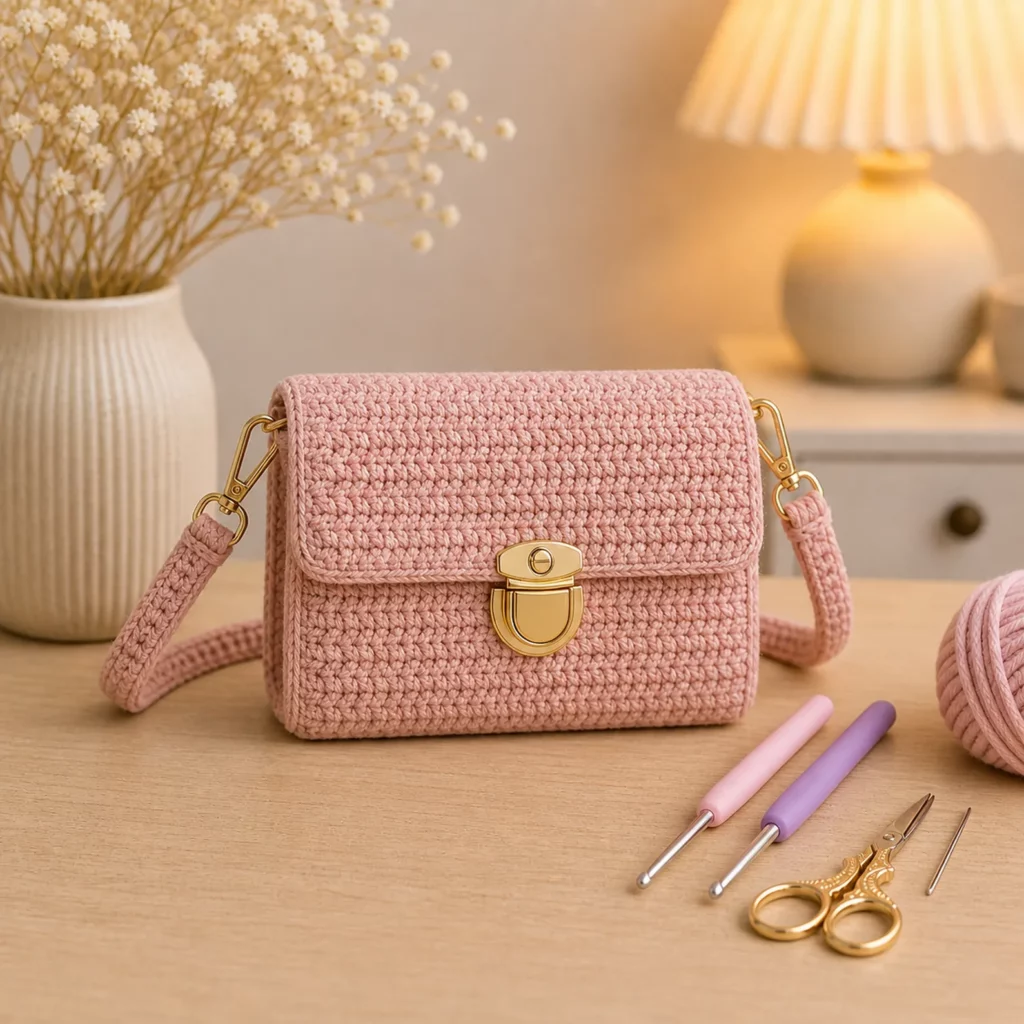
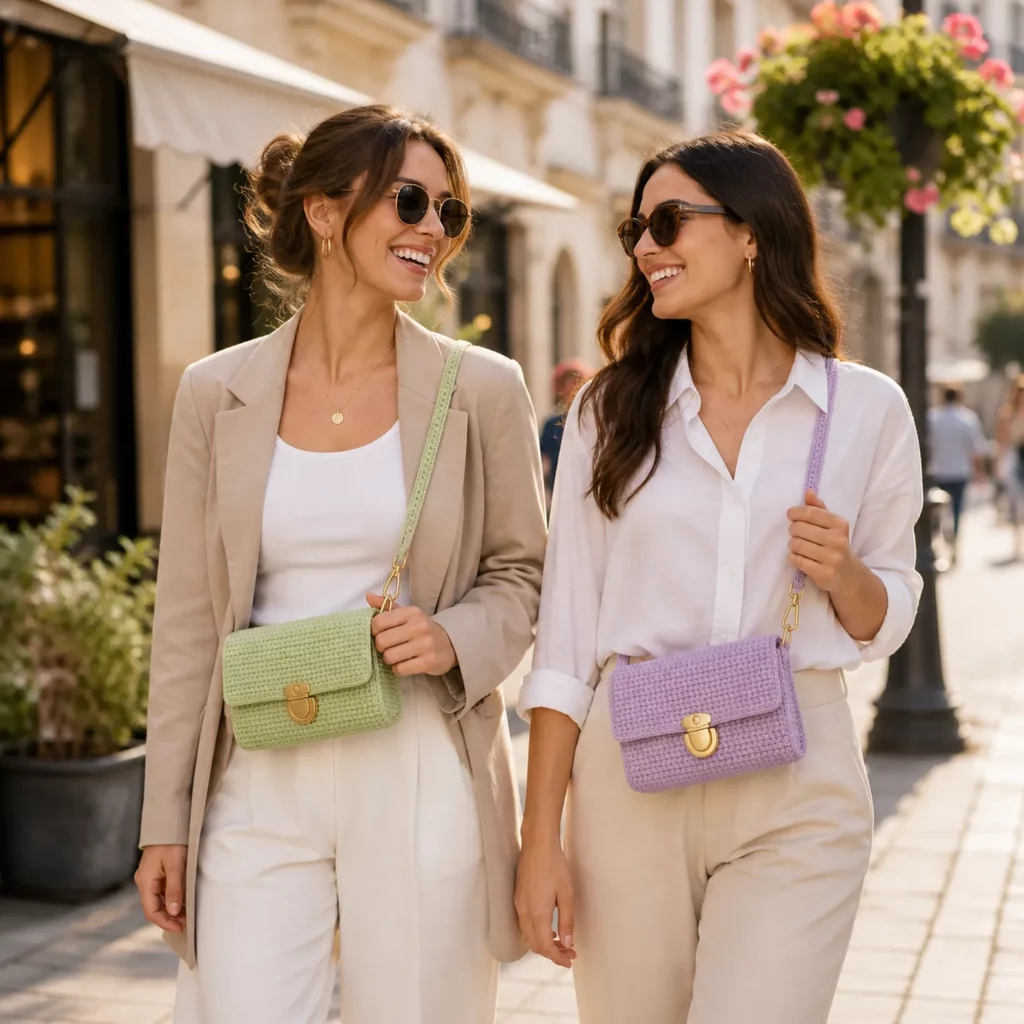
This crochet bag has a structured silhouette with a clean flap front and minimal hardware—classic, modern, and easy to style. The design is built around four main elements:
- Structured body: a rectangular base with straight sides, designed to keep the bag upright.
- Woven texture: a herringbone-style stitch that creates a subtle “braided” look across the fabric. This texture looks luxe in solid colors and adds depth without complicated colorwork.
- Full flap closure: the flap spans the width of the bag front and folds down to meet a turn-lock clasp (or magnetic snap).
- Detachable strap: strap tabs at the side connect to swivel hooks and a crossbody strap (store-bought or crocheted).
To get that crisp, tailored look, the pattern uses three “pro structure” choices:
- a tight stitch with minimal gaps
- a fold round at the base to create sharp corners
- reinforcement at hardware points (strap tabs + clasp area)
The end result is a durable, everyday bag that feels intentional and finished—inside and out.
Skill Level Explanation#
This is an easy-to-intermediate crochet project.
Great for confident beginners who can:
- crochet in rows and simple rounds
- keep consistent stitch counts
- seam panels together neatly
- work basic increases (for corners) and simple edging
Beginner-friendly elements:
- the bag body is mostly a repeat stitch pattern
- the shape is a simple rectangle (no complicated shaping)
- the flap is just rows worked back and forth
Intermediate elements (still totally manageable):
- attaching hardware (turn-lock, D-rings, swivel hooks)
- adding an optional lining for a professional interior
- maintaining firm tension for structure
If you’ve made a scarf or hat and you’re ready for your first accessory, this easy crochet pattern is a perfect step up.
Materials Needed#
Yarn
For a structured bag, yarn choice is everything. You want something with body (not too fluffy) and minimal stretch.
Recommended yarn options:
- Worsted weight (#4) cotton (best beginner choice for structure)
- Cotton-linen blend (sturdy with a gorgeous matte texture)
- Braided cotton cord (3–4 mm) (very structured, modern finish)
- Mercerized cotton (sleek stitch definition and durability)
Avoid (if you want a firm bag):
- very soft acrylic (can stretch/slouch unless lined)
- fuzzy yarns (hide stitch definition and weaken structure)
Yardage estimate (small-to-medium crossbody):
- 300–450 yards of worsted cotton
(less if using thick cord, more if making a longer flap/strap)
Suggested color:
- Neutral beige/tan is timeless, but this bag also looks amazing in black, cream, olive, or deep navy.
Hook
Choose a hook that creates a dense fabric:
- Worsted cotton: 3.5–4.5 mm
- Cotton cord: 4.5–6.0 mm
If you’re unsure, start smaller. Bag stitches should feel firm and slightly “tight” compared to garments.
Notions
- Stitch markers (very helpful for edges and corner placement)
- Yarn needle
- Scissors
- Measuring tape
Hardware (optional but recommended)
To match a boutique-style finish:
- 1 turn-lock clasp (or magnetic snap)
- 2 D-rings (½”–¾”)
- 2 swivel hooks (match D-rings)
- 1 strap (leather/webbing) or crochet your own
- Optional: jump rings + small pliers
Optional lining supplies
- Cotton fabric (a fat quarter is often enough)
- Needle + thread (or sewing machine)
- Optional: lightweight fusible interfacing for a stiffer lining
- Optional: plastic canvas or purse base insert (for a perfectly flat bottom)
Stitches & Techniques Explained#
Abbreviations (US terms)
- ch = chain
- sl st = slip stitch
- sc = single crochet
- hdc = half double crochet
- HBHDC = herringbone half double crochet
- inc = increase (2 stitches in one stitch)
- BLO = back loop only
- rep = repeat
- st(s) = stitch(es)
Herringbone Half Double Crochet (HBHDC)
This stitch creates the woven, “braided” surface and adds structure.
How to HBHDC:
- Yarn over, insert hook into stitch, pull up a loop (3 loops on hook)
- Pull the first loop through the second loop (2 loops remain)
- Yarn over, pull through both loops
HBHDC is slightly denser than regular hdc, which is why it’s fantastic for bags.
The “Fold Round” for Crisp Corners
When you crochet upward from a base, a BLO single crochet round creates a sharp fold line—like a crease—so the body stands up cleanly.
Reinforcing Stress Points
Bags fail at stress points:
- where the strap attaches
- where the clasp pulls
- where the flap corners bend repeatedly
This pattern includes reinforcement methods (extra stitching, optional lining/interfacing, and strong yarn tabs).
Step-by-Step Instructions#
Pattern notes
- Written in US terms.
- The bag is built in three stages: base → body → flap + finishing.
- Keep tension firm for structure.
- Finished size (approx.): 9″ wide x 6″ tall x 2.5″ deep (adjustable).
Part 1: Base Panel (Rectangle)
Use main color.
Foundation: Ch 31
(Adjust width by chaining more/less. For a similar proportion, keep the base width about 3–4x the base depth.)
Row 1: Sc in 2nd ch from hook and across. (30) Turn.
Row 2: Ch 1, sc across. (30) Turn.
Row 3: Ch 1, HBHDC in each st across. (30) Turn.
Row 4: Ch 1, HBHDC in each st across. (30) Turn.
Repeat Row 4 until base measures about 2.5 inches deep (usually 6–10 HBHDC rows depending on yarn).
Do not fasten off if you want to work directly around the base. If you prefer, fasten off and rejoin later.
Part 2: Crochet Around the Base (Setup Round)
You’ll now work around the rectangle to create the bag body.
Round 1: Ch 1, sc evenly around the base:
- 1 sc in each stitch along long sides
- 1 sc in each row-end along short sides
- 3 sc in each corner
Join with sl st to first sc.
Tip for neat corners: Place a stitch marker in the center stitch of each 3-sc corner. You’ll use this as your corner reference.
Part 3: Fold Round (Creates Crisp Bottom Edge)
Round 2: Ch 1, BLO sc in each st around. Join.
This is the round that makes the bag look structured instead of “tube-like.”
Part 4: Body Sides (Woven Texture)
Round 3: Ch 1, HBHDC in each st around. Join.
Rounds 4–10: Repeat Round 3 until the body height is 5.5–6 inches.
Fasten off and weave in end.
Optional interior stability upgrade:
If you want the bag extra structured, plan to add a lining (recommended) or a plastic canvas insert cut to fit the base.
Part 5: Flap (Worked Flat)
Rejoin yarn at the back top edge of the bag (centered). The flap should be the width of the bag front.
Row 1: Ch 1, sc across the back top edge for 30 stitches (or the stitch count across your bag front). Turn.
Row 2: Ch 1, HBHDC across. Turn.
Row 3: Ch 1, HBHDC across. Turn.
Repeat Row 3 until flap measures about 4.5–5.5 inches long.
Optional flap shaping (soft corners)
If you want gently rounded corners instead of a sharp rectangle:
Next row: Ch 1, dec 1 stitch at the beginning and end (ex: HBHDC2tog at each edge).
Next row: Repeat decreases once more.
Fasten off leaving a long tail for finishing.
Part 6: Flap Edging (Clean Outline)
Join yarn at one flap corner.
Work sc evenly around the flap perimeter:
- 1 sc per row along sides
- 1 sc per stitch along the bottom edge
- 2–3 sc at corners (enough to stay flat)
Fasten off and weave in ends.
Part 7: Strap Tabs + D-Rings (Optional but Recommended)
Make 2 tabs in matching yarn.
Tab (make 2):
Ch 9
Row 1: Sc in 2nd ch from hook and across (8). Turn.
Row 2–6: Ch 1, sc across (8).
Fasten off leaving a long tail.
Thread tab through a D-ring, fold in half, and sew securely to each side of the bag near the top corners. Reinforce with multiple passes of yarn.
Attach swivel hooks + strap.
Part 8: Closure (Turn-Lock or Magnetic Snap)
Turn-lock placement:
- Close flap and mark where it lands on the front panel.
- Install bottom part of clasp on bag front.
- Install top part on flap.
- Reinforce behind the clasp with fabric/interfacing (especially important with crochet).
No hardware option:
Use a button + loop:
- Sew a button on the front panel.
- Crochet a small loop on the flap edge (ch 10–14, sl st back) and sew down firmly.
Part 9: Optional Lining (Highly Recommended)
A lining makes the bag:
- more durable
- less stretchy
- safer for small items
- more “finished” inside
Simple method:
- Measure interior width/height/depth.
- Cut fabric and sew a box pouch.
- Insert lining and whip stitch around top edge.
- Stitch extra around strap tabs and clasp areas for reinforcement.
Common Mistakes and How to Avoid Them#
- Bag looks slouchy:
Use cotton/cord yarn, keep tension tight, and don’t skip the BLO fold round. - Sides flare outward:
You likely added too many stitches along the short sides in Round 1. Frog and redo Round 1 with fewer stitches along row-ends. - Texture looks uneven:
Herringbone stitches show tension changes more than regular stitches. Slow down and keep stitch height consistent. - Flap doesn’t sit centered:
Count stitches and place the flap starting point in the true center of the back edge. Pin the flap down before adding hardware. - Clasp area warps or stretches:
Always reinforce behind hardware with interfacing, felt, or extra fabric. Crochet alone can stretch under repeated pulling. - Strap stretches over time:
Use a store-bought strap or crochet a thermal stitch strap (much stronger than basic sc).
Expert Tips for Better Results#
- Swatch the stitch first: A quick HBHDC swatch tells you if your fabric is dense enough.
- Use stitch markers on corners: It keeps shaping neat and prevents “twisted” sides.
- Reinforce every stress point: Strap tabs, flap corners, and clasp area should get extra stitching.
- Add a base insert: Plastic canvas inside the lining makes the bottom perfectly flat and professional.
- Choose hardware that matches your vibe: Gold looks luxe with neutrals; matte black looks modern; antique brass looks vintage.
- Weave ends aggressively: Bags get handled a lot—short or loose ends can work free over time.
Variations and Customization Ideas#
- Mini phone bag: Use a smaller base (ch 23–25) and a shorter flap.
- Clutch version: Skip strap tabs and add a wristlet loop.
- Top-handle style: Add a short handle plus removable crossbody strap.
- Two-tone flap: Crochet the flap in a contrasting color for a designer color-block look.
- Swap the texture:
- griddle stitch (pebbly and dense)
- waistcoat stitch (knit-like “V” texture)
- moss stitch (more flexible, still neat)
- Interior pocket: Sew a small slip pocket into the lining for cards.
- Decor upgrades: Add a leather tag, tassel, or metal label for a boutique finish.
Benefits of This Crochet Project#
- A practical DIY crochet accessory you’ll use daily
- Structured silhouette that looks polished and “store-bought”
- A great skill-builder (texture stitches + assembly + hardware)
- Customizable size and strap options
- Works beautifully in classic neutrals or bold statement colors
- Excellent gift idea—especially with a lining and quality hardware
Internal Linking Suggestions#
You may also like…
- Herringbone Half Double Crochet Tutorial (Step-by-Step)
- Best Yarn for Crochet Bags (Cotton vs Cord vs Acrylic)
- How to Add a Fabric Lining to a Crochet Bag
- How to Install a Magnetic Snap or Turn Lock on Crochet
- Thermal Stitch Strap Crochet Tutorial (No-Stretch Straps)
- Beginner-Friendly Free Crochet Pattern Roundup (Bags & Pouches)
FAQ Section#
What yarn is best for a structured crochet bag pattern?
Cotton yarn, cotton-linen blends, and braided cotton cord are best because they hold their shape and resist stretching. Soft acrylic can work, but a lining becomes much more important.
Is this an easy crochet pattern for beginners?
Yes, especially if you’re comfortable with basic stitches and counting. The most “advanced” part is attaching hardware neatly—but it’s very doable with careful marking and reinforcement.
How do I make the bag bigger or smaller?
Change the base chain for width, add/remove base rows for depth, then crochet the sides to your preferred height. Keep the flap width aligned with the bag front for a clean look.
Do I need to add a lining?
Not required, but highly recommended. A lining improves durability, keeps small items from poking through, and makes the bag look more professional.
What closure can I use if I don’t have a turn-lock clasp?
A magnetic snap is the easiest alternative. For a fully crochet closure, use a button-and-loop.
How do I stop the strap from stretching?
Use a store-bought strap (leather/webbing) or crochet a thermal stitch strap. Also reinforce strap tabs with multiple passes of stitching.
Conclusion#
A structured flap crossbody is one of the most satisfying accessories to crochet because it feels both creative and truly useful. This free crochet pattern gives you a strong foundation—dense woven texture, crisp corners, a neat flap, and the option to add hardware that elevates the entire look.
If you tell me your yarn type (worsted cotton vs cord size) and your target finished size (mini / medium / large), I can adjust the starting chain, base depth, and flap length so your bag comes out perfectly proportioned.