


Introduction#
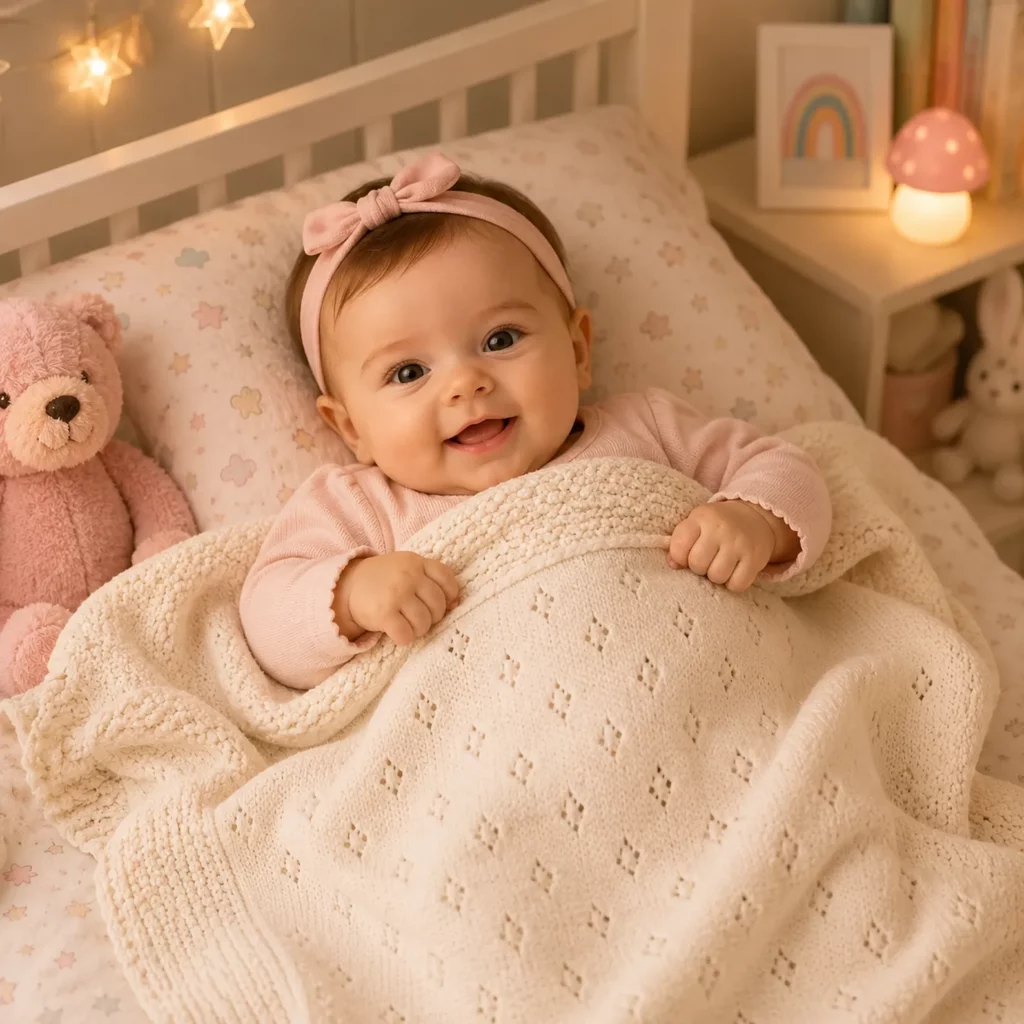
If you love baby blankets that feel classic, calm, and “keepsake-worthy,” an eyelet blanket is one of the prettiest projects you can crochet. It has that gentle, breathable drape that works beautifully for swaddling and stroller naps, but it still feels warm and cozy thanks to the solid stitch structure.
Explore more beginner blankets crochet patterns in our pattern library.
This crochet pattern gives you an heirloom look without fussy techniques. The main fabric is built with a repeating eyelet diamond motif that creates tiny open spaces (perfect for airflow), and the whole blanket is finished with a clean, textured border that helps it lie flat and keeps the edges polished.
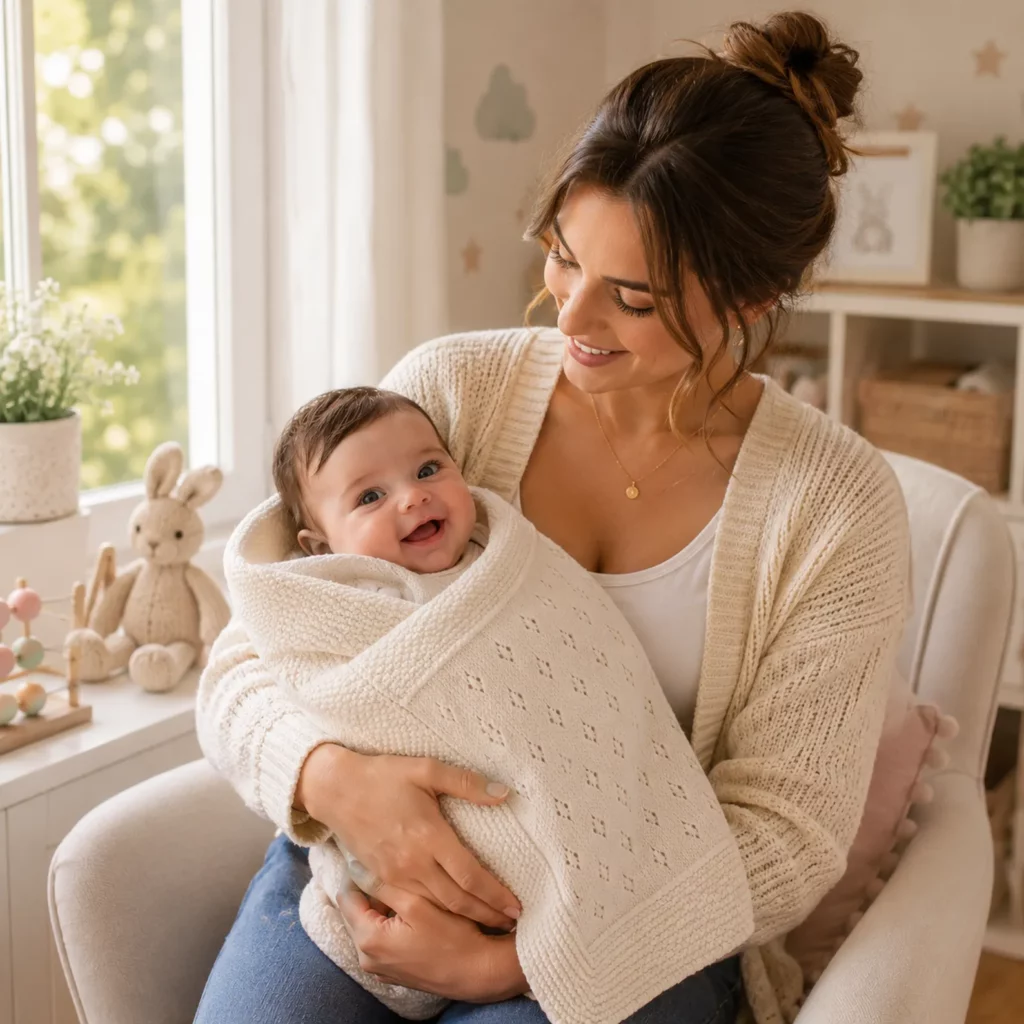
This is the kind of DIY crochet project you can make in a neutral shade for a modern nursery, or in soft pastels for a traditional baby gift. It also photographs beautifully, which is a bonus if you sell finished makes or want a memorable handmade present.
Detailed Description of the Crochet Pattern#
This blanket is a rectangular baby blanket with three key features:
A soft, mostly-solid fabric (not lacy and floppy) that still has a delicate pattern
Small, repeating diamond eyelets arranged in vertical columns for an elegant, minimalist look
A structured border that frames the blanket and prevents curling
The stitch pattern is designed to be rhythmic and relaxing once you learn the repeat. You’ll work a simple combination of double crochet and chain spaces to create “open” squares and “filled” squares, shaping them into diamonds over a set number of rows.
You can use the pattern as a swaddle blanket, crib blanket (supervised), stroller blanket, or even scale it up into a lightweight throw.
Skill Level Explanation#
Skill Level: Beginner to Confident Beginner
You’ll be comfortable with this easy crochet pattern if you know:
Chain (ch)
Single crochet (sc)
Double crochet (dc)
Skipping stitches and working into chain spaces
Counting stitches (important for lace patterns)
Newer skills you’ll practice (in a very manageable way):
Maintaining straight edges with turning chains
Reading a repeating stitch pattern
Fixing small “off-by-one” mistakes quickly
Adding a border that looks neat and professional
If you’ve crocheted a basic scarf or simple blanket before, you can absolutely make this.
Materials Needed#
Yarn
For the softest baby blanket, choose a smooth, baby-friendly yarn with good stitch definition.
Great yarn options:
Worsted weight (Category 4) for a cozier blanket
DK weight (Category 3) for a lighter, more drapey blanket
Fiber suggestions:
Acrylic baby yarn (easy care and budget-friendly)
Cotton or cotton blend (crisp stitches and breathable)
Bamboo blend (silky drape and softness)
Yardage estimates (approximate):
Stroller size: 600–900 yards
Crib size: 1,000–1,600 yards
Throw size: 1,800–2,400 yards
Hook
Choose a hook that gives you a soft drape but still keeps the eyelets neat.
DK yarn: 4.0 mm to 4.5 mm
Worsted yarn: 5.0 mm to 5.5 mm
If your holes look too large, go down a hook size. If the fabric feels stiff, go up a hook size.
Notions
Stitch markers (optional but helpful for repeats)
Yarn needle
Scissors
Measuring tape (recommended for sizing)
Optional finishing tools
Blocking mats or towels
Rust-proof pins (for gentle blocking)
Stitches & Techniques Explained#
Common Abbreviations
ch = chain
sc = single crochet
dc = double crochet
sp = space
sk = skip
rep = repeat
st(s) = stitch(es)
Turning Chain Notes
For this pattern, the turning chain counts as a stitch unless stated otherwise. Consistency is what matters most. If you prefer your edges cleaner, you can use a “chainless starting dc” at the beginning of rows instead.
How the Diamond Eyelets Work
You’ll create diamonds using “open” blocks and “filled” blocks.
Open block: ch 1, sk 1 (creates a small hole)
Filled block: dc in the next stitch (keeps the fabric solid)
By increasing the number of open blocks over a few rows, then decreasing them, the holes form a diamond shape.
Border Strategy
A good border does two things:
Adds weight so the blanket lies flat
Frames the lace so the edges look finished
We’ll use a simple textured border that is baby-safe and not overly holey.
Step-by-Step Instructions#
Finished Size
You can make this blanket in any size. Below are common starting sizes.
Stroller blanket: about 30 in x 36 in (76 cm x 91 cm)
Crib blanket: about 36 in x 48 in (91 cm x 122 cm)
Throw blanket: about 50 in x 60 in (127 cm x 152 cm)
This pattern is written to be easily adjustable.
Before You Start
Make a small swatch (at least 6 in x 6 in) if size matters. Lace patterns can grow with blocking and relax with use.
Foundation Chain
Choose a starting chain in a multiple of 12 + 3.
Examples:
Stroller size start: ch 123 (12 x 10 = 120, +3)
Crib size start: ch 147 (12 x 12 = 144, +3)
Throw size start: ch 195 (12 x 16 = 192, +3)
Row 1 (Setup)
Dc in 4th ch from hook (counts as first dc), dc in next ch
ch 1, sk 1 ch, dc in next 2 ch repeat across to last 3 ch
ch 1, sk 1, dc in last 2 ch
Row 2 (Setup)
ch 3, turn (counts as dc), dc in next dc
ch 1, sk the ch-1 sp, dc in next 2 dc repeat across
ch 1, sk ch-1 sp, dc in last 2 dc
At this point you have a neat “grid” that is mostly solid with small, evenly spaced eyelets. Now you’ll begin the diamond motif.
Diamond Motif Overview
Each diamond is worked over 12 rows. You’ll repeat these 12 rows until the blanket reaches your desired length, then finish with a matching closing section.
To make it easy, think of each 12-stitch block as one “panel.” Every 12 stitches, your diamond pattern repeats.
Motif Rows 1–12 (Work Across the Row)
All motif rows begin with: ch 3, turn, dc in next dc
All motif rows end with: dc in last 2 dc (keeping the edges consistent)
Motif Row 1
Work the same as Row 2 setup:
ch 1, sk ch-1 sp, dc in next 2 dc repeat across
Motif Row 2 (Diamond Begins)
ch 1, sk ch-1 sp, dc in next dc, ch 1, sk 1 dc, dc in next dc repeat across
This starts creating “paired” eyelets that will become the diamond sides.
Motif Row 3
ch 1, sk ch-1 sp, dc in next 2 dc repeat across
Motif Row 4 (Widen Eyelets)
ch 1, sk ch-1 sp, dc in next dc, ch 1, sk 1 dc, dc in next dc repeat across
Same as Motif Row 2. Repeating this every other row builds the diamond.
Motif Row 5
ch 1, sk ch-1 sp, dc in next 2 dc repeat across
Motif Row 6 (Diamond Center)
ch 1, sk ch-1 sp, dc in next dc, ch 1, sk 1 dc, dc in next dc repeat across
This is the “fattest” part of the diamond.
Motif Row 7
ch 1, sk ch-1 sp, dc in next 2 dc repeat across
Motif Row 8 (Begin Narrowing)
Now we shift slightly to taper:
dc in next dc, ch 1, sk 1 dc, dc in next dc, ch 1, sk ch-1 sp repeat across
If you find this confusing, use stitch markers every 12 stitches and focus on keeping the eyelets centered in each panel.
Motif Row 9
ch 1, sk ch-1 sp, dc in next 2 dc repeat across
Motif Row 10 (Narrow More)
Repeat Motif Row 8
Motif Row 11
ch 1, sk ch-1 sp, dc in next 2 dc repeat across
Motif Row 12 (Close Diamond)
Repeat Motif Row 8 one last time, then your next motif starts back at Motif Row 1.
Length
Repeat Motif Rows 1–12 until the blanket is your desired length, ending after a Motif Row 1, 3, 5, 7, 9, or 11 (one of the “simple grid” rows). This makes the top edge match the bottom edge.
Top Edge Finishing Rows
Repeat Row 2 setup for 2 rows to “frame” the lace and give a tidy transition into the border.
Fasten off or move straight into the border without cutting yarn.
Border
Round 1 (Single Crochet Foundation)
With right side facing, work sc evenly around the blanket:
Work 1 sc in each dc
Work 1 sc in each ch-1 space
At corners, work (sc, ch 2, sc) in the corner stitch or corner space
Tip: If your border starts to ripple, you likely have too many sc along the sides. If the sides pull inward, add a few extra sc evenly spaced.
Round 2 (Textured Border)
ch 1, sc around, working (sc, ch 2, sc) in each corner ch-2 space
Round 3 (Gentle Texture)
ch 2 (does not count as a stitch), dc in next st, sc in next st repeat around
Work (dc, ch 2, dc) in corners to keep the border turning neatly
Round 4 (Final Neat Edge)
ch 1, sc around, (sc, ch 2, sc) in corners
Fasten off and weave in ends.
Blocking (Optional but Beautiful)
Gently wet block or steam block to open the eyelets and smooth the border. Baby blankets look extra polished after light blocking.
Common Mistakes and How to Avoid Them#
The edges look wavy
This often comes from inconsistent turning chains or skipping the first/last stitch. Count the first 5 stitches of each row and the last 5 stitches until you feel confident.
The diamond pattern doesn’t line up
Place stitch markers every 12 stitches across the first setup row. It becomes much easier to see where each panel begins and ends.
Too many holes (blanket feels too open)
Use DK or worsted yarn with a smaller hook. Also consider making the border wider to add visual “weight.”
Border ripples
You likely added too many stitches along the sides. Remove the border round and redo with fewer sc along the long edges.
Blanket is stiff
Go up a hook size or switch to a softer yarn blend. The stitch pattern should drape nicely.

Expert Tips for Better Results#
Use a smooth yarn for the cleanest eyelets. Fuzzy yarn hides the diamond detail.
Count stitches at the end of every motif row until the repeat is memorized.
Weave ends along solid dc sections so they disappear.
If you want a more “boutique” look, add one more round of the textured border (dc/sc alternating) before the final sc edge.
For gifting, add a small handmade tag to one corner after blocking.
Variations and Customization Ideas#
Make it a warmer blanket: use worsted yarn and add 2–4 extra border rounds
Make it lighter: use DK yarn and a larger hook for a spring/summer baby blanket
Add subtle stripes: change color every 12 motif rows (one full diamond repeat)
Create a modern look: use a single neutral shade and a contrasting border color
Add a delicate edging: replace the final sc round with a simple picot edge (sc, ch 3, sl st in same st) every 3 stitches
Turn it into a shawl: scale the width down and length up, then add a drapier border
Benefits of This Crochet Project#
A calming, repetitive crochet tutorial pattern that’s enjoyable to work on
The eyelet diamonds add elegance without being fragile
Breathable fabric that’s great for layering and swaddling
A timeless design that suits any nursery style
Easy to scale up or down for different blanket sizes
A gift-worthy finish thanks to the structured border
Internal Linking Suggestions#
How to Crochet a Magic Ring (Beginner Tutorial)
How to Crochet a Straight Edge (Turning Chain Tips)
Best Yarn for Baby Blankets (Soft, Washable Picks)
How to Block Crochet for a Professional Finish
Easy Crochet Border Ideas (Free Collection)
Crochet Blanket Size Chart for Babies and Toddlers
FAQ#
Is this a good crochet pattern for beginners?
Yes. The stitches are beginner-friendly (mostly double crochet and chain spaces). The main skill is keeping counts consistent, which gets easier once you mark the 12-stitch repeats.
What yarn is best for a baby blanket like this?
A smooth, washable baby yarn is ideal. Acrylic baby yarn is easy-care, cotton is breathable and crisp, and bamboo blends feel extra soft and drapey.
How do I adjust the blanket width?
Start with a foundation chain that is a multiple of 12 + 3. That keeps the diamond panels repeating evenly across the blanket.
How do I adjust the length?
Repeat the 12-row diamond motif until you reach your desired length, then finish with 2 setup rows before adding the border.
Is the eyelet pattern safe for babies?
The holes are small and decorative, not large mesh. Still, always follow safe sleep guidelines and use blankets only as recommended for your baby’s age and situation.
Why is my border curling or rippling?
Curling usually means too few border stitches; rippling usually means too many. Adjust by evenly spacing sc stitches along the sides and keeping corners consistent.
Can I use this as a swaddle blanket?
Yes. The fabric is soft and breathable, and the rectangle shape wraps nicely. Choose a gentle yarn and avoid overly heavy borders if you want maximum swaddle drape.
Conclusion#
This heirloom-style baby blanket crochet pattern is a beautiful mix of simple stitches and delicate detail. The diamond eyelets give it a light, elegant texture, while the structured border keeps everything neat and gift-ready. It’s the kind of free crochet pattern you can make once, then return to for every new baby in your life—changing colors, yarn, and size each time.
If you tell me the yarn weight you want to use (DK or worsted) and your target blanket size, I can give you the exact starting chain and a simple row-count estimate to help you plan your project confidently.


