Introduction#
Few handmade projects are as charming as a crochet baby romper. Combining comfort, practicality, and timeless style, this adorable textured romper is the perfect addition to any baby’s wardrobe. Featuring a beautifully textured bubble stitch body, ribbed edging, and adjustable button straps, this crochet pattern creates a classic outfit that looks both modern and heirloom-inspired.
Explore more intermediate baby crochet patterns in our pattern library.
Ideal for baby showers, newborn photography, birthdays, and everyday wear, this romper is designed to keep little ones comfortable while showcasing the beauty of handmade craftsmanship. The soft texture adds visual interest without being bulky, while the sleeveless design makes it suitable for layering throughout the year.
Whether you’re looking for a free crochet pattern, an easy crochet pattern to improve your skills, or a thoughtful handmade gift, this baby romper is a rewarding project you’ll enjoy making again and again.
Detailed Description of the Crochet Pattern#
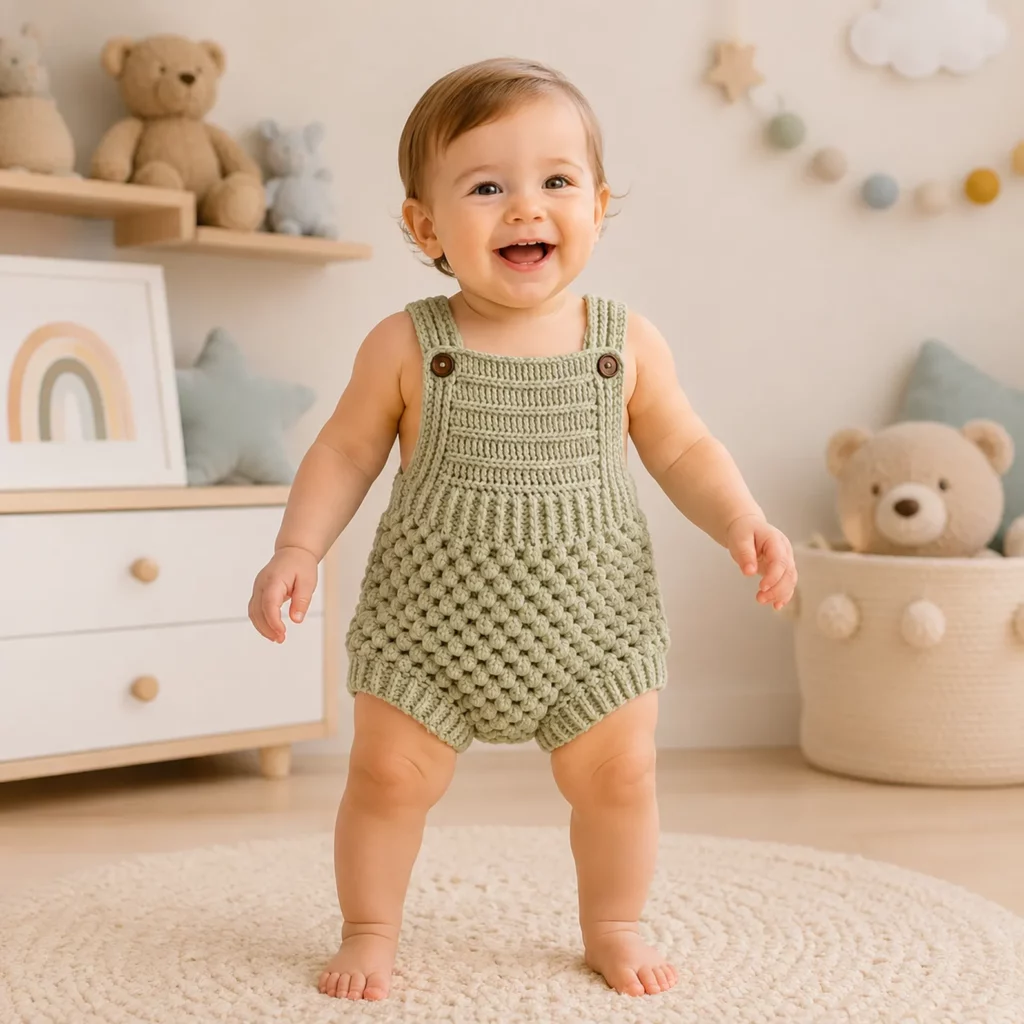
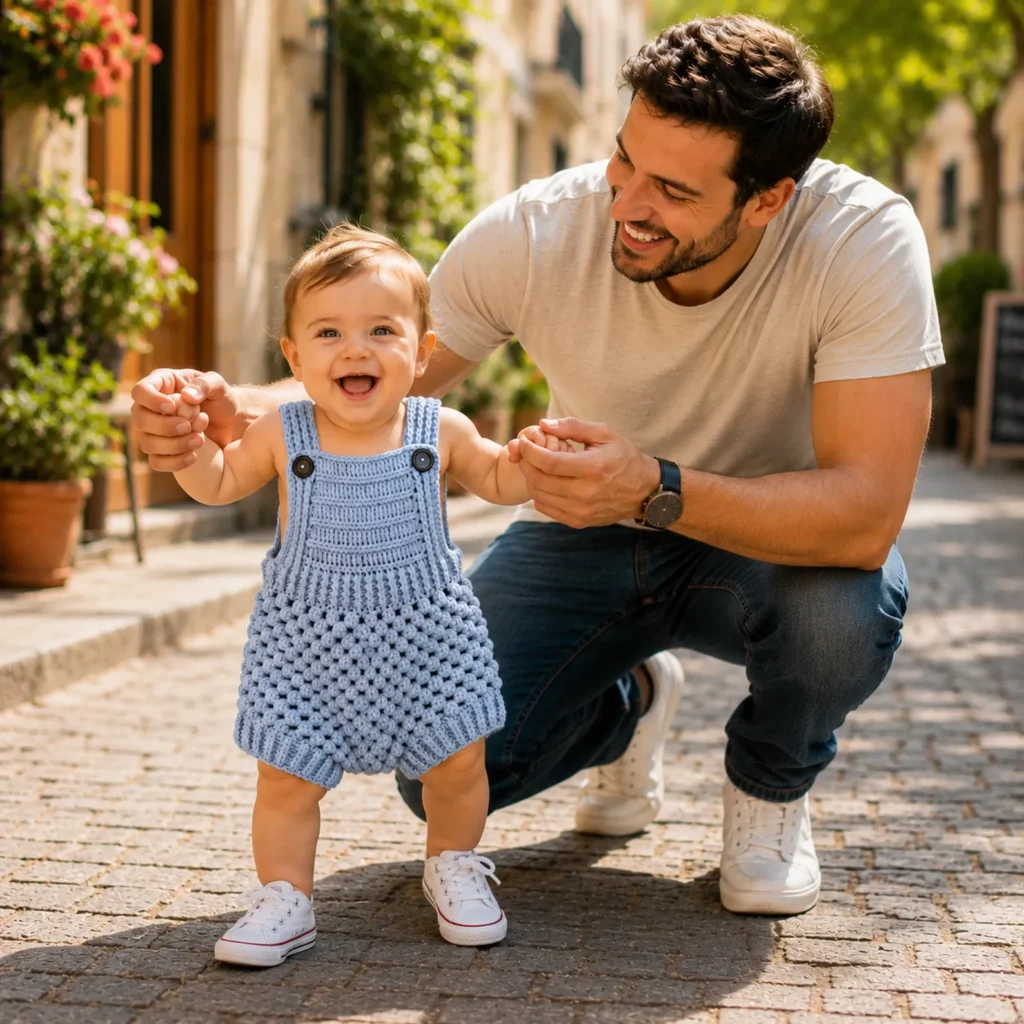
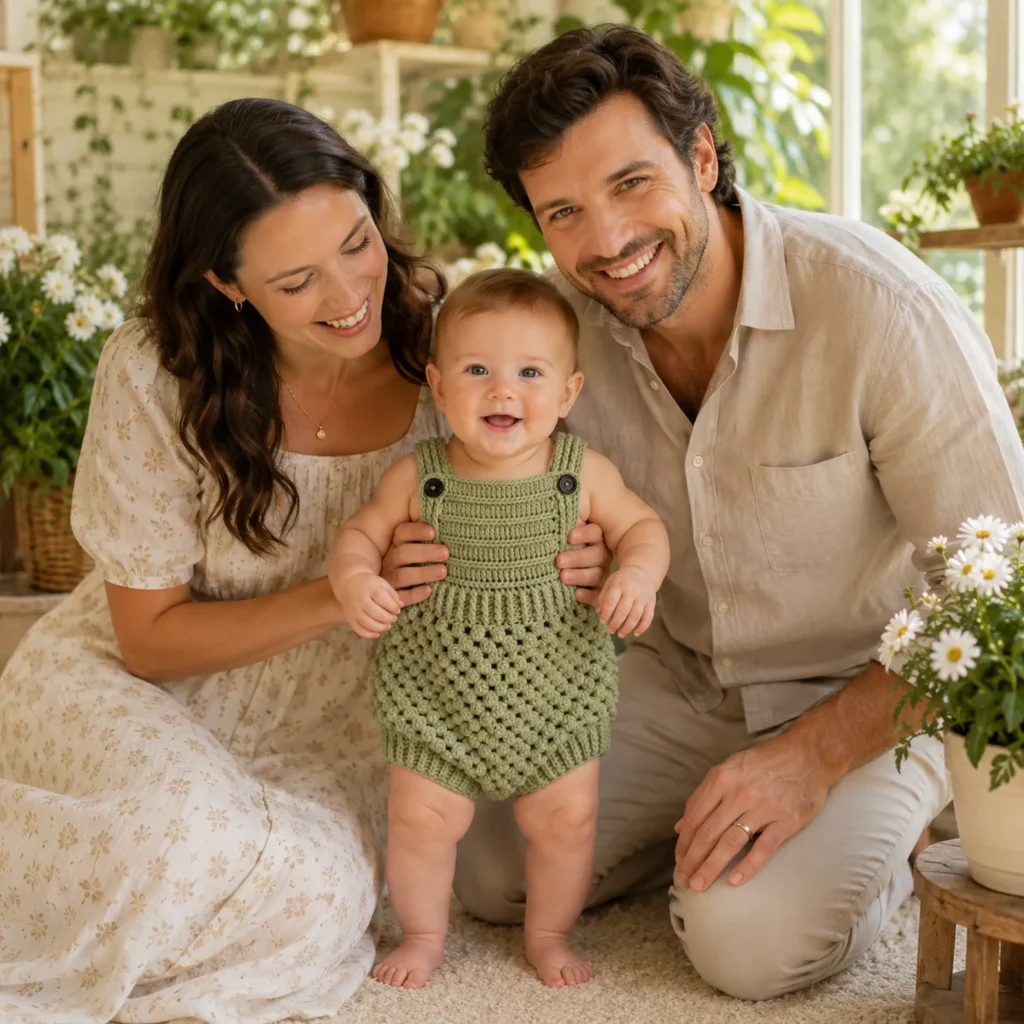
This crochet pattern creates a one-piece baby romper featuring a structured bib front, adjustable shoulder straps, textured body, and ribbed leg openings.
The standout feature is the beautiful bubble stitch texture that covers the main body of the romper. This stitch creates a soft, cushioned fabric with a three-dimensional appearance that looks sophisticated while remaining comfortable against delicate skin.
The upper bib section is worked using simple crochet rows that create a smooth, structured panel. Adjustable shoulder straps attach with buttons, allowing the romper to grow with the baby and making dressing easier for parents.
The lower portion includes gentle shaping around the legs for comfort and mobility, while ribbed edging helps maintain a snug but flexible fit.
The finished garment is both stylish and practical, making it perfect for active babies.
Skill Level Explanation#
Is This Crochet Pattern Suitable for Beginners?
Yes. This project is suitable for advanced beginners and intermediate crocheters.
While the bubble stitch texture requires some attention, the overall construction is straightforward and repetitive.
Perfect for:
- Crochet for beginners looking to learn texture stitches
- Intermediate crocheters
- Baby clothing makers
- Handmade gift creators
- Crochet shop owners
Skills you’ll practice include:
- Foundation chains
- Single crochet
- Double crochet
- Bubble stitch techniques
- Ribbing methods
- Working in rows
- Basic shaping
- Button attachment
Materials Needed#
Choosing soft, baby-safe materials will ensure comfort and durability.
Recommended Yarn
Suitable yarn options include:
- Baby cotton yarn
- Cotton blends
- Bamboo blends
- Baby acrylic yarn
- Lightweight merino wool
Soft, washable fibers are ideal for baby garments.
Yarn Weight
For the best texture and fit, use:
- DK weight yarn
- Sport weight yarn
- Light worsted yarn
Crochet Hook
Recommended sizes:
- 3.5 mm
- 4.0 mm
- 4.5 mm
Always check gauge before starting.
Additional Supplies
- Two buttons
- Yarn needle
- Scissors
- Stitch markers
- Measuring tape
Stitches & Techniques Explained#
Chain Stitch (ch)
The chain stitch creates the foundation for each section of the romper.
Single Crochet (sc)
Single crochet provides structure and durability around edges and ribbed sections.
Double Crochet (dc)
Double crochet helps create height and flexibility throughout the garment.
Bubble Stitch
The signature texture is created using grouped stitches worked into the same stitch.
The result is a raised, rounded texture that resembles small puffed bubbles.
Benefits include:
- Soft texture
- Beautiful stitch definition
- Added warmth
- Professional appearance
Ribbing Technique
The waistband and leg openings use ribbed crochet rows that create stretch and comfort.
Step-by-Step Instructions#
Crochet the Front Bib
Begin with a foundation chain suitable for your chosen size.
Work rows of double crochet to create a rectangular bib panel.
Continue until the desired bib height is reached.
Create the Shoulder Straps
Work narrow strips extending from the top corners of the bib.
The straps should be long enough to comfortably reach the back panel.
Create buttonholes near the ends.
Crochet the Waistband
Attach yarn to the lower edge of the bib.
Work ribbed rows across the width.
This section separates the smooth bib from the textured body.
Begin the Bubble Stitch Body
Work the first row of bubble stitches evenly across.
Alternate texture rows with stabilizing rows as needed.
Continue building the body while maintaining stitch consistency.
Shape the Romper
As the body grows, begin shaping for the leg openings.
Use gradual decreases to maintain a comfortable fit.
Check measurements regularly.
Create the Back Section
Work the back panel separately or continue in rounds depending on your preferred construction method.
Ensure the back aligns with the front bib and strap placement.
Finish the Leg Openings
Work ribbed edging around each leg opening.
This creates flexibility and helps the romper maintain its shape.
Attach Buttons
Sew buttons securely onto the front bib.
Test strap placement before final attachment.
The adjustable straps allow for growth and improved fit.
Weave in Ends
Carefully secure all yarn tails.
Pay special attention to high-stress areas such as straps and button attachments.
Common Mistakes and How to Avoid Them#
Uneven Bubble Texture
Cause:
- Inconsistent stitch height
Solution:
- Maintain even tension throughout each bubble stitch
Straps Too Short
Cause:
- Incorrect measurements
Solution:
- Measure against the intended size before finishing
Leg Openings Too Tight
Cause:
- Excessive decreases
Solution:
- Add extra shaping rows before finishing
Bib Panel Curls
Cause:
- Tight tension
Solution:
- Use a slightly larger hook
Buttons Pull on Fabric
Cause:
- Weak attachment points
Solution:
- Reinforce button areas with extra stitches
Expert Tips for Better Results#
Use Soft Baby-Friendly Yarn
Comfort should always be the top priority when making baby garments.
Block Before Attaching Buttons
Blocking allows the garment to settle into its final shape.
Choose Wooden or Coconut Buttons
Natural buttons complement the handmade appearance beautifully.
Reinforce Straps
Work an extra row of single crochet along each strap for durability.
Make Matching Accessories
Create a coordinated baby set with:
- Baby bonnet
- Booties
- Cardigan
- Headband
- Baby blanket
Variations and Customization Ideas#
Classic Baby Blue Romper
Perfect for everyday wear and baby gifts.
Neutral Modern Design
Use:
- Cream
- Beige
- Sage
- Soft gray
For a contemporary nursery aesthetic.
Vintage-Inspired Version
Add decorative edging and wooden buttons.
Summer Romper
Use lightweight cotton yarn and shorter leg shaping.
Winter Romper
Choose soft merino wool and layer over long-sleeve bodysuits.
Benefits of This Crochet Project#
Practical and Stylish
The romper combines comfort with timeless design.
Perfect Handmade Gift
Ideal for:
- Baby showers
- Newborn gifts
- Birthdays
- Pregnancy announcements
Skill-Building Project
You’ll practice:
- Texture stitches
- Garment shaping
- Button attachments
- Ribbing techniques
Quick to Complete
Compared to larger garments, a baby romper can be completed relatively quickly.
Highly Customizable
Adjust:
- Color
- Size
- Strap length
- Button style
- Stitch pattern
Internal Linking Suggestions#
You may also enjoy:
- Easy Crochet Baby Bonnet Pattern
- Crochet Baby Booties Tutorial
- Free Crochet Baby Blanket Pattern
- Crochet Baby Cardigan Pattern
- Beginner Crochet Romper Guide
- Crochet Puff Stitch Tutorial
- Best Yarn for Baby Crochet Projects
- Handmade Baby Gift Ideas
Frequently Asked Questions#
Is this crochet pattern beginner-friendly?
Yes. Confident beginners can successfully complete this project while learning new texture techniques.
What yarn is best for baby rompers?
Soft cotton, bamboo blends, and baby acrylic yarns are excellent choices because they are gentle and washable.
How much yarn will I need?
Most baby rompers require approximately 250–500 yards depending on size and yarn weight.
Can I make this pattern larger?
Yes. Simply increase stitch counts and adjust the strap length accordingly.
Are buttons safe for baby clothing?
Yes, provided they are sewn securely and checked regularly.
Can I use different texture stitches?
Absolutely. Puff stitches, bobbles, and cluster stitches can all create beautiful variations.
Is this suitable for summer?
Yes. Lightweight cotton yarn creates a breathable garment perfect for warm weather.
Can I sell finished rompers?
Yes. Handmade baby rompers are popular items for craft fairs, boutiques, and online stores.
Conclusion#
This adorable baby crochet romper pattern combines beautiful texture, practical construction, and timeless style in one charming project. The structured bib, adjustable button straps, soft bubble stitch body, and comfortable fit make it a wonderful addition to any handmade baby wardrobe.
Whether you’re creating a heartfelt baby shower gift, building your crochet garment skills, or making a keepsake for a special little one, this crochet pattern offers the perfect balance of simplicity and sophistication. With endless opportunities for customization, it’s a project you’ll return to for years to come.