


Introduction#
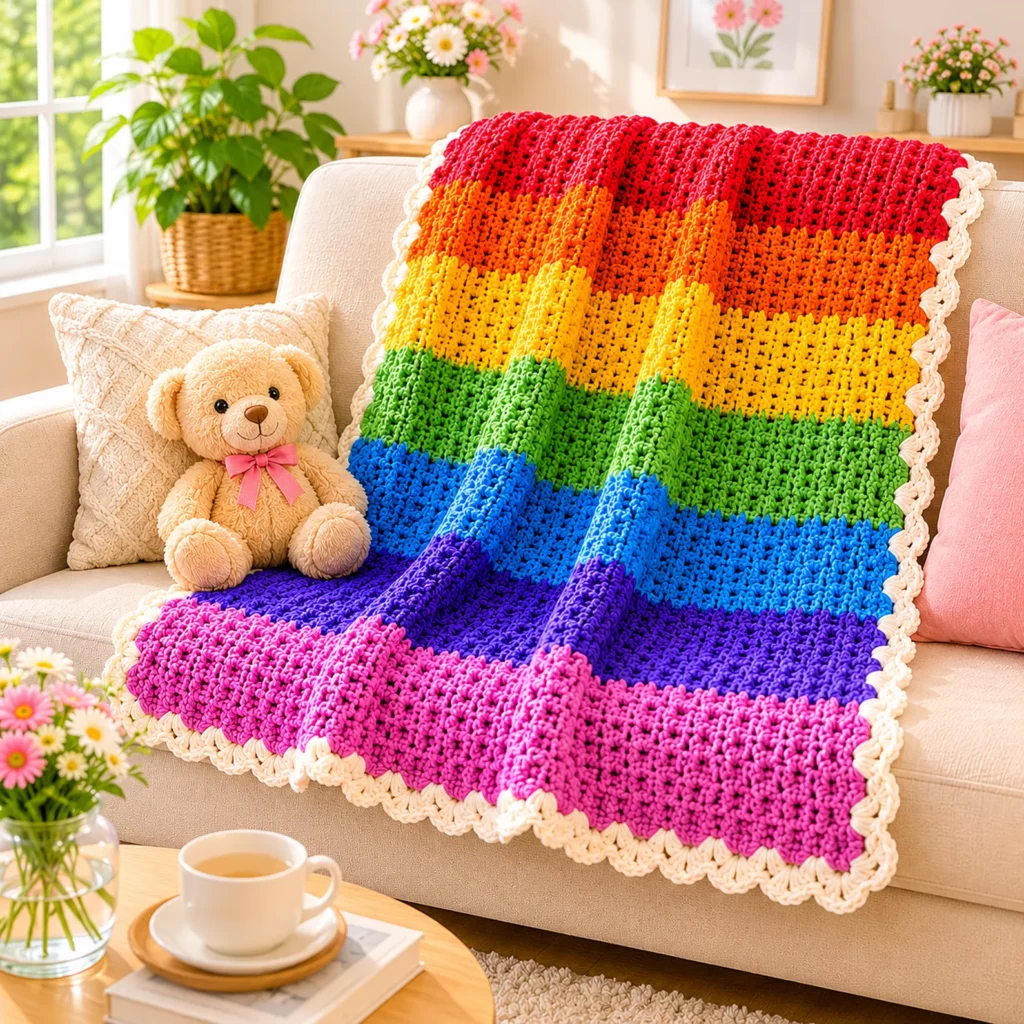
If you want a blanket that looks cheerful on a chair and feels like a hug the second you pull it over your shoulders, a “cuddle throw” is the perfect project. This style is all about plush texture, bold stripes, and an easy stitch repeat you can memorize quickly. It’s the kind of crochet pattern that works beautifully for nursery décor, playrooms, reading corners, and cozy living rooms—anywhere you want a pop of color and a ton of comfort.
Explore more beginner blankets crochet patterns in our pattern library.
What makes this blanket extra satisfying is the texture. Instead of a flat double crochet fabric, we’ll use a beginner-friendly stitch that creates little nubs across the surface. It builds a thick, squishy fabric without complicated shaping. Then we’ll frame the whole throw with a clean, bright scalloped edging that instantly makes it look polished and gift-worthy.
Below you’ll find a complete free crochet pattern written in a crochet tutorial style: materials, stitch explanations, stripe planning, step-by-step instructions, border help, and the most common mistakes to avoid so your throw comes out neat, flat, and cozy.
Detailed Description of the Crochet Pattern#
This blanket is a striped throw worked in rows. The body uses a textured stitch that creates a “cuddle” feel—soft bumps that look almost like tiny popcorns, but made with an easier motion that’s great for beginners. The stripes are wide and bold, so you get clean color blocks with strong visual impact.
Key design elements you’ll recreate
Wide rainbow-inspired stripes (choose your own palette or use stash leftovers)
All-over texture created with a simple bean/mini-puff style stitch
A neat white frame plus a scalloped shell edge that gives a finished, decorative border
A rectangle shape with no complicated shaping, no motifs, and no joining required
This is a very flexible crochet pattern. You can make it baby-blanket size, lapghan size, or a full throw just by adjusting your starting chain and the number of stripe repeats.
Skill Level Explanation#
Skill Level: Beginner to Confident Beginner
You’ll do great if you already know
Chain (ch)
Single crochet (sc)
How to turn at the end of rows
Basic color changes at the edge of a row
Newer skills you’ll learn (or practice)
A simple textured stitch (mini bean/mini puff)
Keeping straight edges with stitch markers
Working an easy border around a rectangle
Making scallops that sit flat
If you can crochet a basic scarf, you can crochet this easy crochet pattern. The texture stitch looks fancy, but the repeat is simple once you get the rhythm.
Materials Needed#
Yarn
This throw looks best in a soft, chunky yarn that emphasizes texture and makes the blanket feel extra plush.
Recommended yarn weights
Bulky (Category 5) for a thick, cozy throw with fast progress
Worsted (Category 4) for a slightly lighter throw with more drape (still cozy, just less thick)
Fiber suggestions
Acrylic or acrylic blends for softness and easy washing
Anti-pilling yarn if you want it to look newer longer
Cotton blends if you want more weight and less stretch (great stitch definition)
Color palette (rainbow stripe idea)
Purple/magenta
Blue
Green
Yellow
Orange
Red
White/cream for border and scallops
Practical yarn tip: textured stitches use more yarn than plain double crochet. If you’re close on yardage, grab an extra skein of your border color so you don’t run out during the finishing steps.
Approximate yardage (very general)
Throw (about 40″ x 55″) in bulky yarn: 1600–2200 yards total (or equivalent by weight)
Throw in worsted yarn: 2200–3200 yards total
These ranges vary a lot depending on your stitch height, hook, and how thick your border is.
Hook
Bulky yarn: 6.0 mm (J/10) to 7.0 mm
Worsted yarn: 5.0 mm (H/8) to 5.5 mm (I/9)
If your texture looks tight and stiff, go up a hook size. If it looks holey, go down.
Notions
Stitch markers (very helpful for edges and border corners)
Yarn needle
Scissors
Measuring tape
Stitches & Techniques Explained#
Abbreviations
ch = chain
sc = single crochet
sl st = slip stitch
st(s) = stitch(es)
sp = space
RS/WS = right side/wrong side
( ) = repeat
[ ] = stitch count (if included)
The Textured Stitch: Mini Bean Stitch (Beginner-Friendly “Cuddle” Texture)
This stitch creates small, soft nubs and a thick fabric without complicated clusters.
Mini Bean Stitch (mbs)
Insert hook into indicated stitch, yarn over, pull up a loop (2 loops on hook)
Yarn over, insert hook into same stitch, yarn over, pull up a loop (4 loops on hook)
Yarn over, pull through all loops on hook
Ch 1 to lock the stitch
Important: that ch-1 is part of the stitch. It helps the bean pop and keeps the fabric even.
Where to work the next stitch
After you make a mini bean stitch, you’ll usually work the next stitch into the next stitch (not into the little ch-1 you just made). Keeping this consistent is what makes your rows look neat.
Clean Color Change at the End of a Row
To change colors neatly
Work the last sc of the row until 2 loops remain on hook
Yarn over with the new color and pull through the last 2 loops
Turn and continue
This keeps the edge clean and prevents random color dots on the sides.
Step-by-Step Instructions#
Finished Size
This crochet pattern is easy to resize.
Common sizes
Lapghan: 36″ x 48″
Throw: 40″ x 55″
Large throw: 50″ x 60″
Gauge
Gauge isn’t critical for blankets, but it helps you hit your target size.
In mini bean stitch fabric, bulky yarn, 6.5 mm hook (example range)
8–10 stitches = 4″
8–10 rows = 4″
Your exact gauge may differ. The easiest method is to crochet 8–10 rows and measure.
Notes Before You Start
Work in rows, turning after each row
Use stitch markers in the first and last stitch of each row until you feel confident
Keep your ch-1 “lock” after each mini bean consistent (snug, not tight)
Weave ends in as you go if you change colors often
Foundation Chain
This stitch pattern works well with an even stitch count.
For a throw width of about 40″ (bulky yarn), start with
Ch 80–100 (then adjust after you measure your first few rows)
Beginner-friendly sizing method
Chain until the width you want is reached, then add 1 extra chain for turning
If you prefer cleaner planning, chain an even number
Row 1 (Foundation Setup)
Sc in 2nd ch from hook and sc in each ch across
Turn
This row stabilizes the edge and makes the textured rows easier.
Row 2 (Begin Texture)
Ch 1, turn
Sc in first st
Mini bean stitch in next st
Sc in next st
Repeat (mbs, sc) across, ending with sc in the last stitch
Turn
You should see the first bumps forming.
Row 3 (Continue Texture)
Ch 1, turn
Sc in first st
Repeat (mbs in next st, sc in next st) across
Turn
Rows 2–3 create a simple repeat. The fabric will look more textured after 4–6 rows.
Continue the Body
Repeat Row 3 until you finish the height of your first color stripe.
Stripe height suggestions (for bold stripes)
Bulky yarn: 10–14 rows per color stripe
Worsted yarn: 14–20 rows per stripe
If you want a faster project, use fewer rows per stripe. If you want a more dramatic block look, use more.
Suggested Stripe Plan (Rainbow-Inspired)
You can customize this to match your yarn.
Example sequence (each stripe 12 rows in bulky yarn)
Purple/magenta
Blue
Green
Yellow
Orange
Red
Purple/magenta (optional repeat for balance)
Between stripes, you can either
Change colors directly (fastest), or
Add 1 row of sc in white as a “divider” (gives a crisp separation)
If you want the cleanest stripe edges, do a single sc row in white between each color. If you want the most cuddly, uninterrupted texture, change colors and keep the texture rows going.
Last Rows Before Border
End the blanket with 1 row of sc in your border color (white/cream) to give a tidy edge for the scallops later.
Fasten off.
Common Mistakes and How to Avoid Them#
Forgetting the ch-1 lock after the mini bean stitch
This makes the texture collapse and can change your stitch count. Always lock each bean with ch 1.
Accidentally stitching into the ch-1 lock
This can add stitches and make the blanket grow wider. Work into the next true stitch unless you intentionally design it otherwise.
Wavy edges
Usually caused by missed stitches at row ends. Mark the first and last stitch for a few rows and check your stitch count occasionally.
Stripes look messy at the sides
Change colors on the last yarn-over of the last stitch and avoid tight knots at the edge. Weave ends in later for a cleaner finish.
Border ripples or curls
Side stitch placement is the #1 cause. You can fix it by redoing only the border with fewer or more stitches along the row edges.

Expert Tips for Better Results#
Keep your tension slightly relaxed on textured stitches so the blanket stays soft and drapey. Tight texture can feel stiff.
Use a smooth, non-splitting yarn if possible. Mini bean stitches involve multiple pull-ups, and splitty yarn can slow you down.
If you dislike weaving in ends, carry your yarn up the side only when the color will return soon, and cover the carry with the border. This works best if your border is a solid color.
To make the throw feel extra plush, choose a bulky yarn labeled “chenille,” “velvet,” or “blanket yarn,” but expect the stitch definition to be softer. If you want crisp texture definition, use a smooth bulky acrylic instead.
Border Instructions#
This border is done in two steps
A simple single crochet frame to even out the edges
A scalloped shell edging for a decorative finish
Border Round 1 (Single Crochet Frame)
Join white/cream yarn at any corner
Ch 1, sc evenly around the blanket
Corner rule
Work (sc, ch 2, sc) in each corner space so the border turns neatly
Side spacing tip
Along the row edges, aim for about 1 sc per row
If the edge starts to ripple, you have too many stitches
If it pulls tight, add a few extra stitches evenly
Join with sl st to the first sc
Border Round 2 (Optional Smoothing Round)
Ch 1, sc in each stitch around
Corners: (sc, ch 2, sc)
Join
This round makes scallops sit more evenly, especially on textured blankets.
Border Round 3 (Scalloped Shell Edge)
Ch 1
Work this repeat around
Skip 2 sts, 5 dc in next st, skip 2 sts, sl st in next st
Repeat all the way around
Corner adjustment
In corner ch-2 spaces, place 5 dc into the corner space if needed so the scallop curves nicely. If the scallops feel crowded, skip 1 instead of 2 near corners. The goal is a border that lies flat, not a perfectly rigid math rule.
Fasten off and weave in ends securely.
Variations and Customization Ideas#
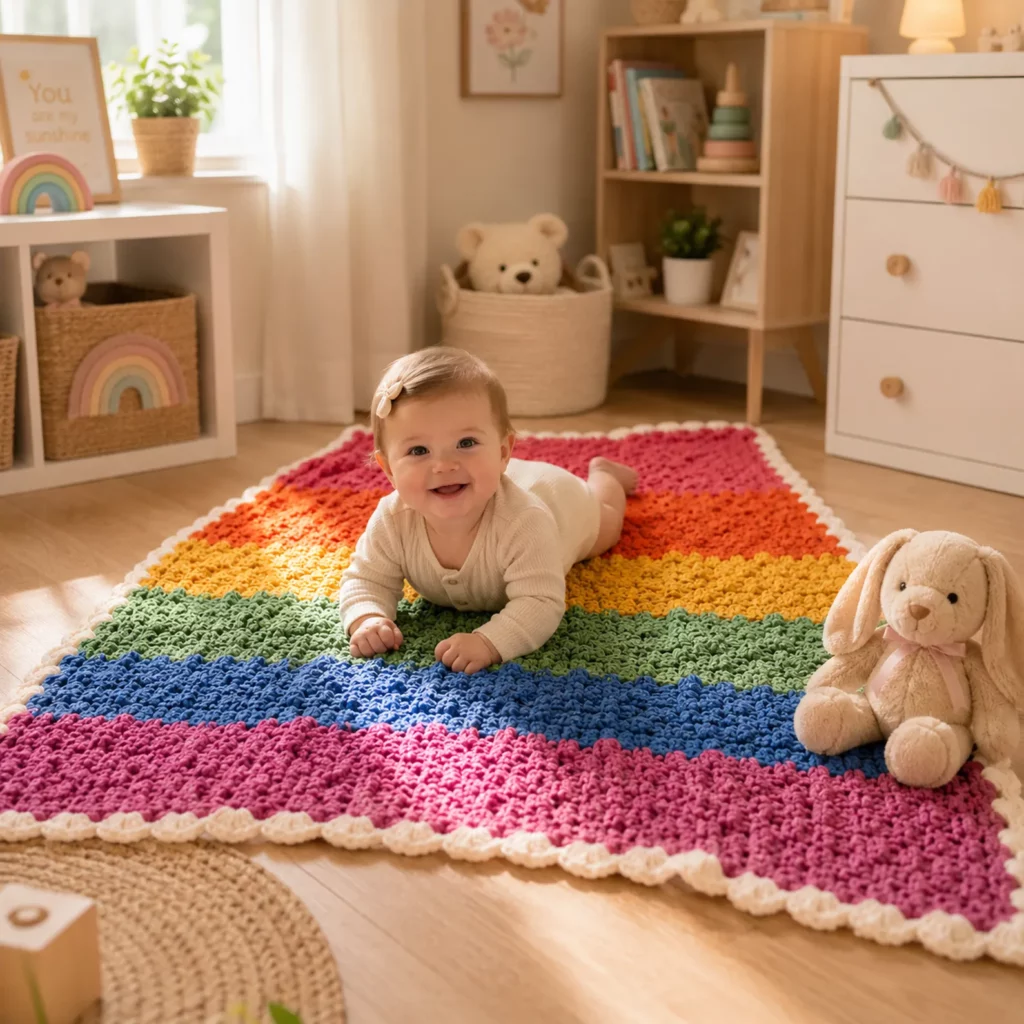
Make it a baby blanket
Use the same stitch pattern with a smaller starting chain (about 60–70 for bulky yarn). Keep the stripes, keep the scallops, and you’ve got a cheerful nursery blanket.
Turn it into a stash-buster
Use any colors you have and keep stripe heights flexible. Just make sure you have enough of one color for the border so it looks intentional.
Make it modern instead of rainbow
Try a palette like
Cream, oatmeal, rust, olive, charcoal
Or
Cream, blush, terracotta, mustard
The texture still shines, but the vibe becomes minimalist.
Swap the scallop for a clean edge
If you prefer a modern look, stop after the single crochet border (Round 1 or Round 2). A simple frame looks crisp and contemporary.
Add a name tag corner
Sew a small label to one corner for a handmade gift touch.
Benefits of This Crochet Project#
Fast progress with chunky yarn and a simple repeat
Texture that feels cozy and looks expensive
Bold stripes that brighten a room instantly
Beginner-friendly construction with no shaping
A border that makes the whole piece look professionally finished
Great gift idea for nurseries, kids’ rooms, or anyone who loves color
Internal Linking Suggestions#
How to Crochet the Mini Bean Stitch (Photo Tutorial)
How to Change Colors in Crochet Without Jagged Edges
Best Yarn for Crochet Blankets (Soft, Washable Picks)
Easy Crochet Borders for Blankets (Flat, Scalloped, and Shell)
How to Weave in Ends Neatly So They Don’t Pop Out
FAQ#
Is this crochet pattern good for beginners?
Yes. The base stitches are simple, and the textured mini bean stitch becomes very rhythmic after a few rows. Using stitch markers at the row ends makes it even easier.
What yarn works best for a cuddle throw?
Soft, washable bulky yarn is ideal. Smooth bulky acrylic gives great stitch definition, while blanket/chenille yarn gives ultra softness with slightly less defined texture.
Does the textured stitch use more yarn?
Yes. Any puff/bean style stitch uses more yarn than plain single or double crochet, so plan a little extra yardage, especially for the border.
How do I resize the blanket easily?
Chain to the width you want (even number recommended), crochet stripes until you reach your desired length, then add the same border. Blankets are the easiest projects to customize.
Why is my border ruffling?
Most often, there are too many sc along the sides. Remove the border and redo Border Round 1 with fewer stitches along the row edges.
Can I change the scallop size?
Absolutely. For smaller scallops, use 3 dc shells instead of 5 dc. For larger scallops, keep 5 dc but increase the spacing by skipping 3 stitches between shells.
How do I keep my edges straight with textured stitches?
Mark the first and last stitch of every row for the first stripe. Also keep your turning chain consistent (ch 1 for this pattern) and avoid tightening the edge stitches too much.
Conclusion#
This cuddle throw crochet pattern is the perfect combination of playful color and serious comfort: bold stripes, a soft nubby texture, and a bright scalloped border that makes the whole blanket look finished and gift-worthy. Once you learn the mini bean stitch rhythm, it’s a relaxing project you can pick up anytime and keep crocheting without constantly checking the pattern.
If you tell me your yarn weight (worsted or bulky) and the width you want (lapghan or throw), I can suggest a starting chain count and a stripe plan that fits your exact measurements.


