Introduction#
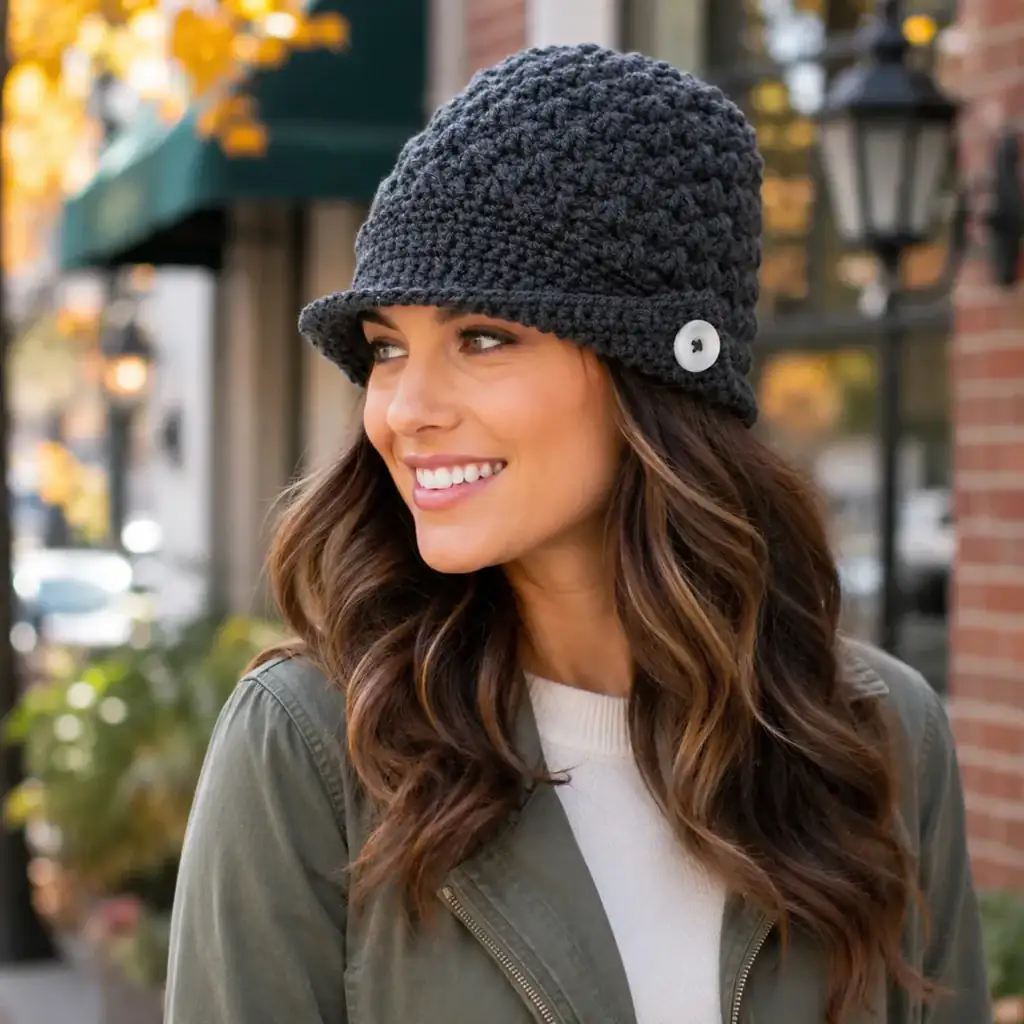
If you want a crochet hat that’s simple, modern, and actually wearable every day, a crochet skullcap (also called a kufi-style cap) is a perfect project. It sits close to the head, looks clean and minimal, and works well for any season depending on the yarn you choose. This style is also great because it’s fast to make, doesn’t require shaping tricks, and you can easily adjust the fit for different head sizes.
Explore more beginner hats crochet patterns in our pattern library.
This crochet pattern tutorial shows you how to make a smooth, fitted skullcap with a subtle textured stitch and a neat contrast band around the edge. It’s an easy crochet pattern that feels polished, and it’s ideal for beginners who want a practical hat without a big slouch or long brim.
Detailed Description of the Crochet Pattern#
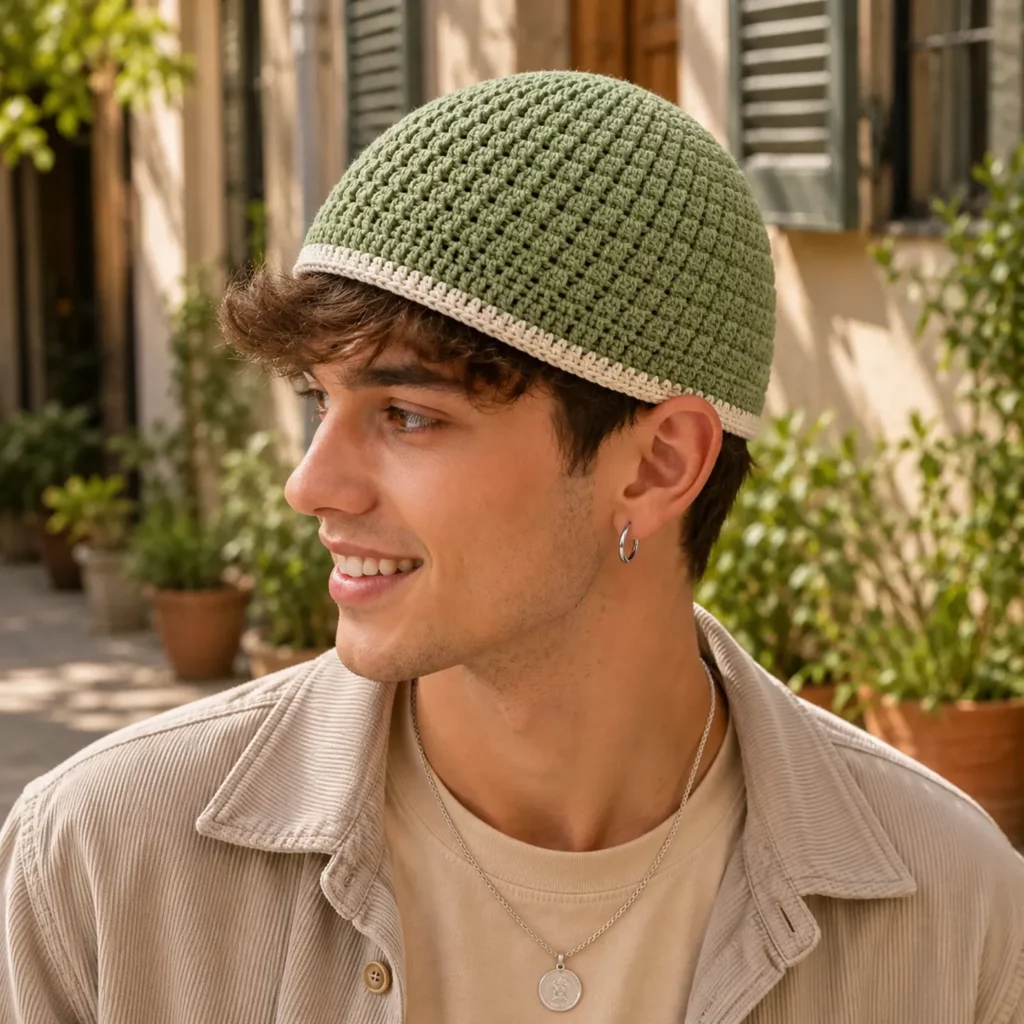
This skullcap is worked from the top down in continuous rounds. The crown is shaped with evenly spaced increases, then the sides are worked straight to create that close-fitting dome shape. The stitch texture is simple but gives a slightly “woven” look, and the edge is finished with a narrow contrast band for a crisp outline.
Key design elements
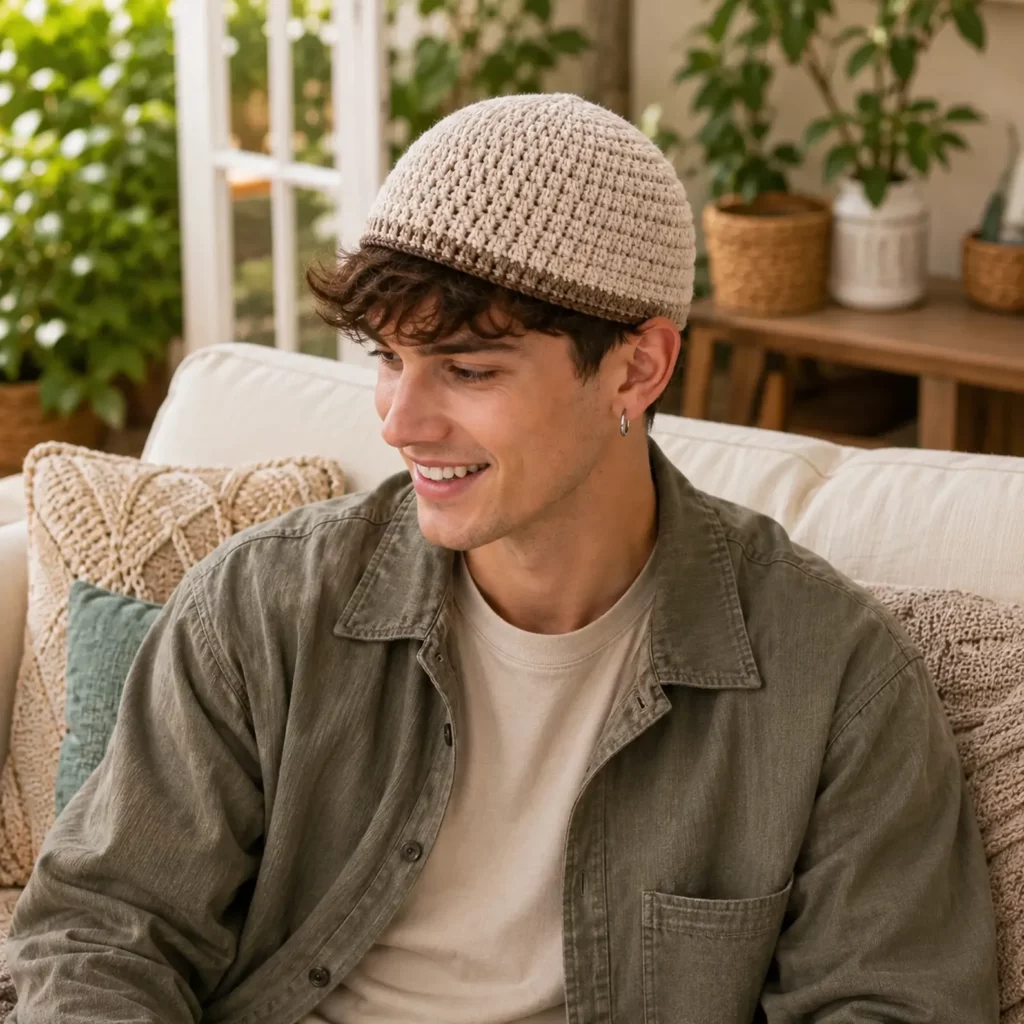
- Low-profile fit that sits above the ears
- Smooth dome crown with clean shaping
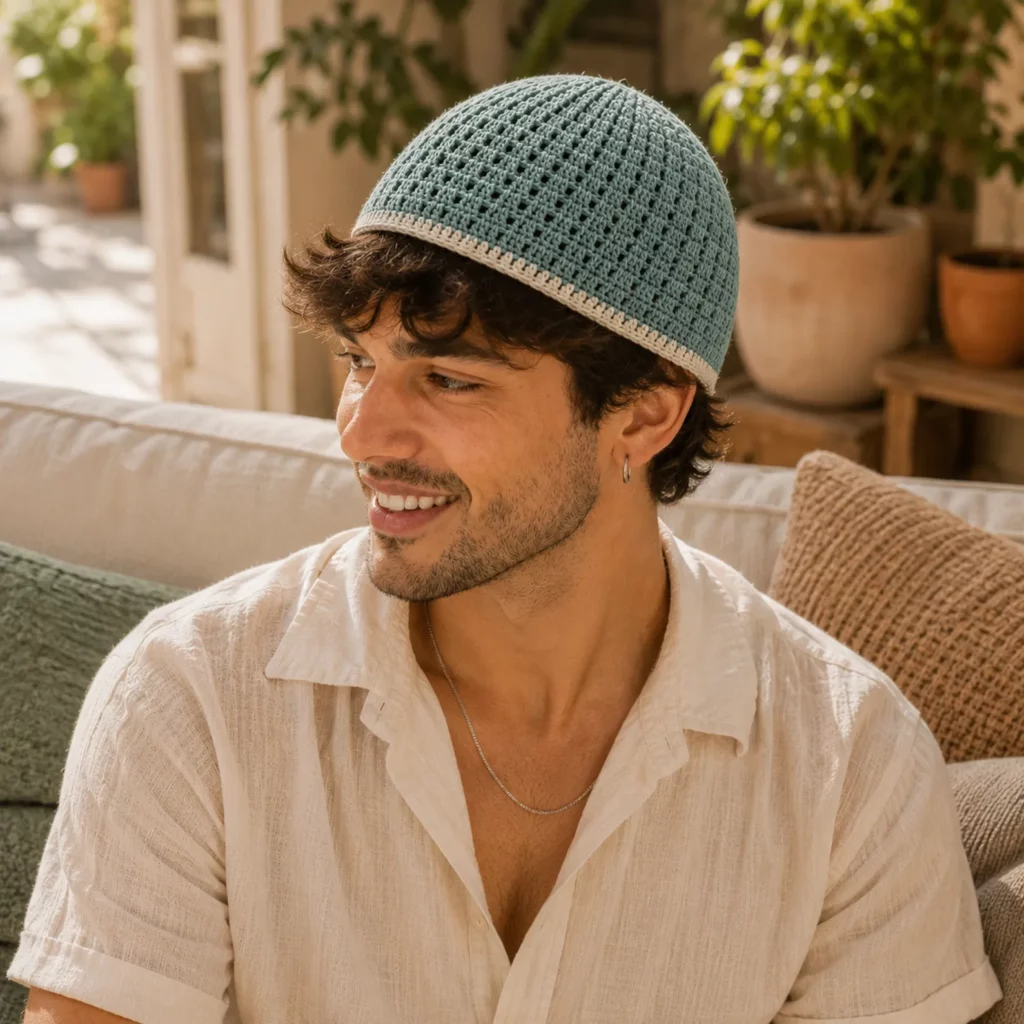
- Subtle textured fabric that looks neat and structured
- Two-color edge band for a modern finish
- Optional tighter inner edge for a secure fit
This crochet pattern is great for everyday wear because it holds shape well and doesn’t feel bulky.
Skill Level Explanation#
Skill Level: Beginner-Friendly
You’ll do great if you already know
- Chain (ch)
- Single crochet (sc)
- Half double crochet (hdc)
- Working in the round
- Counting rounds and increases
Newer skills you’ll practice
- Even crown increases for a smooth dome
- Simple color change at the edge
- Getting a fitted hat size using measurements
Materials Needed#
Yarn
Choose a yarn that feels comfortable against the skin and holds shape.
Best yarn choices
- Cotton or cotton blend for a crisp, breathable cap
- Acrylic for softness and easy care
- Wool blend for warmth and elasticity
Suggested yarn weight
- DK (Category 3) for a lighter, snug cap
- Worsted (Category 4) for a thicker cap
Color suggestions
- Main color: cream, beige, gray, black, or any neutral
- Contrast band: olive, black, navy, or a darker tone of the main color
Yardage estimate
- DK: 120–180 yards (110–165 m)
- Worsted: 90–140 yards (82–128 m)
Hook
Use the hook that gives you a firm fabric without gaps.
- DK: 3.5–4.0 mm
- Worsted: 4.0–5.0 mm
If you crochet loosely, go down a hook size so the cap holds shape.
Notions
- Stitch marker
- Tapestry needle
- Scissors
- Measuring tape
Stitches & Techniques Explained#
Common Abbreviations
- MR = magic ring
- ch = chain
- sc = single crochet
- hdc = half double crochet
- sl st = slip stitch
- inc = increase
- BLO = back loop only
- ( ) = repeat
- = stitch count
Stitch choice for the clean texture
A great “skullcap texture” is hdc in the back loop only. It creates subtle ridges that look structured and modern.
If you want it smoother
- Use regular hdc (both loops)
If you want it tighter
- Use sc for the whole hat (more dense, more structured)
Fit sizing rule
For a fitted skullcap, you stop increasing when the crown diameter matches your head size.
Crown diameter guide
- 21 in (53 cm) head: about 6.5–6.75 in crown diameter
- 22 in (56 cm) head: about 7 in crown diameter
- 23 in (58.5 cm) head: about 7.25 in crown diameter
This style fits snug, so you can aim slightly smaller if you want it to grip more securely.
Step-by-Step Instructions#
Finished Size
This pattern fits an average adult head circumference (21–23 inches). It’s easily adjustable by stopping increases earlier or later.
Notes Before You Start
- Work in joined rounds or continuous rounds, but stay consistent
- Use a stitch marker for the first stitch of each round
- Measure crown diameter rather than relying only on stitch counts
- Try on after the first few straight rounds to confirm depth
Crown (Top of Hat)
Work in hdc for speed and structure.
Round 1
MR, ch 1, 8 hdc into ring, join [8]
Round 2
Ch 1, 2 hdc in each stitch around, join [16]
Round 3
Ch 1, (hdc, 2 hdc in next) around, join [24]
Round 4
Ch 1, (hdc in next 2, 2 hdc in next) around, join [32]
Round 5
Ch 1, (hdc in next 3, 2 hdc in next) around, join [40]
Round 6
Ch 1, (hdc in next 4, 2 hdc in next) around, join [48]
Round 7
Ch 1, (hdc in next 5, 2 hdc in next) around, join [56]
Continue increasing in this pattern until your crown diameter matches your target size.
If you need a larger cap, keep going. If you need smaller, stop earlier.
Side Section (Straight Rounds)
Now you build depth without increasing.
Switch to hdc BLO for the textured look
Round
Ch 1, hdc BLO in each stitch around, join
Repeat this round until the cap reaches the depth you want.
Typical skullcap depth is about 4 to 5.5 inches (10 to 14 cm) from crown top to edge, depending on style preference.
Try-on tip
A fitted skullcap usually sits above the ears, not covering them. Stop when it looks right on your head.
Contrast Band
Switch to contrast color for a clean edge band.
Band Round 1
Ch 1, sc in each stitch around, join
Band Round 2
Ch 1, sc BLO in each stitch around, join
This gives a neat, slightly raised band.
Optional tighter edge
If you want a snugger grip, go down a hook size for the last round or replace the final round with slip stitches.
Clean Finish
Fasten off and weave in ends neatly.
If you want the edge to look extra sharp, add one final round of slip stitch in the main color along the very bottom edge.
Common Mistakes and How to Avoid Them#
Cap is too pointy at the top
- Add one extra increase round earlier
- Make sure increases are evenly spaced
Cap is too flat or ruffled
- Too many increases
- Stop increasing sooner and start the straight rounds earlier
Cap is too loose
- Use a smaller hook
- Add one extra sc band round
- Make crown diameter slightly smaller
Cap is too tight
- Increase one more round before starting straight rounds
- Use a slightly larger hook
Edge curls
- Add a sc round before finishing
- Avoid tight tension on the last round
Expert Tips for Better Results#
- Use a smooth yarn for the cleanest stitch definition and most “store-bought” look.
- If you want a more structured dome, keep the crown in hdc and the sides in sc.
- If you want the cap to sit lower, simply add more straight rounds before the band.
- For a super neat band, make the last round sc BLO and weave ends on the inside only.
- If you want a subtle stripe effect without changing colors, work the band round in sl st for a slightly different texture.
Variations and Customization Ideas#
- Make a winter version using wool blend yarn and a smaller hook for density
- Add two contrast stripes instead of one for a sportier look
- Create a ribbed edge by adding a short sc BLO ribbing strip sewn around the bottom
- Make it a prayer cap style by increasing overall depth and using lighter yarn
- Add a tiny tag or leather label for a clean finished look
Benefits of This Crochet Project#
- Quick and practical crochet pattern you can wear daily
- Great beginner project that teaches crown shaping
- Minimal yarn required
- Easy to adjust for any head size
- Clean modern style that works for many outfits
- Perfect for gifting because sizing is simple and fit is snug
Internal Linking Suggestions#
- How to Crochet a Magic Ring for Beginners
- Crochet Hat Sizing Guide: Crown Diameter Method
- Half Double Crochet Back Loop Tutorial
- How to Change Colors Cleanly in Crochet
- Best Yarn for Crochet Hats
FAQ#
Is this crochet skullcap pattern suitable for beginners?
Yes. It uses basic stitches and simple increases. The sizing is straightforward if you measure crown diameter.
What yarn is best for a fitted skullcap?
Cotton and wool blends work great. Cotton gives structure, wool gives elasticity, acrylic gives softness and easy care.
How do I make it more snug?
Use a smaller hook, stop the crown increases slightly earlier, and add a tighter sc band at the bottom.
How do I make it deeper?
Add more straight rounds before starting the contrast band.
Can I make this in child sizes?
Yes. Stop increasing when the crown diameter matches the child’s head size and keep the depth shorter.
How do I keep the edge from stretching out?
Finish with sc BLO rounds, and optionally add a slip stitch final round for a firmer edge.
Conclusion#
A crochet skullcap is one of the most useful, wearable hat projects you can make. This crochet pattern keeps the shape clean and fitted, adds subtle texture with back-loop stitches, and finishes with a simple contrast band for a modern look. Once you make one, it’s easy to create a whole set in different neutral colors.
If you tell me the head circumference you want to fit (in inches or cm) and your yarn weight, I can tell you exactly which round to stop increasing and roughly how many straight rounds to crochet for the perfect depth.