Introduction#
A good phone pouch is one of those “little” crochet projects that ends up being used every day. It’s just big enough for your phone, cards, and keys, but small enough to feel light and hands-free. And when it’s crocheted with a textured stitch that looks boutique (without being complicated), it’s the kind of accessory people assume you bought—until you tell them you made it.
Explore more beginner bags crochet patterns in our pattern library.
This crochet pattern walks you through making a sturdy, slim crossbody phone pouch with a flap closure and a cute yarn-covered button. The body uses a woven-look texture (that basket-weave style you see on higher-end handmade bags), while the top section and strap are worked in a simple stitch for strength. You can make one in bright colors, soft neutrals, or create a whole set as gifts.
If you’re searching for a free crochet pattern that feels practical, stylish, and truly beginner-friendly, this is an easy crochet pattern you’ll want to save.
Detailed Description of the Crochet Pattern#
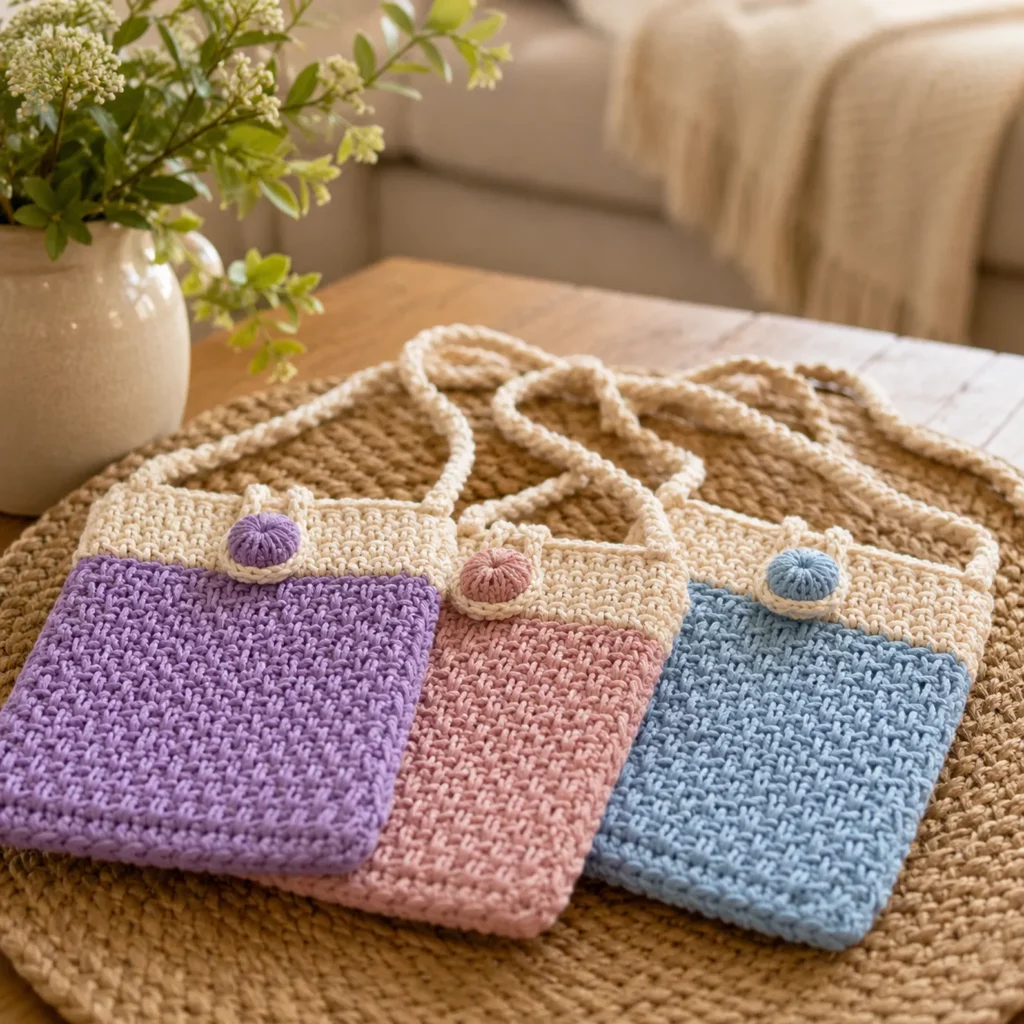
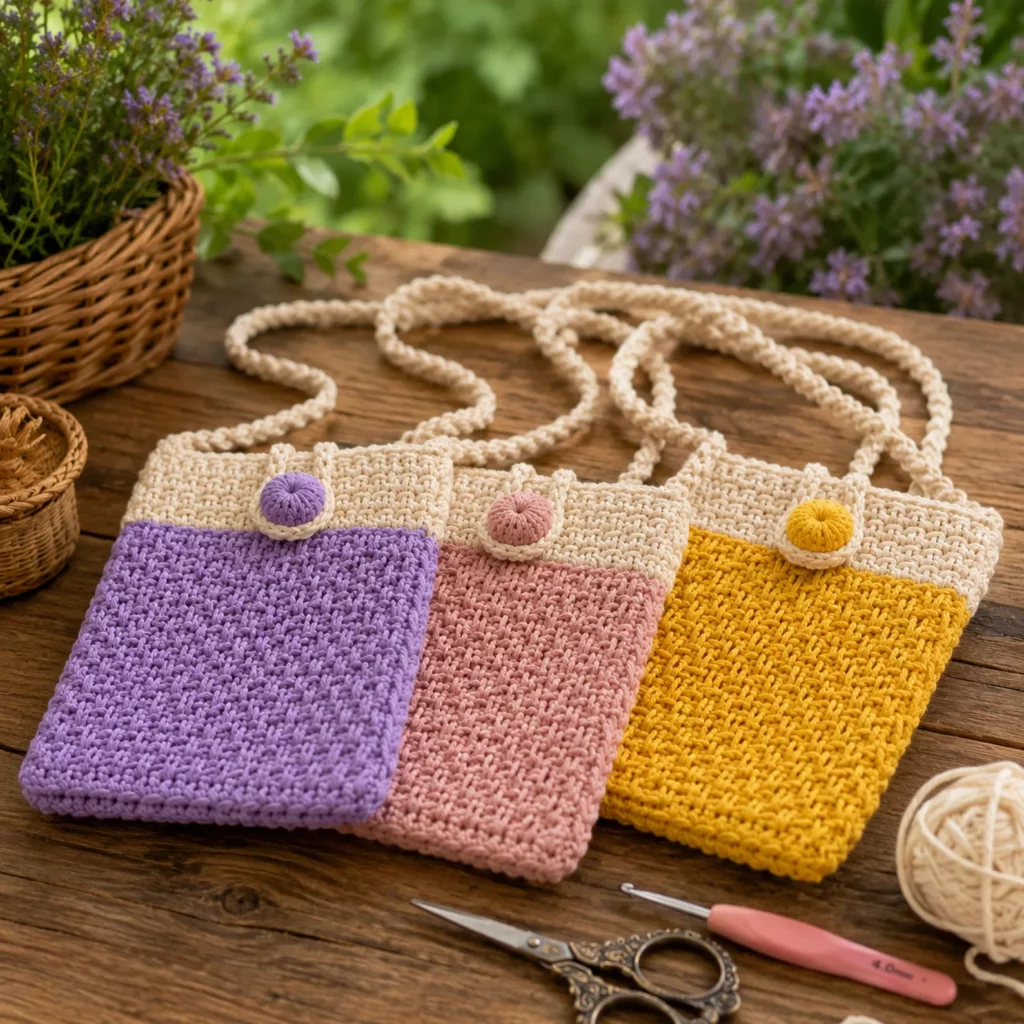
This project is a small crochet crossbody pouch designed specifically for a smartphone and a few essentials. It has:
- A rectangular body with a textured woven look
- A contrasting top flap (or matching, if you prefer one color)
- A button closure (yarn-wrapped or crocheted button)
- A strap long enough for crossbody wear (or shorten it for a shoulder bag)
Shape and construction
This pouch is easiest to make in two main ways:
- Two flat panels + seams (most beginner-friendly):
You crochet a front panel and back panel, then seam the sides and bottom, add a flap, and crochet the strap. - One long panel folded (fewer seams):
You crochet one long rectangle, fold it up into a pouch, seam the sides, then add the flap and strap.
The look shown fits perfectly with the two-panel method because the texture stays neat and consistent on both sides.
Why the stitch choice matters
Small bags stretch more than you think—especially when you add a phone. That’s why the textured stitch is a great choice:
- It creates a thicker fabric
- It reduces stretch
- It looks structured and polished
Skill Level Explanation#
This is an easy-to-intermediate crochet project.
Beginner-friendly skills:
- crocheting in rows
- counting stitches and maintaining straight edges
- basic seaming with a yarn needle
- simple strap construction
Intermediate upgrades (optional):
- neat color changes
- adding lining
- reinforcing the strap
- installing a magnetic snap instead of a button
If you’ve made a scarf, dishcloth, or simple pouch, this crochet for beginners bag is an ideal next project.
Materials Needed#
Yarn
A phone pouch needs structure. Cotton or cotton blends are your best friend.
Best yarn options:
- Worsted weight cotton (#4)
- Cotton-acrylic blend (#4)
- Macramé cord or braided cotton cord (3–5 mm) for a stiffer, more “lux” look
Yardage estimate (one pouch):
- Main color: 120–200 yards
- Contrast color: 30–80 yards
- Strap: included in totals, but longer straps need more yarn
Color ideas:
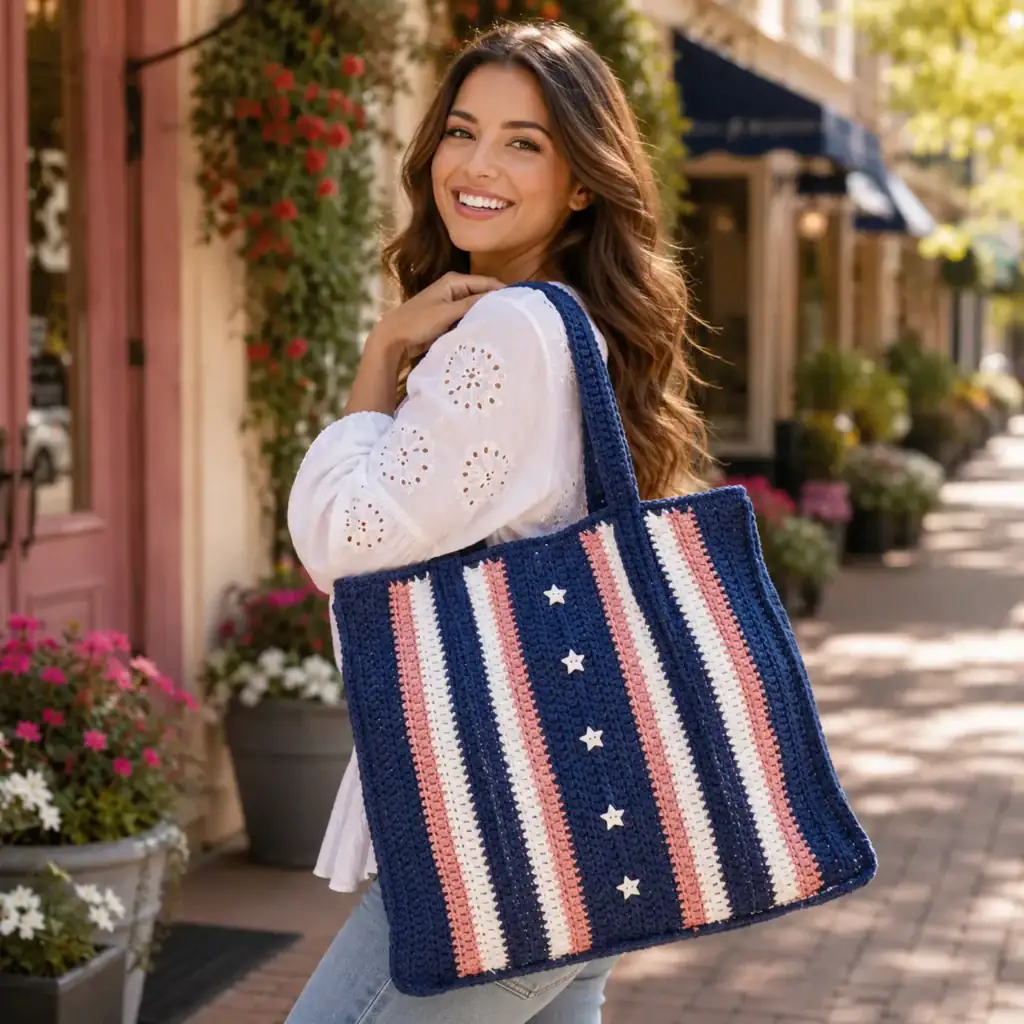
- Two-tone: natural top + bright body (like the red/yellow/green style)
- Minimal: all neutral (cream, sand, mocha)
- Modern: sage + natural, black + tan, denim blue + cream
Hook
Choose a hook that produces dense fabric:
- Worsted cotton: 4.0–5.0 mm
- Cord: often 5.0–7.0 mm depending on thickness
Tip: If your stitches look “holey,” go down one hook size.
Notions
- Yarn needle
- Scissors
- Stitch markers (helpful for strap placement)
- Button (or make a yarn-covered button)
- Optional: magnetic snap
- Optional: fabric lining, needle/thread
Stitches & Techniques Explained#
Abbreviations (US terms)
- ch = chain
- sc = single crochet
- hdc = half double crochet
- dc = double crochet
- sl st = slip stitch
- BLO = back loop only
- st(s) = stitch(es)
The textured “woven” stitch
The pouch body looks like a basket weave / brick weave texture. You can recreate this look using one of these beginner-friendly options:
- Lemon Peel Stitch (alternating sc and dc) – great texture, easy counting
- Mini Basket Weave (front post/back post dc) – thicker and bold
- Waffle Stitch – very structured but uses more yarn
- Even Moss Texture – subtle texture, less bulky
For a clean woven appearance that stays sturdy, I recommend Lemon Peel Stitch as the simplest option.
Lemon Peel Stitch (Row Repeat):
- Row A: (sc, dc) repeat across
- Row B: (dc, sc) repeat across
This creates a tight, woven look that’s perfect for bags.
Strap strength
Straps stretch unless you build them dense. The best beginner strap is:
- Single crochet strap worked in rows (thick, strong)
Or: - Cord strap (chain + sc back along the chain, repeated)

Step-by-Step Instructions#
Pattern notes
- Written in US terms
- Make-to-measure friendly
- Sample finished size: approx. 4.25–5″ wide x 7–8″ tall (fits most phones)
Measure your phone
Measure:
- phone width
- phone height
- phone thickness
Add ease:
- Width: phone width + 1–1.5 inches
- Height: phone height + 1 inch (plus flap coverage)
If your phone is large (Pro Max style), add more width and height.
Part 1: Front Panel (Textured Body)
Foundation: Ch 21 (adjust for width)
- This sample assumes ~20 stitches across.
Row 1: sc in 2nd ch from hook, sc across. Turn.
Row 2 (start texture): ch 1, (sc, dc) across. Turn.
Row 3: ch 1, (dc, sc) across. Turn.
Repeat Rows 2–3 until panel reaches your desired pouch height (not including flap).
For many phones: 6.5–7.5 inches tall.
Fasten off.
Part 2: Back Panel (Textured + Flap)
Make the back panel the same as the front panel, but continue extra rows for the flap.
Repeat Part 1 to the same height as the front.
Flap section (solid stitch for clean finish)
Switch to your top/border color (optional).
Flap Row 1: ch 1, sc across. Turn.
Flap Row 2: ch 1, sc across. Turn.
Repeat for 6–10 rows depending on how long you want the flap.
Optional flap shaping (rounded look):
- On the last 2–3 rows, decrease 1 stitch at each end.
Fasten off and weave in ends.
Part 3: Seaming the Pouch
Place front and back panels right sides together.
Sew:
- up one side
- across the bottom
- up the other side
Leave the top open.
Turn right side out.
Pro tip: Mattress stitch gives the cleanest seam, but whip stitch is beginner-friendly and strong.
Part 4: Top Edge Finish
Join yarn at the pouch opening.
Work 1–2 rounds of sc evenly around the opening (not including flap).
This strengthens the opening and helps prevent stretching.
Fasten off.
Part 5: Button Loop
Join yarn at the center of the flap edge.
Ch 10–18 (test around your button)
Sl st back into the flap edge to form a loop.
Fasten off and reinforce the loop with an extra stitch pass if needed.
Part 6: Button (Yarn-Covered Look)
You can use:
- a regular button
- a wooden button
- a crocheted button
- or a yarn-wrapped button for the “matching” look
Simple crocheted button cover (easy):
- MR, 6 sc
- inc around (12)
- sc around (12)
- Place over button, cinch tightly with yarn tail, sew to secure.
Sew the button onto the front panel centered near the top.
Part 7: Strap
Option A: Strong Sc Strap (recommended)
Ch 6
Row 1: sc in 2nd ch and across (5). Turn
Row 2: ch 1, sc across (5). Turn
Repeat Row 2 until strap reaches your desired length:
- Crossbody: 40–50 inches (adjust to height preference)
- Shoulder: 25–35 inches
Sew strap ends to the inside upper corners of the pouch.
Option B: Cord Strap (looks like a rope)
- Ch desired length
- sc back along chain
- Repeat a second layer for thickness, then twist slightly and stitch ends down
Optional Part 8: Add Lining (best upgrade)
A lining:
- prevents stretching
- protects your phone
- makes the bag look professional inside
Basic lining method:
- Cut fabric slightly smaller than pouch size.
- Sew a simple rectangle pouch.
- Insert and whip stitch lining to the inside top edge.
Common Mistakes and How to Avoid Them#
- Bag is too tight for phone:
Add width to your starting chain. Always measure your phone first. - Fabric feels floppy:
Use cotton yarn, a smaller hook, or switch to a sturdier stitch like waffle. - Strap stretches:
Use single crochet straps and keep tension firm. Lining also reduces pull. - Button loop too small:
Chain a few more stitches and test before fastening off. - Edges look uneven:
Count stitches each row and use a stitch marker in the first/last stitch. - Seams bulky:
Try mattress stitch or seam with a thinner matching yarn.
Expert Tips for Better Results#
- Block panels before seaming for straighter edges.
- Add one extra sc round at the opening—it prevents “gaping” over time.
- For a cleaner flap edge, add a final round of sl st or crab stitch.
- If you’re using acrylic, consider a lining because acrylic can stretch.
- Make a “mini set”: phone pouch + matching coin purse using the same stitch.
Variations and Customization Ideas#
- Add an interior pocket: sew a small rectangle inside for cards.
- Turn it into a mini messenger: make it wider and add a longer flap.
- Change closure: magnetic snap, toggle, or drawstring top.
- Add a tassel or charm: attach at strap join for a boutique finish.
- Make it kid-sized: smaller pouch for a little “treasure bag.”
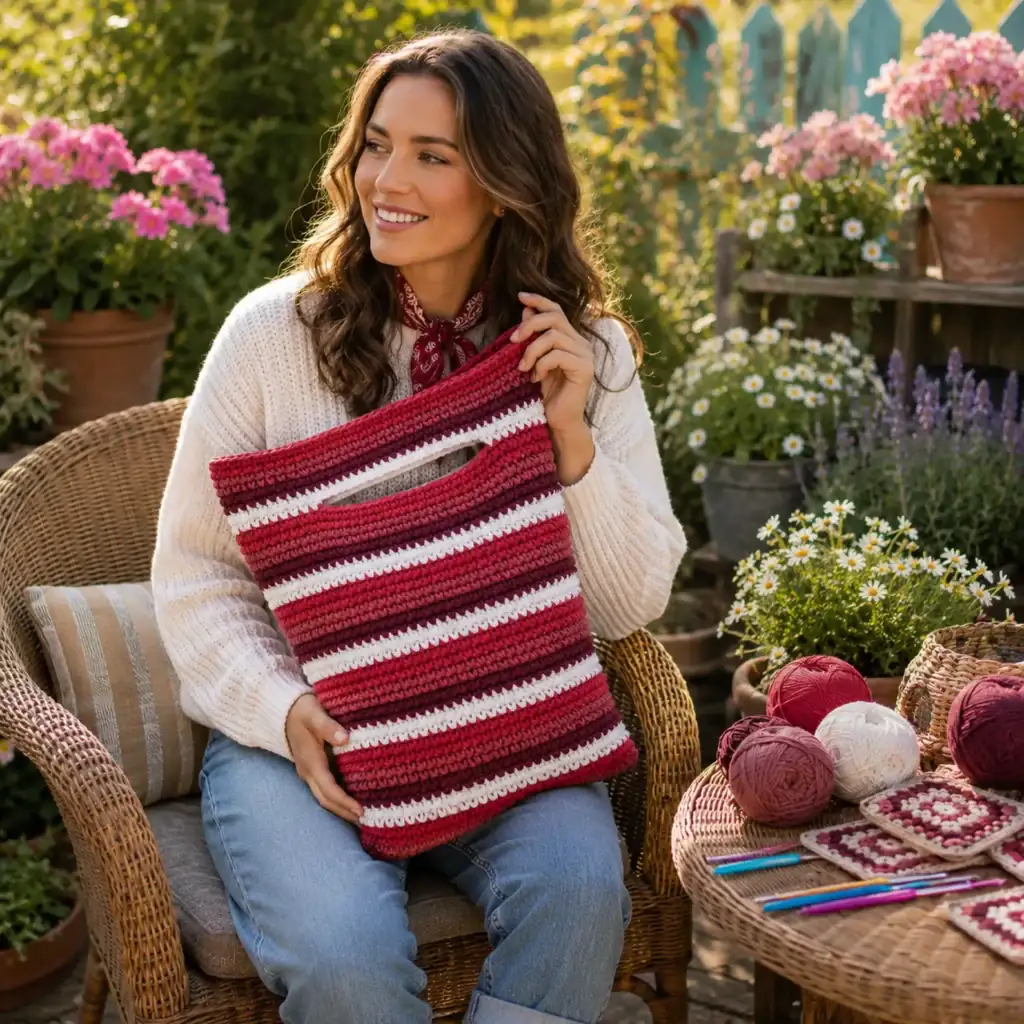
- Use stripes: switch colors every 2–3 rows for a playful look.
Benefits of This Crochet Project#
- Quick and practical: a bag you’ll actually use
- Beginner-friendly construction with polished results
- Uses small amounts of yarn (stash-friendly)
- Customizable fit for any phone size
- Great gift idea (especially in sets)
- Teaches valuable bag skills: structure, seaming, closures, straps
Internal Linking Suggestions#
You may also like…
- Free Crochet Pattern: Easy Coin Purse with Button Closure
- Crochet Tutorial: How to Make a No-Stretch Crochet Strap
- Best Yarn for Crochet Bags (Cotton vs Acrylic vs Cord)
- DIY Crochet: How to Sew a Fabric Lining into a Crochet Bag
- Free Crochet Pattern: Simple Crochet Tote for Beginners
- Crochet Tutorial: Neat Seams with Mattress Stitch
FAQ Section#
What yarn is best for a crochet phone pouch?
Cotton yarn is best because it holds shape and stretches less. Cotton blends also work well. Acrylic is fine, but lining is recommended.
Is this an easy crochet pattern for beginners?
Yes. It’s mostly rectangles, simple texture rows, and basic seaming. The flap and strap are straightforward.
How do I resize the pouch for my phone?
Measure your phone width and height, then add 1–1.5″ width ease and about 1″ height ease. Adjust your starting chain and number of rows.
How do I stop the strap from stretching?
Use a single crochet strap worked in rows (not just chains). Keep tension firm and reinforce strap attachment points.
Can I wash this bag?
Yes, if you use washable yarn. Cotton can be machine washed gently; reshape and air dry for best results.
Can I add a zipper instead of a flap?
Yes. Zippers are easiest to install into a fabric lining first, then stitch the lining into the bag.
Conclusion#
A textured crochet phone pouch is the perfect “useful but cute” project—small enough to finish quickly, polished enough to gift, and practical enough to carry every day. This free crochet pattern gives you a sturdy body, a clean flap, a secure button closure, and a strong strap you can wear crossbody.
If you tell me your phone model (or its width/height) and whether you want a crossbody or shoulder strap, I can calculate a simple starting chain and row count so your crochet pattern fits perfectly on the first try.