Introduction#
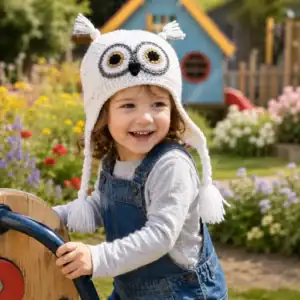
If you want a crochet project that instantly makes people smile, a bright character hat is hard to beat—especially one inspired by a cheerful caterpillar look. With bold colors, cute antennae, and oversized cartoon eyes, this style of hat is perfect for kids, costumes, themed parties, book-week outfits, or just adding playful energy to chilly days.
Explore more beginner hats crochet patterns in our pattern library.
This crochet pattern breaks the hat down into simple, beginner-friendly parts: a comfy beanie base, a contrasting top section, a wide “mouth opening” detail, plus easy appliqués for eyes and antennae. The best part is that it’s highly customizable—swap colors, change the size, make the eyes silly or sweet, and turn it into your own unique design.
Below you’ll find a full crochet tutorial approach with materials, stitches, sizing guidance, and step-by-step instructions so you can confidently make this free crochet pattern.
Detailed Description of the Crochet Pattern#
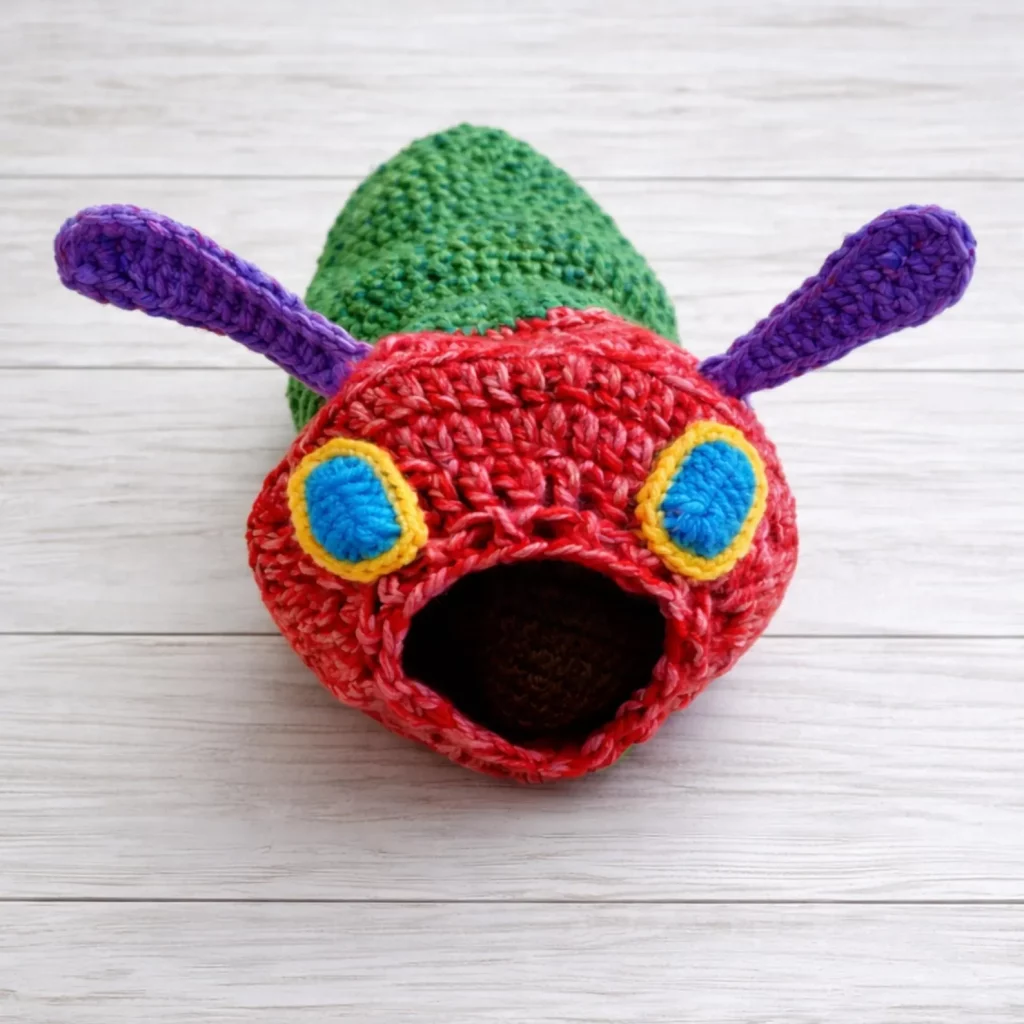
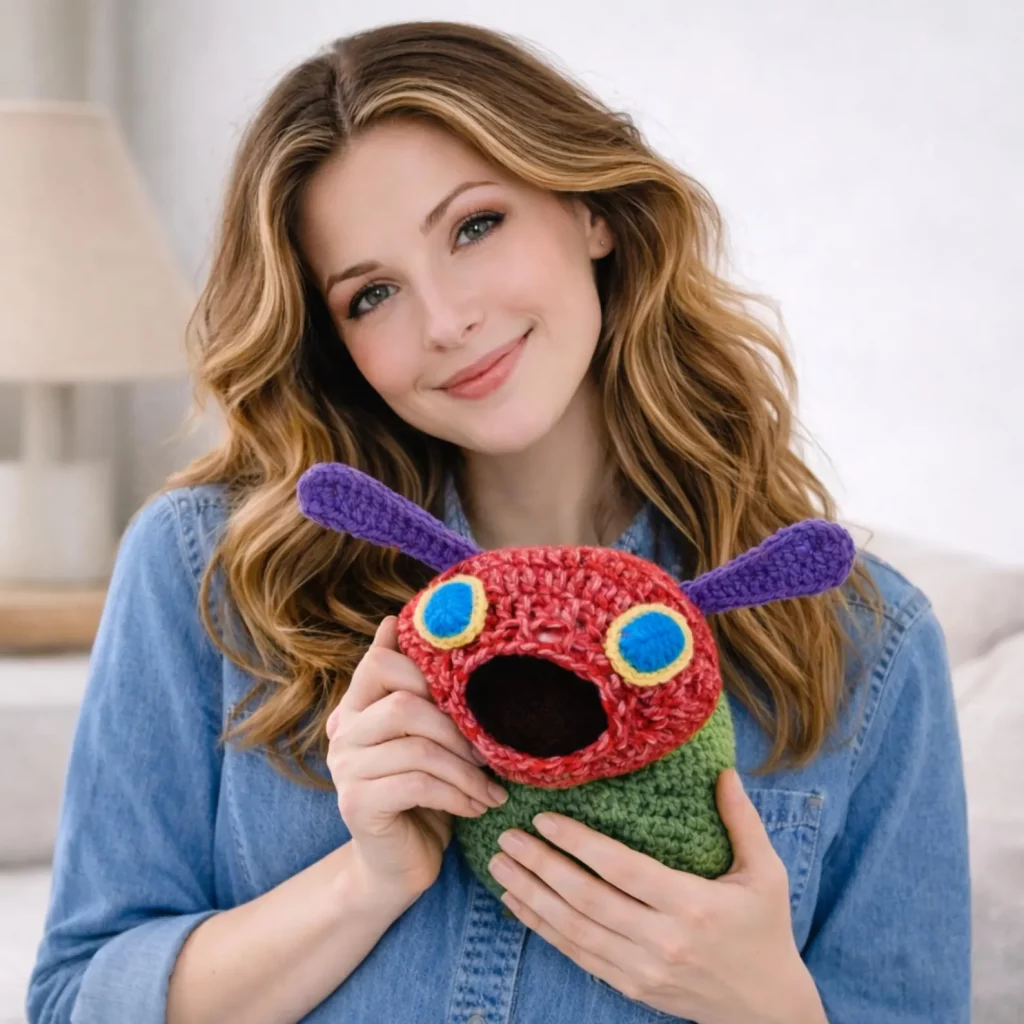
This project is a character-style beanie that looks like a cute caterpillar/bug face. The design includes:
- Beanie base in a main color (red shown)
- Top cap section in a contrasting color (green shown)
- Wide open “mouth” opening worked into the front (dark interior)
- Two antennae extending from the sides/top (purple shown)
- Big eye appliqués with contrasting rings (blue centers with yellow outline)
- Optional inner lining (for warmth and a cleaner inside finish)
Even though it looks detailed, the construction is simple: most parts are basic circles/ovals and tubes sewn onto a standard hat.
Skill Level Explanation#
This is an easy crochet pattern for confident beginners.
Skills you’ll use:
- Working in the round to make a hat
- Single crochet and double crochet
- Simple increases and decreases
- Sewing on appliqués (eyes + antennae)
- Color changes (minimal and forgiving)
If you’ve crocheted a basic beanie before, this will feel very doable. If you haven’t, don’t worry—this pattern is written in a way that teaches as you go.
Materials Needed#
Yarn
Use worsted weight (#4) for a structured, wearable hat. You can also use bulky yarn for a warmer, bigger hat (just adjust hook size).
Colors (suggested to match the look):
- Main color (MC): red (hat face)
- Top color (TC): green (top cap)
- Antennae: purple
- Eye centers: bright blue
- Eye outline: yellow
- Mouth interior (optional): black or dark brown (can be felt or crocheted panel)
Hook
- Worsted yarn: 5.0 mm (H/8) for the hat base
- Use 4.0–4.5 mm if you want a tighter, less stretchy fabric (good for winter wear)
Notions
- Yarn needle
- Scissors
- Stitch marker
- Measuring tape
- Optional: felt (for mouth interior), fabric glue (for felt only), or a lining fabric
- Optional: button eyes or safety eyes (for decoration only; not recommended for very young children)
Stitches & Techniques Explained#
Abbreviations (US terms)
- ch = chain
- sl st = slip stitch
- sc = single crochet
- hdc = half double crochet
- dc = double crochet
- inc = increase (2 stitches in one stitch)
- dec = decrease (crochet 2 together)
- BLO = back loop only
Helpful techniques
- Hat sizing by measurement: Crochet until crown matches the head circumference you need.
- Appliqué sewing: Use small whip stitches around edges for a clean finish.
- Symmetry: Pin eyes and antennae first before sewing permanently.
Step-by-Step Instructions#
This pattern is written in a flexible, made-to-measure format so it works for multiple sizes.
Choose Your Size
Measure head circumference:
- Toddler: about 18–19 in
- Child: about 19–21 in
- Teen/Adult: about 21–23 in
Your hat circumference should be about 1–2 inches smaller than the head measurement (negative ease) so it fits snugly.
Hat Base (MC, red)
Work in continuous rounds or join rounds—either is fine. Joining makes stripes and color changes cleaner.
Crown (top circle):
Start with MR (or ch 2).
- Round 1: 10 dc into MR, join (or 8–10 hdc if you prefer)
- Round 2: inc around
- Round 3: (dc, inc) around
- Round 4: (2 dc, inc) around
Continue increasing in this pattern until the crown diameter matches your size:
Approx crown diameters:
- Toddler: 5–5.5 in
- Child: 5.5–6.5 in
- Adult: 6.5–7.5 in
Body (no more increases):
Work even rounds of dc or hdc until the hat reaches the height you want:
- Toddler: 6–7 in
- Child: 7–8 in
- Adult: 8–9.5 in
Fasten off if you want to add a top section in green.
Top Cap Section (TC, green)
This is the contrasting top panel.
Join green yarn at the crown area and work 3–6 rounds evenly (no increases).
This creates the “two-tone” cap effect.
Mouth Opening (front detail)
This wide open mouth is what gives the hat its character.
Simple crochet method (no cutting):
- Find the front center of your hat.
- Mark a section about 2.5–4 inches wide (depending on hat size).
- Work a few rows back and forth across that section to build a slightly thicker border.
Border idea:
Row 1: sc across marked stitches, turn
Row 2: ch 1, sc across, turn
Repeat 4–8 rows until it looks like a defined mouth rim.
Mouth interior:
You can leave it open (showing the inside of the hat), or add a dark crocheted oval/felt piece sewn inside for a “deep mouth” look.
Antennae (make 2, purple)
These are simple tubes.
Ch 18–30 (depending on how long you want).
Work sc in 2nd ch from hook and across.
For a thicker antenna: work 2–3 rows of sc to form a flat strap, then fold lengthwise and sew edges together.
Sew antennae to the upper sides of the hat near the green section.
Eye Appliqués (make 2)
Blue center (make 2)
MR, 6 sc
Round 2: inc around [12]
Round 3: (sc, inc) around [18]
Fasten off.
Yellow outline (make 2)
Join yellow yarn around the blue circle edge and work a round of sc evenly, adding small increases if needed so it lays flat.
Fasten off with sewing tail.
Sew eyes to the front of the hat above the mouth opening, evenly spaced.
Finishing
- Weave in all ends securely
- Try the hat on (or measure) before final placement of eyes and antennae
- Add extra stitches to reinforce antennae so they don’t droop too much
Common Mistakes and How to Avoid Them#
- Hat too big: Add more negative ease (make circumference slightly smaller), or use a smaller hook.
- Crown looks pointy: You may be increasing too slowly—add a round with more increases.
- Eyes look uneven: Pin both eyes first, then step back and check symmetry before sewing.
- Antennae flop: Make them thicker (folded strap method) or add pipe cleaner inside (for costume use only).
- Mouth rim curls: Add a single increase at corners or loosen tension on the mouth border rows.
Expert Tips for Better Results#
- Use hdc instead of dc for a denser, warmer hat.
- Add a ribbed brim (BLO sc or front post/back post dc) for a better fit.
- If making for kids, keep embellishments soft—embroider details instead of using hard pieces.
- Make the eyes slightly oval by adding a few extra stitches on the sides.
- Use a removable liner or fleece strip for extra warmth in cold climates.
Variations and Customization Ideas#
- Swap colors to create different “bug” characters (blue + green, orange + teal, etc.)
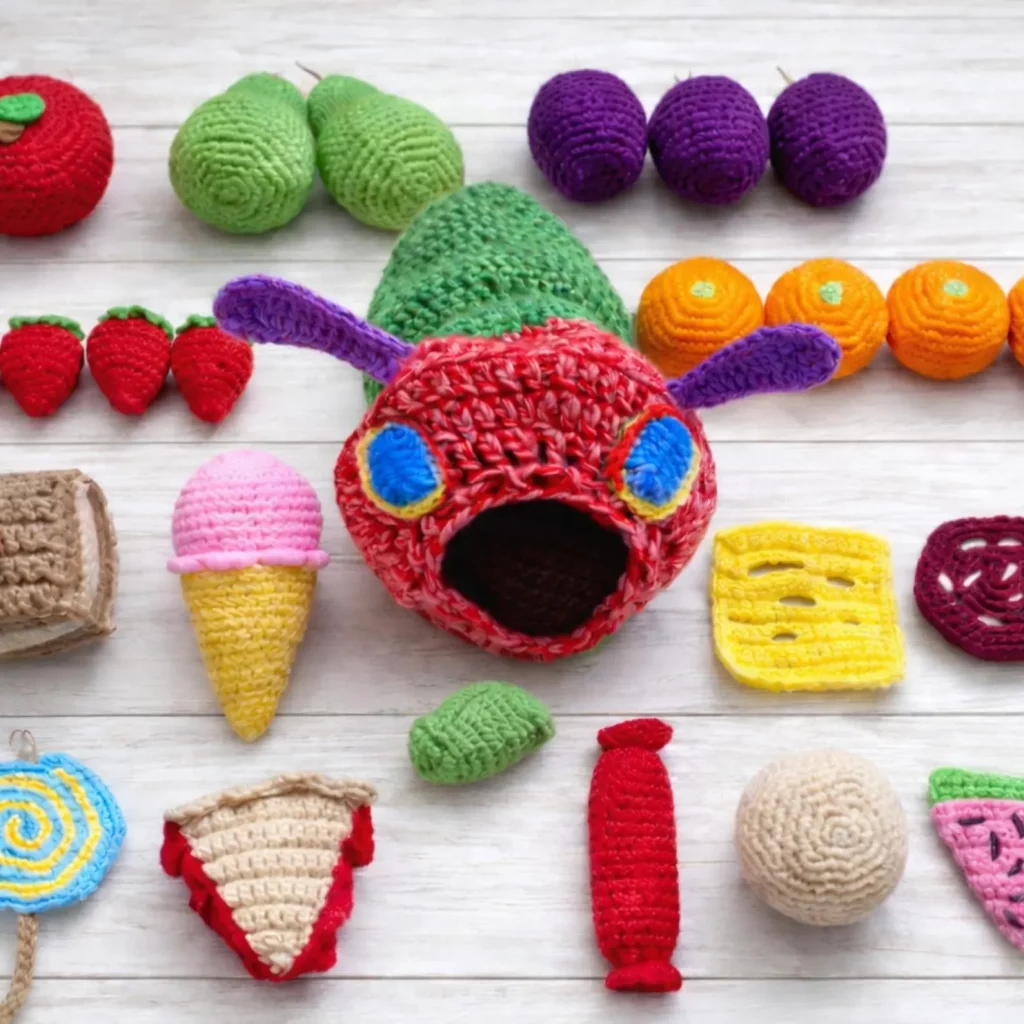
- Add more segments (striped hat body) for a true caterpillar look
- Add tiny teeth inside the mouth (white felt triangles)
- Create sleepy eyes (half-lidded look) for a funny expression
- Turn it into a full costume set with matching mittens and scarf
Benefits of This Crochet Project#
- Fun, fast, and super giftable
- Great stash-buster for bright yarn scraps
- Customizable sizes for toddlers through adults
- Builds confidence with appliqués and simple shaping
- Perfect for costumes, themed events, and playful winter wear
Internal Linking Suggestions#
If you’re building a crochet blog, link this post to:
- How to Crochet a Basic Beanie for Beginners
- Crochet Hat Sizing Chart and Crown Measurements
- How to Sew Appliqués Neatly
- Easy Crochet Circles Tutorial
- Beginner Crochet Costume Patterns
FAQ Section#
Is this crochet pattern good for beginners?
Yes. The hat base is a standard beanie and the details are simple shapes sewn on.
How do I make the hat bigger or smaller?
Adjust the crown diameter (increase rounds) and the hat height (even rounds). Measure as you go.
Can I make the eyes without sewing?
You can crochet them directly onto the hat, but sewing gives cleaner placement and symmetry.
What can I use for the mouth interior?
A crocheted dark oval, a piece of felt, or just the hat interior if you want it simple.
How do I keep the antennae standing up?
Make them thicker, stitch them down firmly, or add pipe cleaners for costume-only use.
Can I use bulky yarn for this free crochet pattern?
Yes—bulky yarn makes it warmer and quicker. Just use a larger hook and measure crown diameter instead of counting stitches.
Conclusion#
This caterpillar-inspired character hat is a joyful, customizable crochet project that looks impressive without requiring advanced skills. Once you have the beanie base, the fun is all in the creative details—colors, eye shapes, antennae length, and whether you want a silly wide mouth or a subtle smile.
If you tell me the size you’re making (toddler/child/adult) and your yarn weight, I can give you a more exact stitch count for the crown increases and the best mouth-opening width so it fits perfectly.