Introduction#
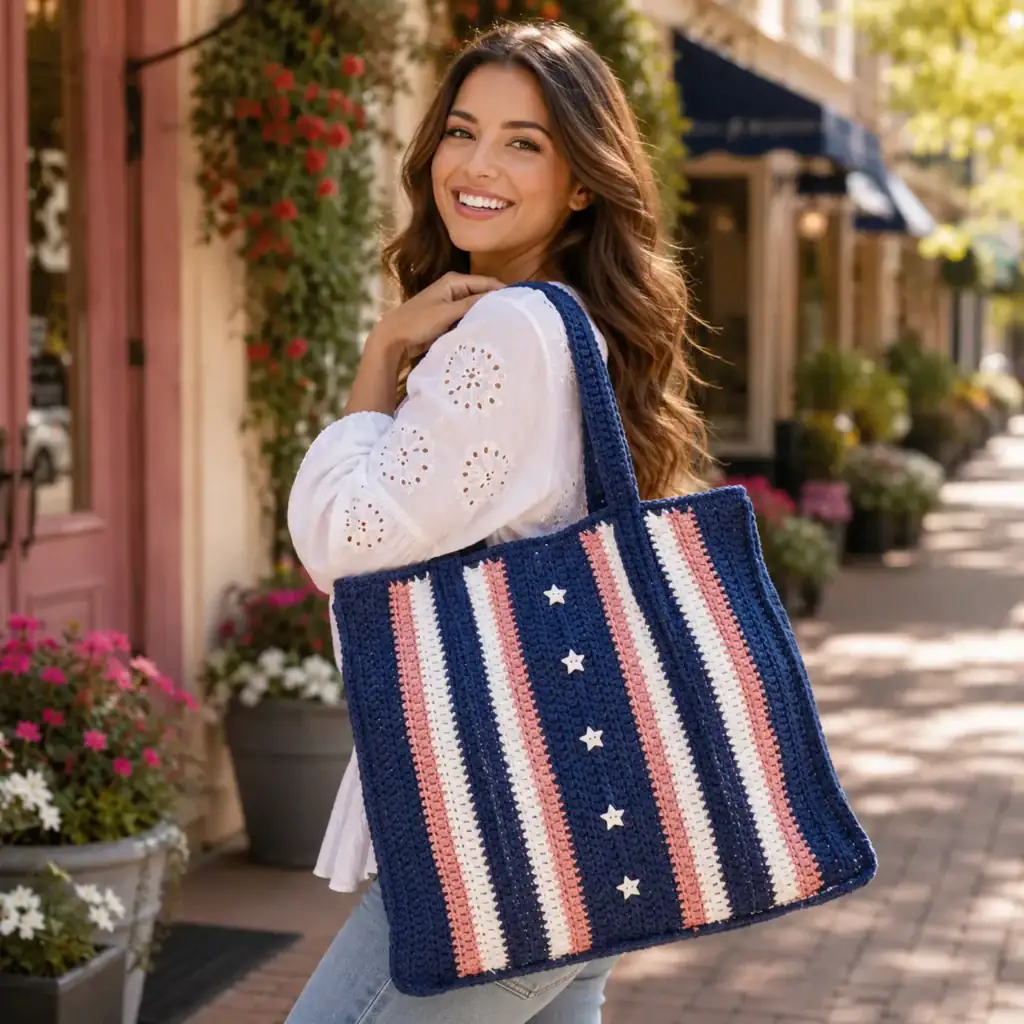
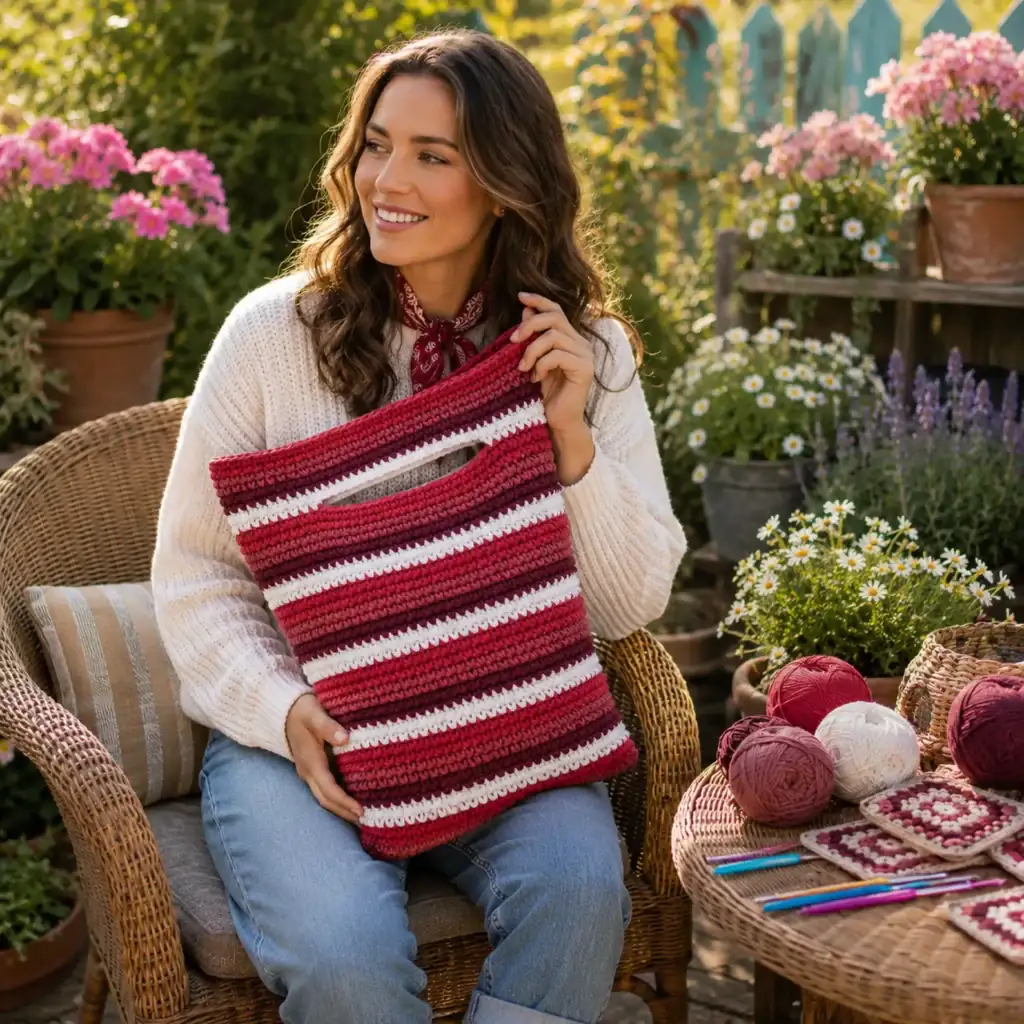
A chunky crochet bag has a special kind of magic: it looks modern, feels cozy, and comes together fast—especially when you use thick yarn that builds structure on its own. But here’s the catch: if the stitch choice is too loose or the handle isn’t reinforced, a beautiful bag can stretch, slouch, or lose its clean silhouette.
Explore more beginner bags crochet patterns in our pattern library.
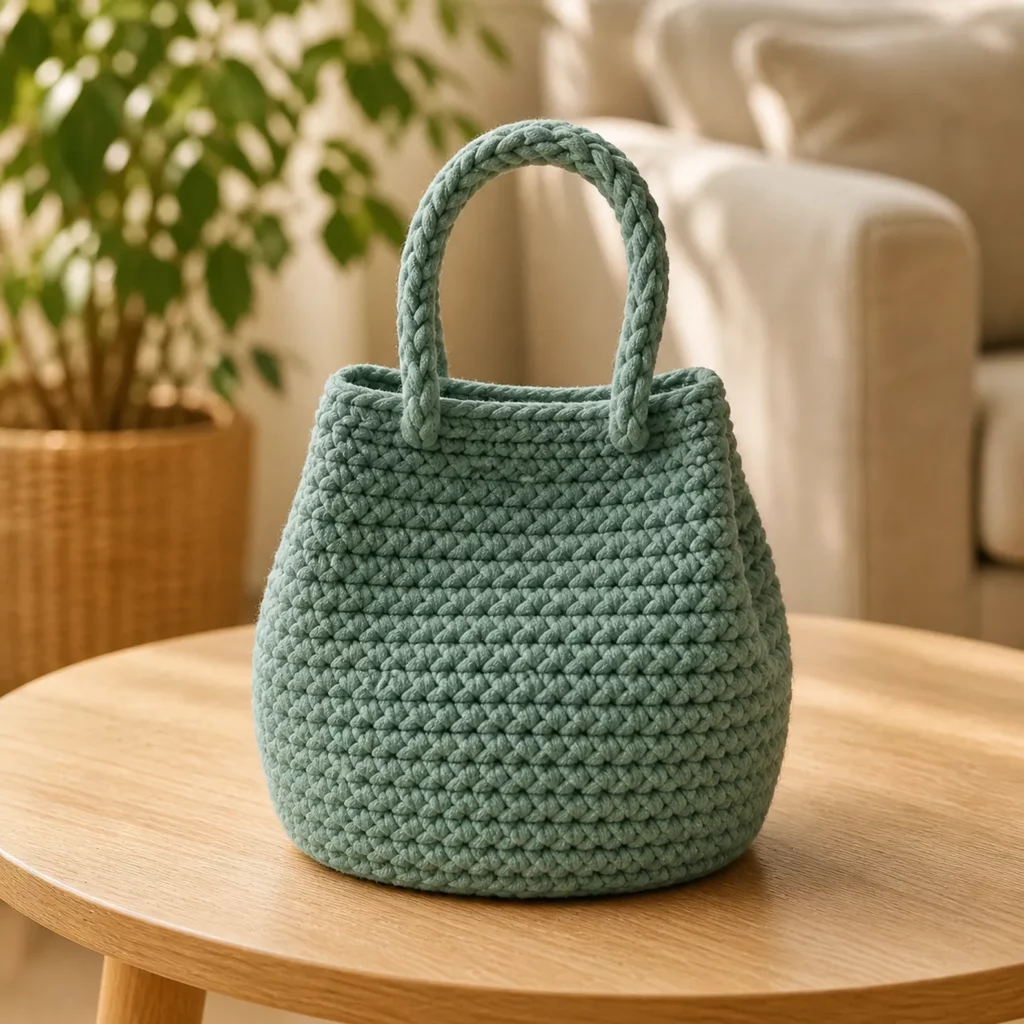
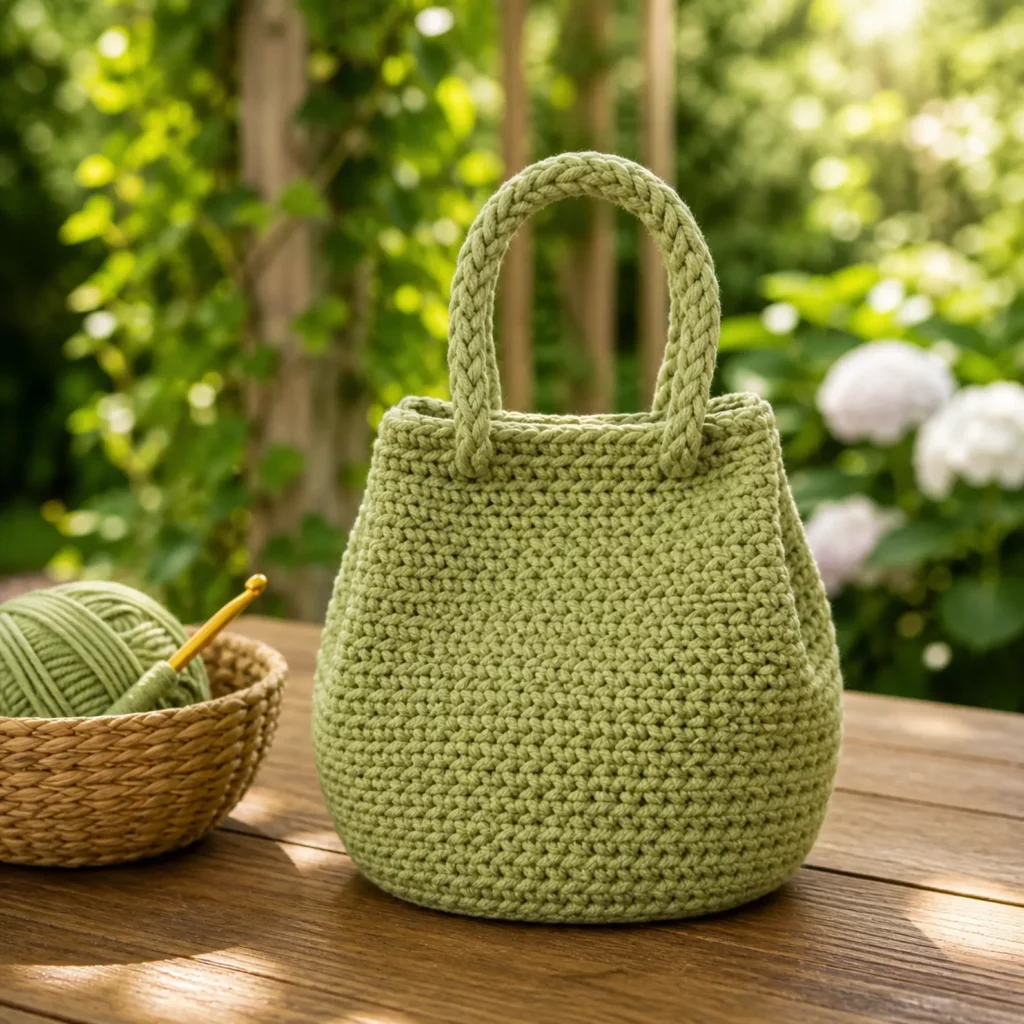
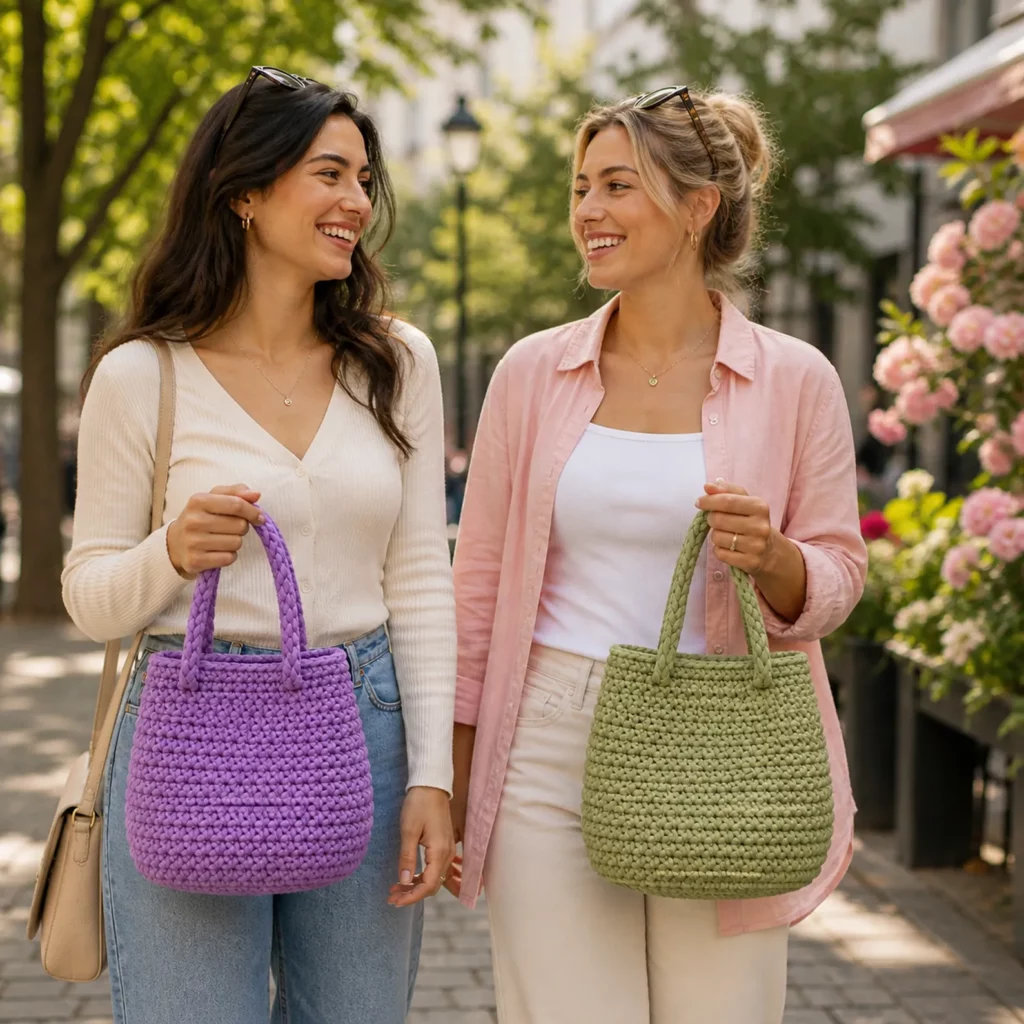
This crochet pattern is designed to give you that polished “boutique” bucket-bag look with a sturdy, rounded base, gently shaped sides, and a pair of thick braided handles that feel substantial in the hand. The fabric is dense and even, making it beginner-friendly while still looking high-end.
If you want a free crochet pattern that’s practical, stylish, and satisfying to make, this easy crochet pattern bucket bag is a perfect weekend project.
Detailed Description of the Crochet Pattern#
This design is a structured bucket-style handbag made with chunky yarn. It has:
- A rounded base that helps it sit upright
- Smooth, dense body stitches that create a clean texture
- A slightly tapered silhouette (wider at the bottom, narrower at the top)
- Two thick, braided handles attached at the rim
What makes the shape work
Bucket bags can look “puffy” or uneven if increases aren’t consistent. This pattern uses:
- A flat circle base with evenly spaced increases
- A fold round (BLO) to create crisp sides
- Gentle tapering decreases near the top to shape the opening
- A reinforced rim so the handle attachments stay strong
Finished size (approx.)
With chunky yarn and a 6.5–9 mm hook, expect something like:
- 9–11″ tall
- 9–10″ wide at the base
- 7–8″ opening
Perfect for phone, wallet, keys, sunglasses, and small essentials.
Skill Level Explanation#
This is an easy-to-intermediate crochet project.
Great for confident beginners who can:
- crochet in the round
- increase evenly for a flat base
- maintain stitch counts
- seam or attach handles securely
Beginner-friendly parts:
- mostly repetitive rounds
- simple shaping (increase/even/decrease)
- chunky yarn makes progress fast
Intermediate upgrades (optional):
- adding a lining
- adding a magnetic snap or drawstring
- inserting a firm base for extra structure
If you’re ready for an accessory project that feels modern and wearable, this crochet for beginners bag is a great step up.
Materials Needed#
Yarn
To get that thick, structured look, choose chunky yarn with body.
Best yarn options:
- Super bulky (#6) yarn (wool or wool blend for structure)
- Chunky cotton (sturdy and less stretchy)
- Braided cotton cord (5–7 mm) (very structured, modern finish)
Avoid (unless lining):
- very soft, drapey acrylic (can slouch)
- fuzzy yarn (hides stitches and can pill on bags)
Yardage estimate:
- Super bulky yarn: 200–350 yards depending on size and handles
- Cotton cord: 150–250 yards
Hook
Pick a hook that creates a dense fabric:
- Super bulky yarn: 7.0–9.0 mm
- Cotton cord: 6.0–8.0 mm
Tip: If you can easily see gaps, go down a hook size.
Notions
- Stitch marker
- Yarn needle
- Scissors
- Measuring tape
Optional structure + finishing
- Felt/plastic canvas base circle (for a crisp bottom)
- Fabric lining (for a professional interior)
- Magnetic snap or drawstring grommets (optional closure)
Stitches & Techniques Explained#
Abbreviations (US terms)
- MR = magic ring
- ch = chain
- sl st = slip stitch
- sc = single crochet
- hdc = half double crochet
- inc = increase (2 stitches in one stitch)
- dec = decrease (sc2tog or invisible decrease)
- BLO = back loop only
- st(s) = stitch(es)
Best stitch for this look
The bag fabric appears dense and smooth. Two great options:
- Single crochet (sc): most structured, least stretch
- Waistcoat stitch (optional): knit-like “V” look, very structured
This pattern uses single crochet for simplicity and stability.
The fold round (BLO)
Working one round in BLO sc creates a clear turning line from base to sides—this is what gives the bag a clean bucket shape.
Braided handle technique (easy + sturdy)
A thick braided handle can be made by:
- crocheting a long chain/cord, then
- crocheting around it to thicken, or
- making 3 cords and braiding them
In this tutorial, you’ll make three simple cords and braid them for a plush, chunky handle.
Step-by-Step Instructions#
Pattern notes
- Work in continuous rounds (use a marker)
- Keep tension firm
- Adjust size by changing base diameter and number of side rounds
Finished size (example)
Approx. 10″ tall x 9″ wide (chunky bucket bag)
Part 1: Base (Flat Circle)
Rnd 1: MR, 6 sc (6)
Rnd 2: inc around (12)
Rnd 3: (sc, inc) around (18)
Rnd 4: (2 sc, inc) around (24)
Rnd 5: (3 sc, inc) around (30)
Rnd 6: (4 sc, inc) around (36)
Rnd 7: (5 sc, inc) around (42)
Rnd 8: (6 sc, inc) around (48)
Continue increasing until your base is the width you want:
- Small: 42–48 sts
- Medium: 54–60 sts
- Large: 66–72 sts
Flat-circle check:
- If it ripples, you’re increasing too much—add an even round.
- If it cups, you need more increases.
Part 2: Fold Round (Creates the Bucket Shape)
Next Rnd: BLO sc around (same stitch count)
This is the “magic” round that makes the sides stand up.
Part 3: Body Sides (Straight Section)
Next 8–12 rounds: sc around (same stitch count)
Work until the bag is about 2–3 inches shorter than your final height (because we’ll taper the top slightly).
Part 4: Taper the Top (Optional but gives the shape)
To narrow the opening gently:
Taper Rnd 1: (10 sc, dec) around
Taper Rnd 2: sc around
Taper Rnd 3: (9 sc, dec) around
Taper Rnd 4: sc around
Repeat one more decrease round if you want a narrower opening.
Part 5: Reinforced Rim
Rim Rnd 1: ch 1, sc around
Rim Rnd 2: ch 1, sl st around (or crab stitch for a decorative edge)
Fasten off and weave in ends.
Part 6: Handle Attachment Points
Mark 4 points evenly around the rim:
- 2 points for Handle A
- 2 points for Handle B
Keep handle points symmetrical (use stitch markers). A common spacing:
- about 10–14 stitches between the two ends of each handle
- same distance between handles on the sides
Part 7: Braided Handles (Make 2)
Each handle is made from 3 cords braided together.
Make cords (6 total)
Cord (make 6):
- Ch 55–70 (depending on desired handle height)
- Row 1: sc in 2nd ch from hook and across
Fasten off with long tail
For thicker cords: work 2 rows of sc instead of 1.
Braid
- Group 3 cords together, knot one end
- Braid tightly
- Knot the other end
- Trim and secure ends
Repeat for second handle.
Part 8: Attach Handles
Sew each handle end to the marked points using strong stitches:
- Stitch through the rim and into multiple rounds below it
- Sew a box shape (square) and an “X” across for reinforcement
- Repeat several passes
Pro tip: Handles are the #1 stress point—over-sew, don’t under-sew.
Part 9: Optional Base Insert + Lining
Base insert: cut felt or plastic canvas to fit inside the base.
Lining (recommended):
- Measure interior height and circumference
- Sew a fabric cylinder with a circle base
- Insert and hand stitch lining to inside rim
- Reinforce around handle attachment area
Common Mistakes and How to Avoid Them#
- Base ripples:
Too many increases—add an even round. - Base cups:
Not enough increases—add increases more frequently. - Bag slouches:
Use firmer yarn, smaller hook, add lining or base insert. - Top opening stretches:
Add the reinforced rim rounds and consider a snap or drawstring. - Handles feel loose:
Reinforce with multiple passes and sew into lower rounds, not just the rim. - Bag looks uneven:
Count rounds and keep the stitch marker in the first stitch of each round.
Expert Tips for Better Results#
- Go tighter than you think: Bag fabric should be dense, not drapey.
- Shape while you work: Every few rounds, flatten the base and check symmetry.
- Use stitch markers for handle placement: It makes the bag look balanced instantly.
- Add structure invisibly: Lining and a base insert improve shape without changing the look.
- Prevent pilling: If using wool, avoid heavy friction; lining helps reduce wear inside.
- Make it extra luxe: Add a magnetic snap and a small inner pocket in the lining.
Variations and Customization Ideas#
- Add a drawstring top: Crochet a casing round and thread cord through.
- Crossbody version: Replace handles with D-rings + long strap.
- Two-tone color block: Base in one color, body in another.
- Texture swap: Use waistcoat stitch for knit-like structure.
- Mini version: Reduce base to 36–42 sts and fewer side rounds.
- Market tote style: Skip tapering and make longer handles.
Benefits of This Crochet Project#
- Fast finish thanks to chunky yarn
- Modern, minimal style that works year-round
- Strong structure with simple stitches
- Great skill-builder: bases, shaping, handles, reinforcement
- Customizable size and strap options
- Makes a beautiful handmade gift or small-shop product
Internal Linking Suggestions#
You may also like…
- Crochet Tutorial: How to Crochet a Perfect Flat Circle
- Best Yarn for Crochet Bags (Cord vs Wool vs Cotton)
- Crochet Tutorial: Waistcoat Stitch for Structured Bags
- DIY Crochet: How to Add a Fabric Lining to a Crochet Bag
- Free Crochet Pattern: Mini Crochet Tote Bag
- Free Crochet Pattern Roundup: Beginner-Friendly Crochet Bags
FAQ Section#
What yarn is best for a chunky crochet bag pattern?
Super bulky yarn, chunky cotton, or braided cotton cord are best. They create structure and reduce stretching, which is important for bags.
Is this an easy crochet pattern for beginners?
Yes. It uses mostly single crochet in the round with simple increases and decreases. The only “extra” skill is attaching handles securely.
How do I make the bag bigger or smaller?
Change the base diameter by adding or removing increase rounds, then adjust the number of side rounds for height. Handles can be longer or shorter by changing cord chain length.
How do I keep the bag from stretching?
Use a smaller hook for a denser fabric, choose sturdy yarn (cotton cord works great), and add a lining. Reinforce the rim and handle areas.
Can I make this without braided handles?
Absolutely. You can crochet flat straps, use leather handles, or attach store-bought handles with D-rings for a different look.
Do I need a lining?
Not required, but strongly recommended for long-term durability. A lining keeps the bag from stretching, protects items inside, and gives a polished finish.
Conclusion#
A chunky bucket bag is one of the most rewarding crochet accessories because it’s quick to make and instantly wearable. This free crochet pattern gives you a clean, structured silhouette, a sturdy rim, and braided handles that feel substantial and comfortable.
If you tell me what yarn you’re using (super bulky wool vs cotton cord thickness) and your target size (mini / medium / large), I can adjust the stitch counts and round numbers so your crochet pattern comes out perfectly proportioned.