Introduction#
If you’ve ever wanted a crochet project that looks modern, luxurious, and “designer” without complicated stitches, a chunky basket bag is the perfect place to start. This style is all about bold texture: thick, squishy stitches that build a structured little tote you can carry to the coffee shop, use as a home storage basket, or gift as a cozy handmade accessory.
Explore more beginner bags crochet patterns in our pattern library.
What makes this crochet pattern so satisfying is how quickly it works up. Jumbo yarn creates instant progress, and the bag shape is wonderfully simple: a sturdy base, straight sides, and a handle that’s braided for a polished finish. You don’t need advanced shaping, fancy colorwork, or a long list of techniques. With the right yarn and a few smart finishing tricks, you’ll get a bag that holds its shape, looks neat, and feels expensive.
This crochet tutorial will walk you through the entire process, from choosing the best chunky yarn (and what to avoid), to building a strong base, to attaching handles that won’t stretch out over time.
Detailed Description of the Crochet Pattern#
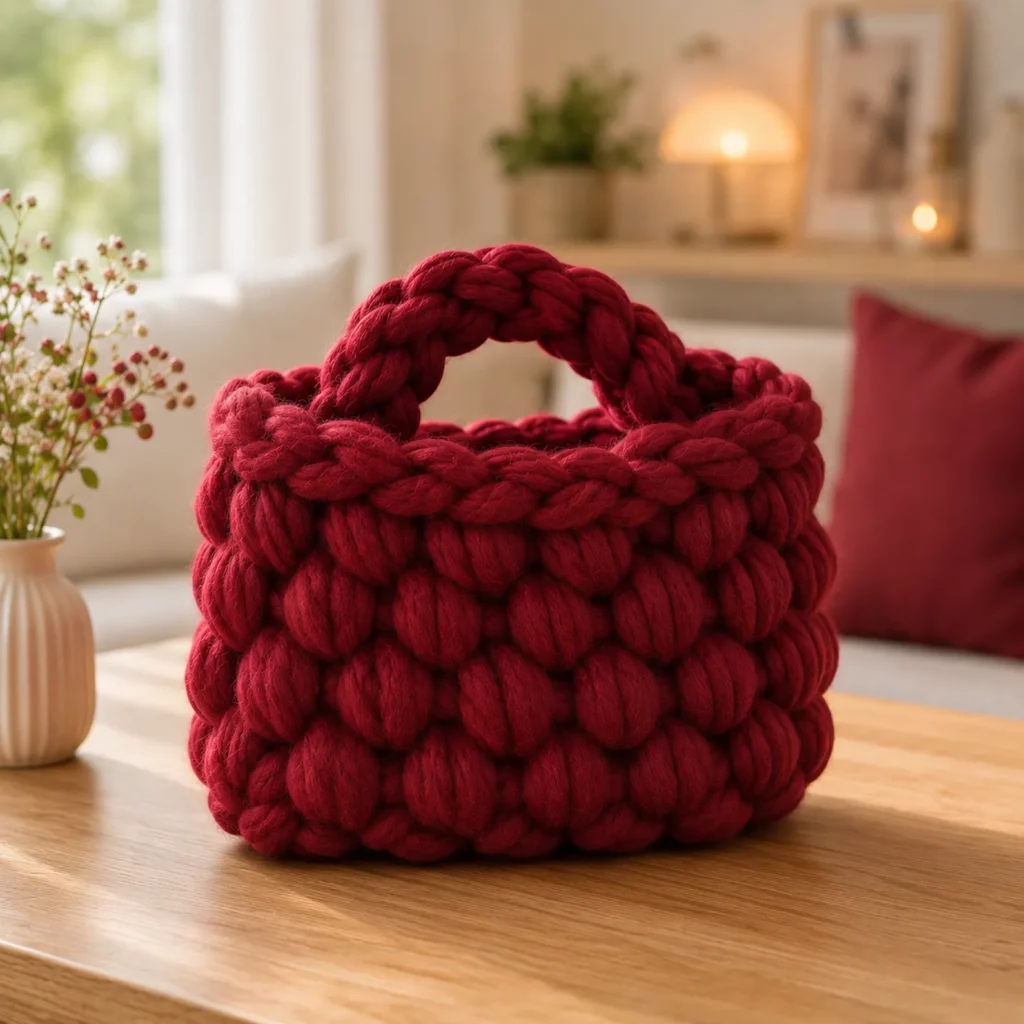
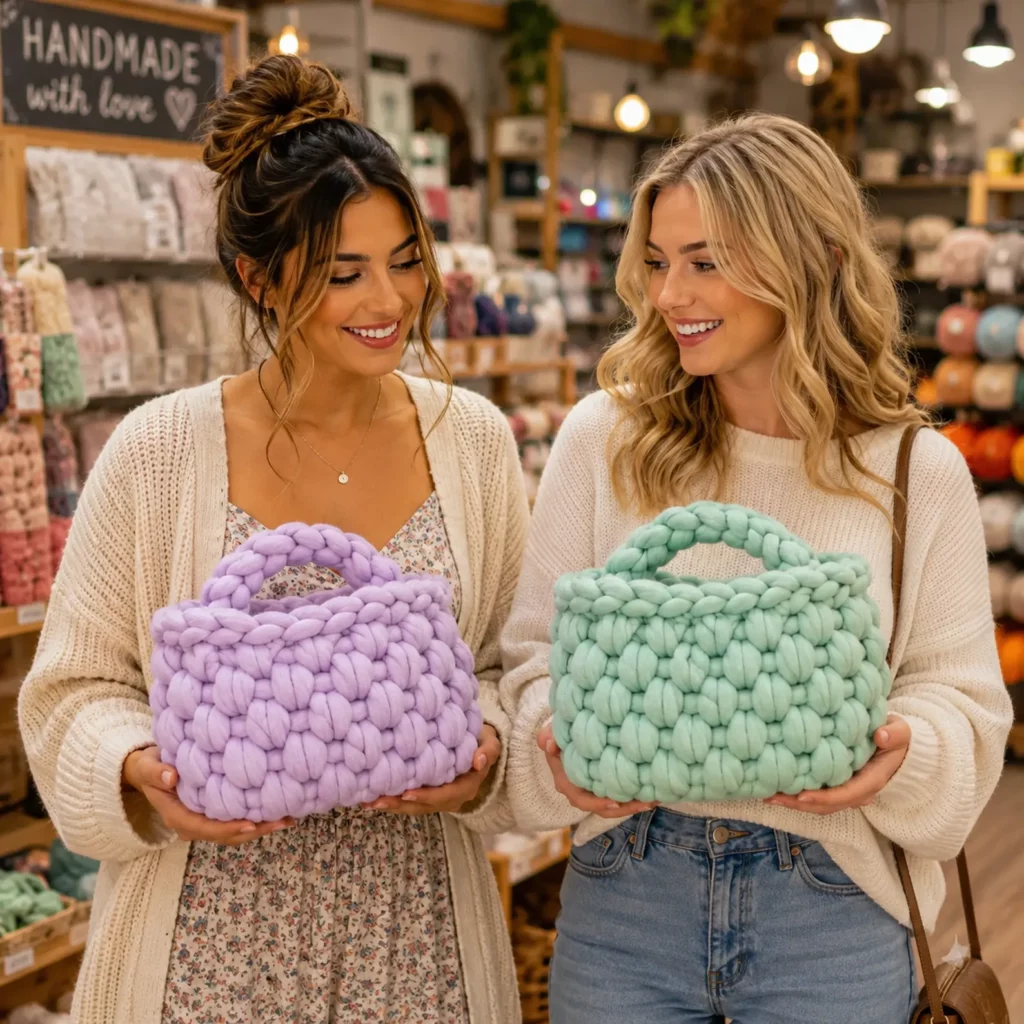
This project is a chunky crochet basket bag (also called a mini tote or storage tote) made with jumbo yarn. The stitch pattern is intentionally bold and simple so the yarn does the decorating for you. The overall look is structured and slightly boxy with thick walls and a rounded rectangle base. The handle is a chunky braid that matches the body texture and adds a boutique finish.
Key design features you’ll crochet
Thick, textured body that stands up on its own
Rounded rectangle base for stability
Straight sides for a clean “basket” silhouette
Reinforced top edge so the opening stays neat
Braided handle (or two handles if you prefer)
Optional inner lining for durability
Optional drawstring or magnetic snap closure
How it’s made
Crochet the base in an oval/rounded rectangle shape
Build the sides by crocheting into the back loop only (creates a crisp “corner”)
Work even rounds/rows up the sides until you like the height
Reinforce the top edge with a firm finishing round
Create a handle (or handles), braid if desired, and attach securely
Skill Level Explanation#
Skill level: Beginner-Friendly
Great for
Crochet for beginners who want a stylish result fast
Anyone learning how to crochet in the round
Crafters who want a “quick win” gift project
Skills you’ll practice
Working a flat base and then turning up the sides
Keeping tension consistent with jumbo yarn
Joining and finishing neatly for a professional look
Basic handle construction and reinforcement
This is an easy crochet pattern because the shape is simple and the stitches are repetitive. The only “new” part for many beginners is controlling tension with thick yarn, and I’ll give you tricks for that.
Materials Needed#
Yarn (most important choice)
This bag works best with jumbo yarn that has structure. You have a few options depending on the look you want.
Best yarn types for a chunky basket bag
Jumbo tube yarn (often called “tube yarn” or “stuffed cord”) for the most durable bag
Super bulky chenille for a softer, plush look (less structured)
Roving-style jumbo yarn for display baskets (pretty, but can pill or stretch if used as a real bag)
Recommended yarn weight
Jumbo (Category 7) is ideal for this oversized stitch look
Super bulky (Category 6) can work, but the bag will be smaller unless you add rounds
Yarn amount
Small basket bag: 200–350 g of jumbo yarn
Medium tote basket: 350–600 g
Exact amount depends heavily on yarn thickness and bag size, so always buy a little extra
Hook size
With jumbo yarn, many people crochet with a very large hook or even hand crochet.
If using a hook: 12 mm to 20 mm depending on yarn thickness
If hand crocheting: no hook needed, just consistent loops
Notions
Tapestry needle (large eye)
Scissors
Stitch markers (very helpful for jumbo yarn)
Measuring tape
Optional: bag base insert (plastic canvas, leather base, or felt)
Optional: fabric liner + needle and thread
Optional: magnetic snap or button
Stitches & Techniques Explained#
Abbreviations
ch = chain
sc = single crochet
sl st = slip stitch
inc = increase (2 sc in one stitch)
BLO = back loop only
st(s) = stitch(es)
rep = repeat
Best stitch for structure
Single crochet creates the firmest fabric and helps the bag stand up. With jumbo yarn, even simple sc looks bold and textured.
Working BLO to create a sharp corner
When you finish the base, you’ll crochet one round in BLO only. This turns the work upward and creates a crisp edge where the base meets the sides.
Invisible joins for a clean look
If you want the cleanest finish, avoid a big seam line. You can work in continuous rounds and use a stitch marker for round starts, or join each round with a sl st. Continuous rounds usually look smoother.
Handle reinforcement (important)
Jumbo yarn can stretch. Reinforce handles by
Crocheting them tightly
Adding an inner cord (cotton rope or strong yarn)
Sewing handles on with multiple passes
Using a liner that anchors the handle area
Step-by-Step Instructions#
This is a free crochet pattern written in a made-to-measure style so you can scale the bag easily. I’ll give a clear “starter size” plus simple ways to adjust.
Finished size (starter)
Width: about 9–11 in (23–28 cm)
Height: about 6–8 in (15–20 cm)
Handle drop: about 4–6 in (10–15 cm)
Before you start
Place a stitch marker in the first stitch of each round. Jumbo yarn can hide stitches, so counting matters.
Crochet the base
Option A: Oval base (classic basket look)
Ch 10 (adjust for wider/narrower bag)
Round 1: sc in 2nd ch from hook and across until last ch, 3 sc in last ch, continue on other side of chain with sc across, 2 sc in last ch (the starting end) to round it out. Place marker.
Round 2: sc around, placing inc at both curve ends (the rounded tips).
Round 3: repeat Round 2, keeping increases only at the two rounded ends to lengthen the oval.
Stop when your base is the width and length you want. For a small bag, 3–5 rounds is usually enough with jumbo yarn.
Option B: Rounded rectangle base (boxier tote look)
Ch 8–12 depending on desired width
Work sc around the foundation chain like the oval method, but keep the long sides straight and place increases at the corners only.
This creates a base that looks more like a mini tote.
Fit tip
The base determines the bag footprint. If you want a wider bag, add more starting chains. If you want a larger bag overall, add more base rounds.
Turn up the sides
Next round: sc in BLO around the entire base.
This is the “turning round” that creates the bag corner and makes the sides stand up.
Build the bag sides
Now crochet sc around in continuous rounds (both loops) until you reach the height you like.
For a small basket bag
Work 6–10 rounds for a short tote
Work 10–14 rounds for a taller tote
Keep checking height by placing the bag on a table. Jumbo bags grow fast.
Reinforce the top edge
A sturdy top edge helps the bag hold its shape and look neat.
Top edge option 1 (simple and clean)
Work 1 round of sc tightly, then sl st to join and fasten off.
Top edge option 2 (extra firm)
Work 1 round of sc, then 1 round of sl st all around (sl st makes a firm “band”).
Top edge option 3 (structured rim)
Work 1 round of sc, then 1 round of BLO sc. This creates a subtle rim that feels thicker.
Make the handle
You can make one long braided handle (like a statement strap) or two smaller handles.
Option A: One braided handle (statement look)
Make 3 long cords/strips, then braid them.
How to crochet a cord/strip
Ch the length you want for the handle (example: 40–55 ch depending on drop)
Row 1: sc in 2nd ch and across
Row 2: ch 1, turn, sc across
Repeat for 2–4 rows total (wider handle = more rows)
Make 3 identical strips.
Braid
Lay the 3 strips side by side and braid loosely.
Do not braid too tightly or the handle will stiffen and shorten too much.
Tie or stitch the ends to hold the braid.
Attach
Sew one end of the braided handle to one side of the bag opening.
Sew the other end to the opposite side.
Option B: Two handles (classic tote style)
Make 2 straps (no braiding needed)
Ch 25–35 for each handle (adjust for your hand/arm)
Work 2–4 rows of sc to make each strap sturdy
Sew each handle end to the bag, spacing evenly
Secure handle attachment (this is where quality lives)
For a bag that lasts, attach the handle like this
Pin handle ends in place first
Sew through multiple layers at the bag top edge
Make several passes with your yarn tail
Weave ends inside the bag and stitch again in a different direction
Optional reinforcement
Slip a strong cotton cord inside the handle before sewing the final seam
Add a small rectangle of fabric or felt inside the bag where the handle attaches, then sew through it
Optional lining (highly recommended for real use)
A lining prevents stretching and protects the yarn from keys, pens, and rough items.
Simple lining method
Cut fabric to match the bag interior shape
Sew side seams and bottom seam
Fold top edge under and stitch to create a neat hem
Hand sew lining to the inside top edge of the bag
If you want maximum strength, stitch the handle area through the lining too
Optional closure
Add a magnetic snap to the lining
Add a button loop
Add a simple drawstring channel near the top
Common Mistakes and How to Avoid Them#
Bag looks floppy
Use a more structured yarn (tube yarn is best)
Crochet tighter (smaller hook or tighter hand loops)
Add a base insert and lining
Sides flare outward
You may have too many increases in the base
Try fewer base rounds
Work one decrease round right after the BLO turning round (dec every 10–12 stitches)
Top edge curls
Crochet the top edge slightly looser
Add one round of sl st to stabilize
Avoid pulling your join too tight
Handle stretches over time
Reinforce with inner cord
Sew handle ends with multiple passes
Use lining to anchor the top edge
Stitches look uneven with jumbo yarn
Slow down and keep loop size consistent
Use stitch markers and count
Avoid tugging hard on each stitch
Expert Tips for Better Results#
Choose tube yarn if you want a bag that behaves like a real bag
Use a base insert for a crisp, professional shape
For a cleaner look, hide the seam by working in continuous rounds and finishing with an invisible join
If you want taller sides without widening the bag, add rounds after the turning round, not during the base
For a “mini designer tote” look, keep the handle shorter and the bag wider
Variations and Customization Ideas#
Storage basket version
Skip the handle and make the sides taller. Perfect for blankets, toys, or plants (use a liner to protect from moisture).
Crossbody strap version
Make one extra-long braided strap and attach at the sides. Reinforce heavily.
Two-tone bag
Use one color for the base and another for the sides or handle.
Add a tag
Stitch on a small leather or faux leather tag for a boutique finish.
Add pockets
Sew pockets into the lining for keys and phone.
Add a stiff rim
Thread a plastic cord or flexible tubing through the top edge stitches for a structured opening.
Benefits of This Crochet Project#
Very fast to crochet, especially with jumbo yarn
Beginner-friendly construction and stitches
Stylish, modern texture that looks high-end
Practical: works as a tote or home storage basket
Easy to customize size, color, and handle style
Great gift idea that feels luxurious
Internal Linking Suggestions#
How to Crochet With Jumbo Yarn for Beginners
Best Yarn Choices for Crochet Bags That Hold Shape
Easy Crochet Basket Patterns You Can Finish in a Weekend
How to Add a Fabric Lining to a Crochet Bag
Simple Crochet Handles That Don’t Stretch
FAQ Section#
What is the best yarn for a chunky crochet basket bag?
Tube yarn or a structured jumbo cord yarn is best because it holds shape and resists pilling. Plush yarn is softer but less structured.
Can beginners make this crochet pattern?
Yes. The stitches are simple (mostly single crochet). The main challenge is keeping even tension with thick yarn.
Do I need a giant hook to make it?
Not always. Many jumbo yarns work with a 12–20 mm hook. You can also hand crochet if the yarn is extremely thick.
How do I stop the handle from stretching?
Reinforce the handle with an inner cord, sew the ends with multiple passes, and use a lining to anchor the top edge.
How do I make the bag bigger?
Add more starting chains for a wider base and add more base rounds for a longer base. Then add more side rounds for height.
Can I wash the bag?
It depends on the yarn. Many acrylic or polyester jumbo yarns are spot-clean friendly. Tube yarn often does best with gentle hand washing and air drying. A lining helps protect the bag.
Conclusion#
A chunky crochet basket bag is one of the best “big impact, simple stitches” projects you can make. With a structured base, sturdy single crochet sides, and a braided handle, this crochet pattern creates a modern tote that looks boutique and feels cozy. It’s quick, beginner-friendly, and endlessly customizable—make it in pastels, neutrals, or bold colors depending on your style.
If you tell me what yarn type you’re using (tube yarn, chenille, or roving) and whether you want one handle or two, I can give you an exact starting chain and round count for the size you want.