


Introduction#
If you love holiday crochet but don’t love giant projects that take weeks, a Christmas granny square set is the sweetest solution. You get that instant festive payoff (one square = one finished win), and later you can turn the same squares into whatever you need—blanket, pillow cover, garland, tote front, table runner, or even a set of cozy potholders.
Explore more beginner granny squares crochet patterns in our pattern library.
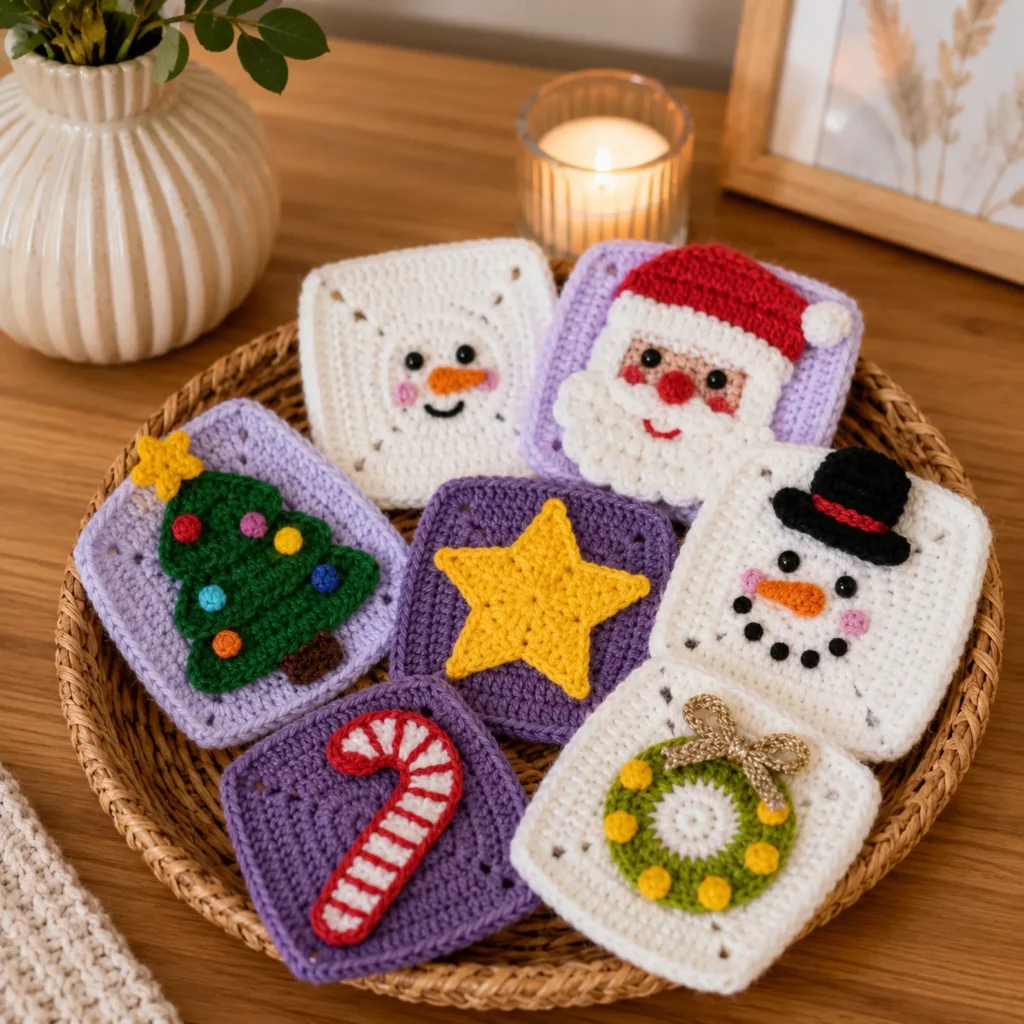
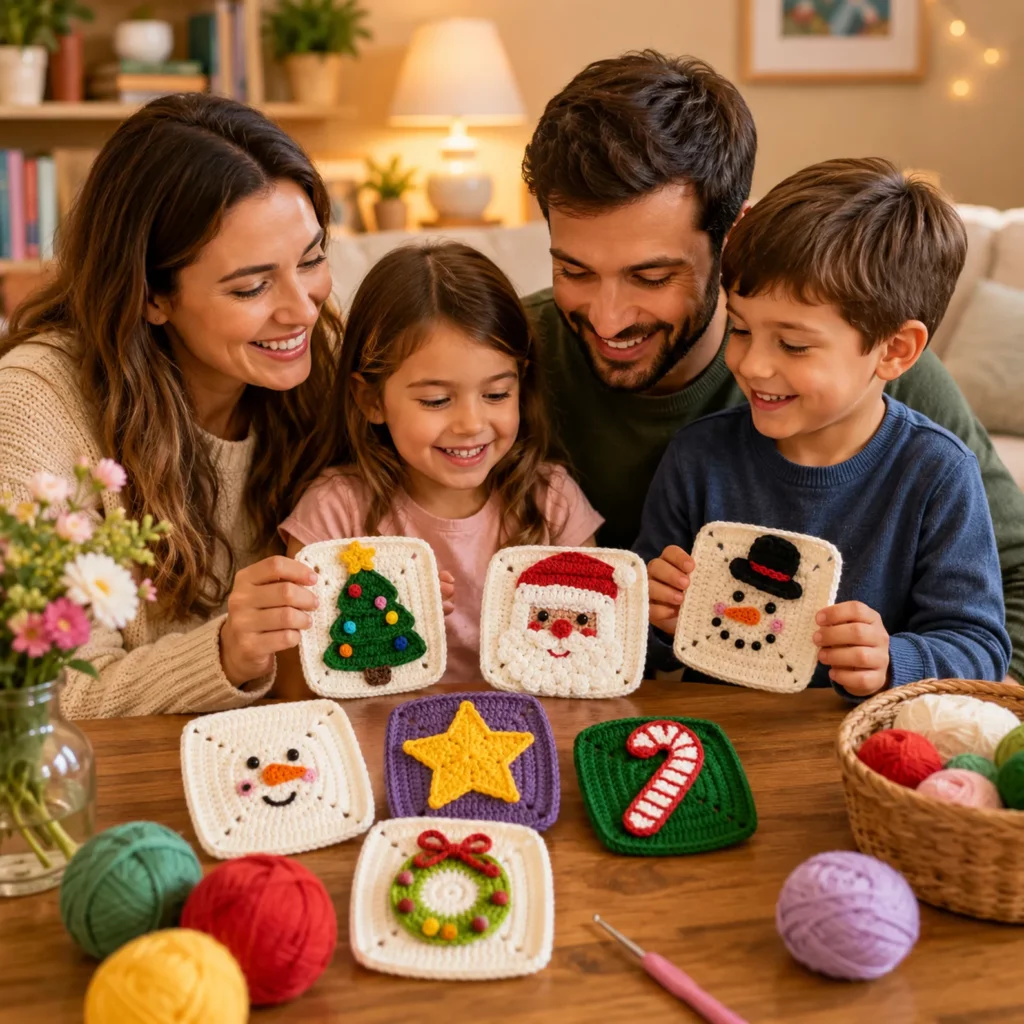
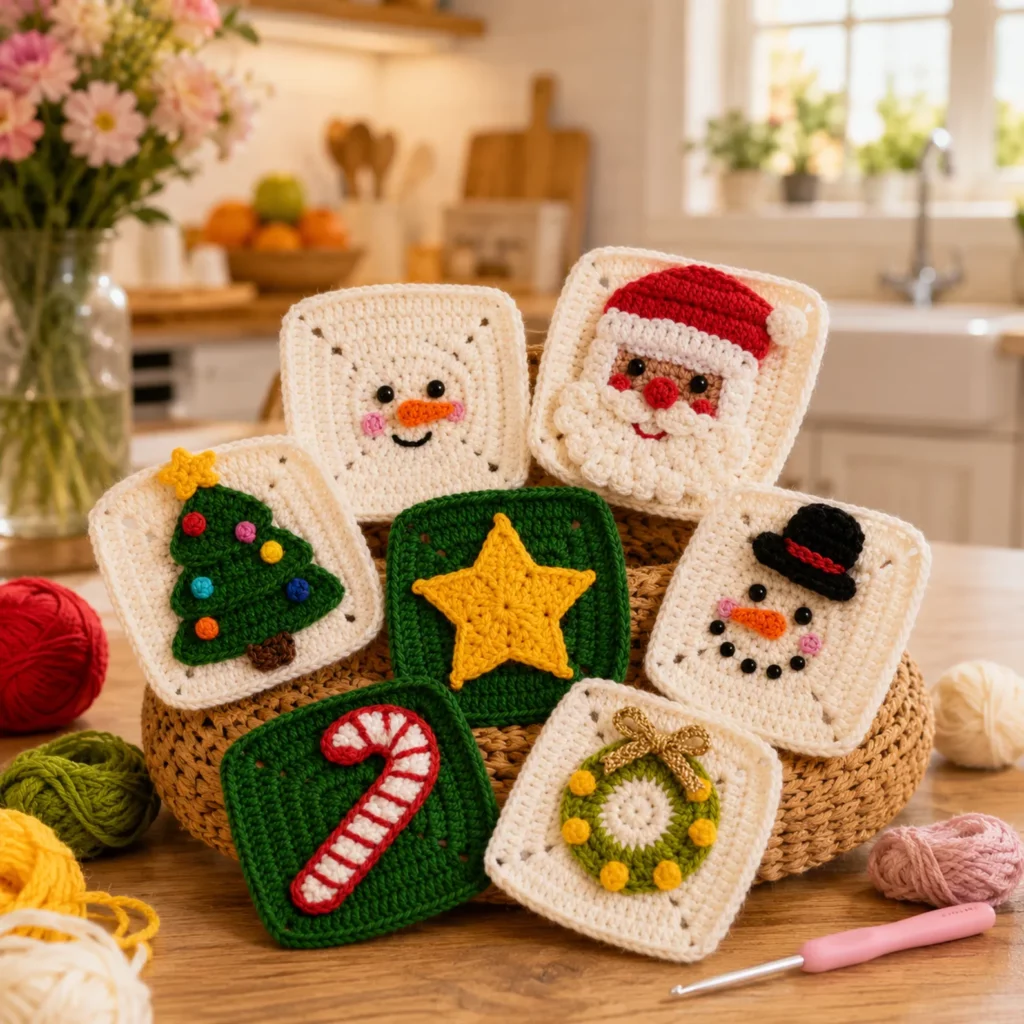
This crochet pattern is a mix-and-match collection: classic granny-style squares plus charming holiday appliqués like a snowman, Santa face, Christmas tree, star, candy cane, and wreath. The squares are intentionally sized to match so you can combine them easily, and the appliqués are designed to be simple shapes that beginners can sew on cleanly.
If you’re searching for a free crochet pattern that feels festive, practical, and totally customizable, this easy crochet pattern set is a must-save for your holiday crafting list.
Detailed Description of the Crochet Pattern#
This set is built around two components:
- The base granny square
- A simple square with a clean border (great for mixing colors)
- Designed to be sturdy enough for blankets and pillows
- Holiday appliqués
- Small motifs that you sew onto the center of a square
- Easy to adjust in size by changing yarn weight or hook size
What you can make with this set
- Christmas granny square blanket (classic!)
- Holiday pillow cover (9–16 squares looks amazing)
- Festive bunting/garland (string squares across a mantle)
- Mug rugs or coasters (single squares)
- Stocking front panels (attach a square to a stocking body)
- Wall decor or door hanger (stiffen one square and hang it)
Why the design works
- The motifs sit on a mostly solid center, so they don’t get visually “lost.”
- The borders create consistent sizing—even if your tension changes slightly.
- You can make a full holiday look with just two or three colors, or go bright and playful with many.
Skill Level Explanation#
This is an easy project with optional intermediate finishing.
Great for beginners who can:
- chain, single crochet, double crochet
- join rounds
- weave in ends
- sew appliqués with a yarn needle
Optional intermediate upgrades:
- neat color changes (especially for Santa and candy cane)
- blocking squares for perfectly even edges
- adding small dimensional details (puff beard, bobble ornaments)
This is ideal crochet for beginners because each square is small, repeatable, and forgiving.
Materials Needed#
Yarn
Best yarn for granny squares:
- Worsted weight (#4) acrylic (easy-care, lots of colors)
- Worsted cotton (crisp stitches, great for potholders and decor)
- Cotton blend (nice structure + softness)
Suggested holiday palette
- White/cream (snow, borders, Santa beard)
- Green (tree, wreath, backgrounds)
- Red (Santa hat, candy cane)
- Black (eyes, mouth, coal buttons)
- Orange (carrot nose)
- Yellow/gold (star, ornament accents)
- Optional: silver/gold sparkle yarn for highlights
Yardage estimate
- Each square: ~15–30 yards depending on border thickness and appliqué
- Full blanket (36 squares): ~600–1100 yards total (varies widely by size and colors)
Hook
- Worsted yarn: 4.0–5.0 mm
- Cotton: you may prefer 3.5–4.5 mm for denser stitches
Notions
- Yarn needle
- Scissors
- Stitch markers (optional)
- Measuring tape
- Blocking mat + pins (recommended for professional results)
Optional extras
- Small safety eyes or beads (not recommended for baby items)
- Fabric glue (only for decor pieces, not washable items)
- Felt backing (nice for coasters or ornaments)
Stitches & Techniques Explained#
Abbreviations (US terms)
- ch = chain
- sl st = slip stitch
- sc = single crochet
- hdc = half double crochet
- dc = double crochet
- tr = treble crochet
- inc = increase
- sp = space
- st(s) = stitch(es)
- MR = magic ring
Classic granny square basics
Most granny squares are built from:
- 3 dc clusters
- corner chain spaces
- repeating rounds that increase the square evenly
Neat color changes (especially for appliqués)
For clean color changes:
- Finish the last yarn-over of the final stitch with the new color.
- Tighten the old color tail lightly so gaps don’t form.
- Weave ends securely—holiday pieces get handled a lot.
Appliqué sewing tips (the secret to “store-bought” looking squares)
- Pin the appliqué first (or use stitch markers)
- Sew using small whip stitches through the back loops of the appliqué edge
- Don’t pull too tight (prevents puckering)
- Weave in ends in multiple directions for durability
Step-by-Step Instructions#
Part A: Base Granny Square (Make as many as you want)
This is the foundation square you’ll use for all motifs.
Round 1: MR, ch 3 (counts as dc), 2 dc in ring, ch 2.
(3 dc in ring, ch 2) repeat 3 more times. Join with sl st to top of ch 3.
(You’ll have 4 corners.)
Round 2: Sl st to corner sp. Ch 3, 2 dc, ch 2, 3 dc in same corner sp.
In next corner sp: (3 dc, ch 2, 3 dc). Repeat around. Join.
Round 3+:
Sl st to corner sp. In each corner sp: (3 dc, ch 2, 3 dc).
In each side sp between clusters: (3 dc).
Repeat around, join.
Sizing tip:
- 3 rounds = small coaster square
- 4 rounds = classic granny square size
- 5 rounds = larger block for blankets
Optional: Solid-ish Center Square (Best for Appliqués)
If you want more “blank space” behind faces and motifs:
Round 1: MR, ch 1, 8 sc in ring. Join.
Round 2: inc around (16).
Round 3: (sc, inc) around (24).
Round 4 (square shaping):
(sc in next 5, 3 sc in next) repeat 4 times (creates corners).
Then add 1–2 border rounds of sc or granny clusters.
This gives you a smooth center that makes appliqués pop.
Part B: Appliqués (Choose your favorites)
Below are six motif patterns that match the holiday set.
1) Snowman Face Appliqué
Base face (white circle):
- Rnd 1: MR, 6 sc (6)
- Rnd 2: inc around (12)
- Rnd 3: (sc, inc) around (18)
- Rnd 4: (2 sc, inc) around (24)
Fasten off leaving tail.
Carrot nose (orange):
- Ch 5, sl st in 2nd ch, sc, hdc, dc. Fasten off.
Sew to center.
Eyes + smile:
- Embroider with black yarn/thread:
- eyes: small vertical stitches or knots
- smile: gentle curve
Cheeks (optional):
- Use pink yarn or a tiny circle (MR 5 sc) and stitch on lightly.
2) Santa Face Appliqué
Face (peach):
- Rnd 1: MR, 6 sc
- Rnd 2: inc (12)
- Rnd 3: (sc, inc) (18)
- Rnd 4: (2 sc, inc) (24)
Fasten off.
Hat brim (white):
- Ch 13, sc in 2nd ch and across (12).
Fasten off and sew across top of face.
Hat top (red):
- Ch 13, sc across (12) for 4–6 rows to form a rectangle.
Sew above brim, slightly rounded at top.
Beard (white, puff look option):
- Make a semicircle with shells:
- Ch 2, 6 dc in ring, join (small circle)
- Add shells around lower half, or create 5–7 small puff “bumps” and stitch on.
Nose (red):
- MR, 6 sc, fasten off. Stitch centered.
Eyes + smile:
- Embroider or use tiny buttons (only for decor).
3) Christmas Tree Appliqué
Tree layers (green):
Make 3 tiers as small triangles and stack them.
Tier 1 (bottom):
- Ch 11
- Row 1: sc in 2nd ch and across (10)
- Row 2: ch 1, dec, sc across to last 2, dec (8)
- Row 3: repeat taper until 2–4 sts remain
Fasten off.
Tier 2 (middle):
- Ch 9, repeat taper.
Tier 3 (top):
- Ch 7, repeat taper.
Trunk (brown):
- Ch 5, sc across (4) for 2 rows.
Stack and sew tiers and trunk.
Ornaments (tiny dots):
- MR, 5 sc; fasten off (make several in bright colors).
Star topper (yellow):
Use the star motif below in mini form, or make a small 5-point star with chains.
4) Star Appliqué
Simple 5-point star:
- MR, ch 2, (ch 3, dc, tr, dc, ch 3, sl st into ring) repeat 5 times.
Tighten ring, fasten off.
Sew centered on a square. For a bolder star, work an extra round of sc around the points.
5) Candy Cane Appliqué
Cane base (white):
- Ch 26
Sc in 2nd ch and across (25).
Add a curved hook by working 3 sc in the last stitch, then continue sc down the other side if you want thickness.
Red stripes (surface crochet or embroidery):
- Surface sl st diagonal stripes with red yarn
- Or embroider simple red lines
Sew onto a green background square for a classic look.
6) Wreath Appliqué
Wreath ring (green):
- Ch 20, join into ring.
- Rnd 1: sc around (20)
- Rnd 2: (sc, inc) around (30)
- Rnd 3: add texture with (sl st, sc, hdc) repeats around for a bumpy wreath look
Berries (yellow/red):
- MR 5 sc, fasten off (make 5–8 and sew around)
Bow (silver/white):
- Ch 18, sl st back to form loop; pinch center and stitch to wreath top.
Sew wreath centered on square.
Assembly: Sew Appliqués to Squares
- Make all squares the same size (block if needed).
- Center appliqué on square.
- Pin corners/edges with stitch markers.
- Sew around with small whip stitches.
- Weave in ends securely.
Common Mistakes and How to Avoid Them#
- Squares come out different sizes:
Keep hook size and tension consistent; block all squares to the same measurement. - Appliqués pucker the square:
Don’t sew too tightly. Stitch in small increments and flatten as you go. - Color changes look messy:
Change colors on the last yarn-over; weave ends into the same color areas. - Corners curl up:
Add 3 sc in corners when edging, or block with steam and pins. - Motifs fall off over time:
Use longer tails, stitch around twice in stress areas, and weave ends in multiple directions.
Expert Tips for Better Results#
- Block every square before joining (even quick steam-blocking helps).
- Use cotton for coasters/potholders and acrylic for blankets.
- Add a thin felt backing if making ornaments or mug rugs.
- For blankets: join squares with slip stitch seam for texture or mattress stitch for a clean look.
- Keep motifs slightly raised for dimension (puff beard, bobble ornaments) but avoid bulky layers if making a blanket for daily use.
Variations and Customization Ideas#
- Turn each square into an ornament: add a hanging loop on one corner.
- Make a “countdown” advent wall: 24 squares, each with a different motif.
- Use a monochrome palette (all cream + gold accents) for a modern Christmas look.
- Add sparkle: crochet borders in metallic thread for subtle shine.
- Make matching sets: coasters + garland + mini pillow using the same motifs.
Benefits of This Crochet Project#
- Quick wins: one square at a time = low stress
- Perfect scrap buster for holiday colors
- Endless end uses: blanket, pillow, garland, ornaments, coasters
- Beginner-friendly construction with advanced-looking results
- Great gift project (sets of 4–6 squares make lovely handmade bundles)
Internal Linking Suggestions#
You may also like…
- Free Crochet Pattern: Classic Granny Square Blanket Layouts
- Crochet Tutorial: How to Join Granny Squares Neatly
- Crochet Tutorial: How to Sew Appliqués Without Puckering
- DIY Crochet: Blocking Granny Squares for Perfect Edges
- Free Crochet Pattern: Easy Crochet Christmas Stocking
- Crochet for Beginners: Clean Color Changes in Crochet
FAQ Section#
What size should I make my Christmas granny squares?
A very common size is 5–6 inches per square for blankets. For coasters and ornaments, 3–4 inches works beautifully. The key is to make every square the same size and block them.
Is this a beginner-friendly free crochet pattern?
Yes. The base squares use simple stitches and repeating rounds. The appliqués are small shapes sewn on, which is great practice without being overwhelming.
Can I make these squares with cotton yarn?
Absolutely. Cotton is excellent for coasters, decor, and potholders because it’s sturdy. For a soft blanket, acrylic or blends are more drapey.
How do I join the squares for a blanket?
Slip stitch join is strong and slightly textured. Whip stitch is simple. Mattress stitch is neat and nearly invisible. You can also join-as-you-go with granny rounds.
Do I need to line or back the squares?
Not for blankets. For coasters or ornaments, felt backing makes them sturdier and prevents stretching.
How do I keep appliqués from curling?
Lightly block the appliqué before sewing, and stitch around evenly without pulling too tight.
Conclusion#
This Christmas granny square set is the perfect holiday crochet pattern because it’s flexible: you can make one square today, five next week, and a whole festive project by the time the season arrives—without ever feeling stuck in a giant, endless blanket.
If you tell me what you want to make (blanket, pillow, garland, or coasters) and your preferred square size (4″, 5″, or 6″), I can suggest the best number of rounds, a layout plan, and a tidy color chart to keep your free crochet pattern project cohesive.


