Introduction#
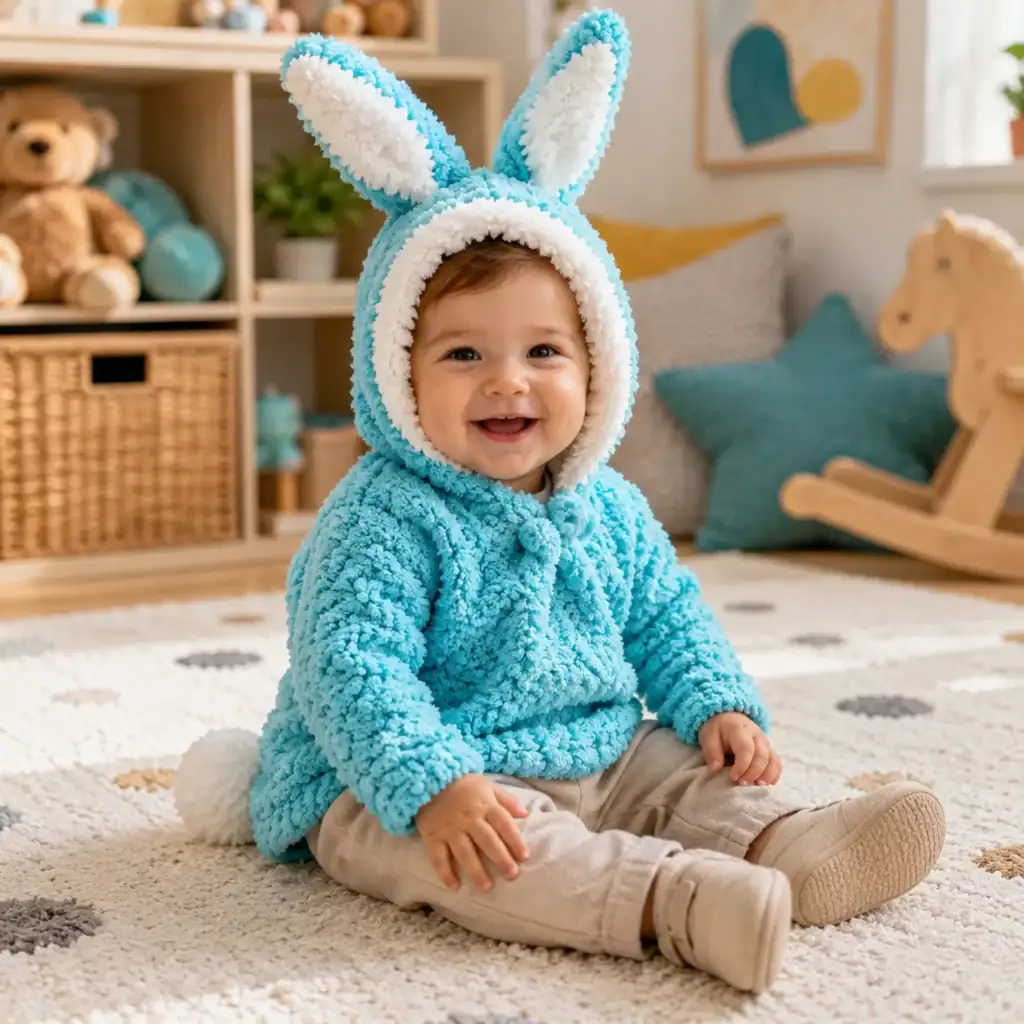
If you’ve ever seen a baby wrapped up in a cozy crochet cocoon and thought, “I need to make that,” this is the project that turns that idea into something truly special. A hooded baby cocoon (sometimes called a star sleep sack or snuggle sack) is one of the most giftable crochet makes out there: it’s warm, photo-ready, and surprisingly practical for supervised snuggles and stroller rides.
Explore more beginner baby crochet patterns in our pattern library.
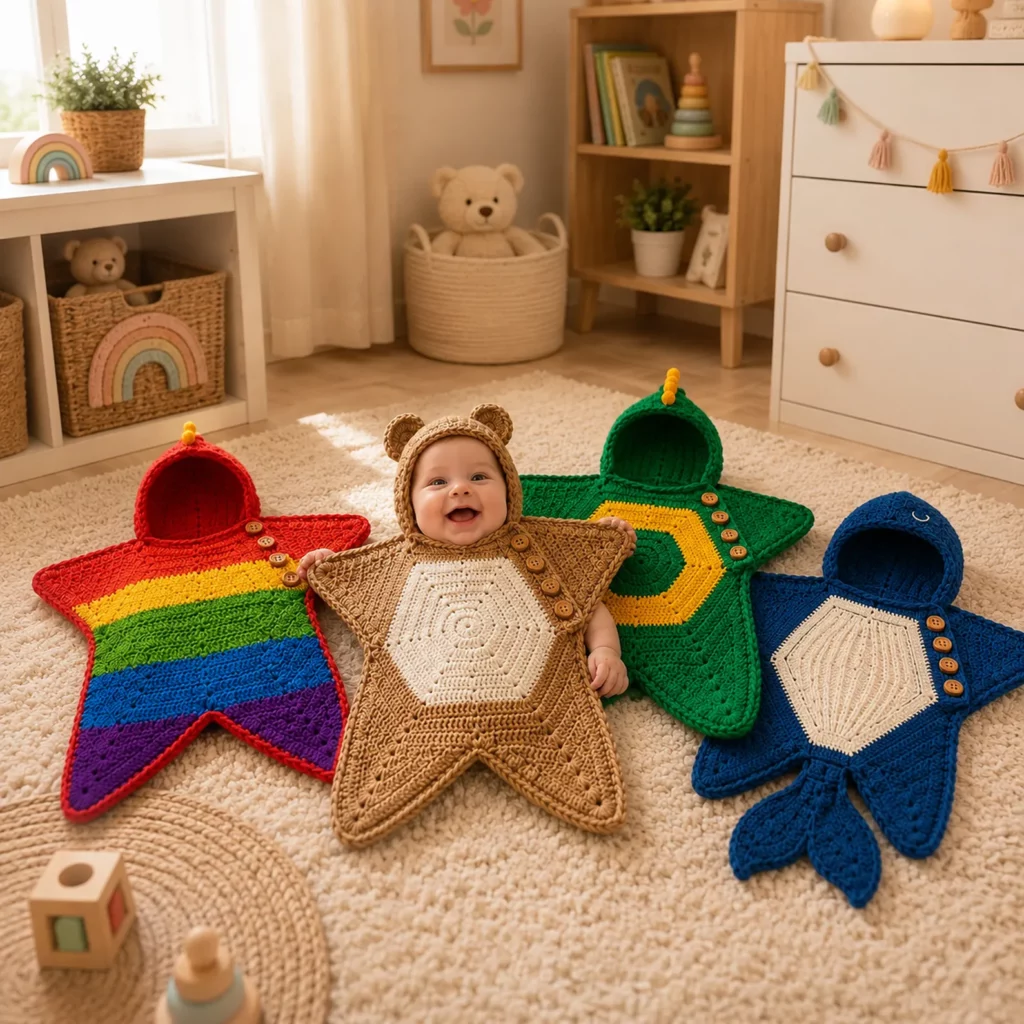
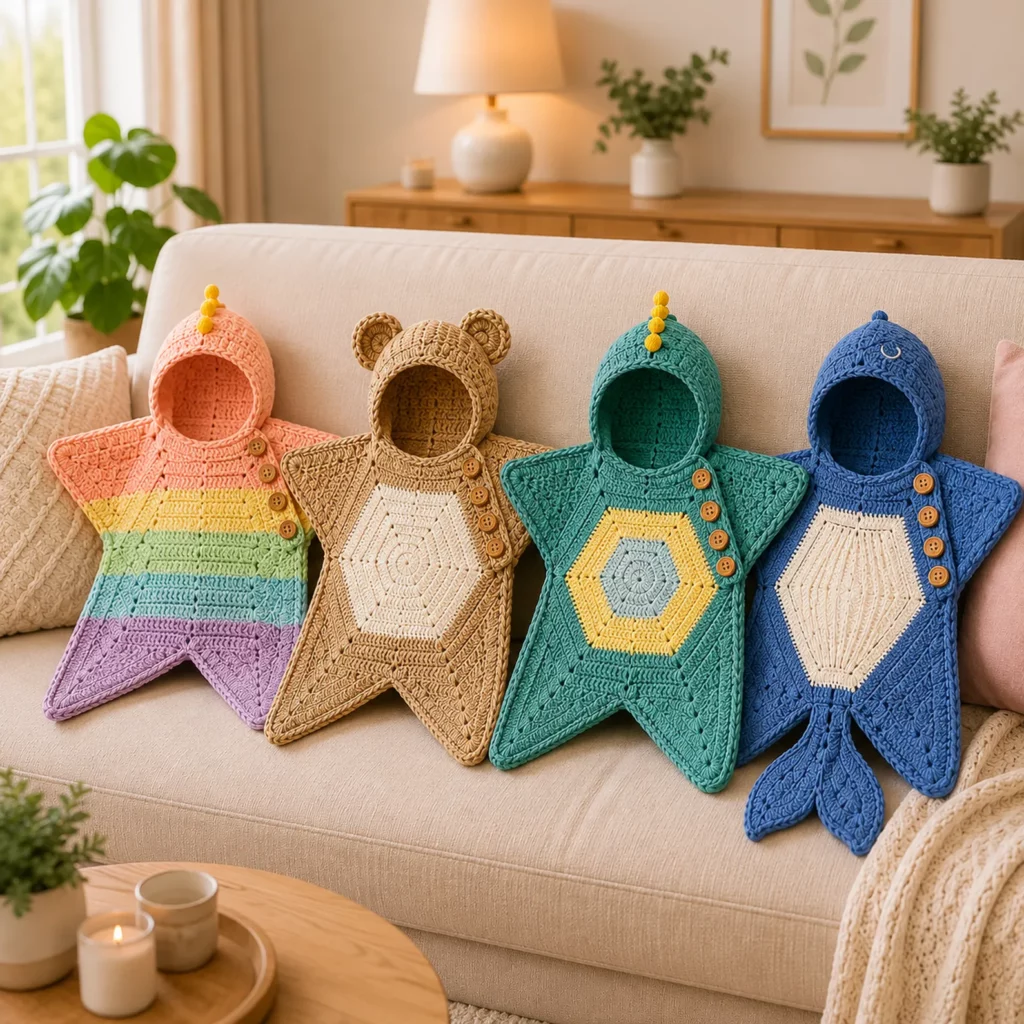
This crochet pattern focuses on a star-shaped cocoon silhouette with a hood and a buttoned side opening. The structure is simple once you understand it: you crochet a flat star panel (with clean corners), fold it, seam up the sides to create a pouch, then add a hood and finishing details. The fun part is that the same base can be customized into multiple looks just by changing colors and adding a few small shapes—think playful rainbow stripes, a teddy bear vibe, a little dinosaur, or a mermaid tail-inspired finish.
Below you’ll find a complete, educational crochet tutorial-style guide: materials, stitch explanations, sizing, step-by-step instructions, assembly, and customization ideas so you can confidently create your own 4-in-1 bundle-style cocoon.
Detailed Description of the Crochet Pattern#
This project is a hooded baby cocoon built from a star-shaped body panel. The “star” comes from working a repeated corner pattern to form points. The cocoon body is made as a flat piece first, then folded and seamed to create a pouch that babies can be tucked into. A buttoned side (or shoulder) opening makes it easier to place baby inside without forcing the cocoon over the head.
Key components you’ll make
Star body panel: crocheted flat, with consistent corner increases to create star points
Side seams: join the folded star into a pouch shape, leaving an opening for the buttoned closure
Hood: crocheted separately or worked directly onto the top opening of the pouch
Edging: a simple border to tidy the perimeter and strengthen the opening
Buttons and buttonholes: functional finishing that also adds adorable detail
Theme add-ons: optional spikes (dino), ears (bear), tail fin (mermaid), or bold stripes (rainbow)
The beauty of this crochet pattern is that the base construction stays the same. You can make one “core” cocoon and then choose the theme details you love most.
Skill Level Explanation#
Skill Level: Confident Beginner
You’ll do great if you already know
Chain (ch)
Single crochet (sc)
Half double crochet (hdc)
Double crochet (dc)
Increasing in corners
Basic seaming with a yarn needle
Simple color changes (optional)
Newer skills you’ll learn (or practice)
Maintaining clean star corners and keeping points aligned
Working evenly around edges for a neat border
Making sturdy buttonholes that don’t stretch out
Shaping a hood so it sits nicely without flopping
This is a fantastic “level up” project because it teaches shaping and finishing without requiring complicated garments or advanced stitch work.
Materials Needed#
Yarn
Choose yarn that’s soft, washable, and comfortable against baby skin.
Suggested yarn weight
Worsted (Category 4): best balance of warmth and stitch definition
Bulky (Category 5): extra plush and fast (the cocoon will be thicker)
Fiber suggestions
Acrylic baby yarn (easy care, soft, durable)
Cotton blends (breathable and crisp stitches)
Anti-pilling blends (great for items that will be handled and washed)
Color planning ideas for a 4-in-1 bundle look
Rainbow star: 5–7 bright stripes + one border color
Bear theme: warm tan + cream + wood-tone buttons
Dino theme: green body + yellow/green accents for spikes
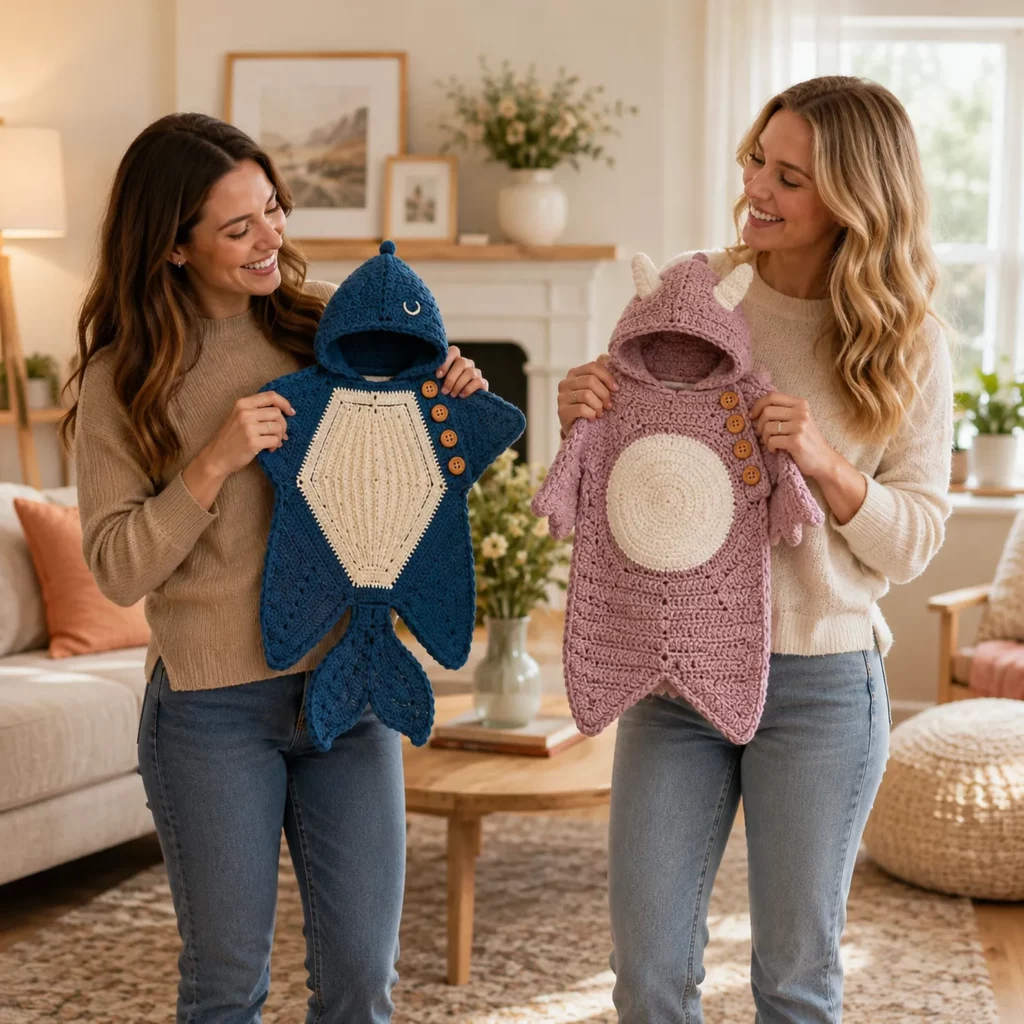
Mermaid theme: deep blue body + cream panel + tail fin in matching blue
Yarn estimate (varies by size and yarn)
0–6 months: 600–900 yards worsted total
6–12 months: 900–1300 yards worsted total
If you use bulky yarn, you’ll need fewer yards but more weight per skein.
Hook
Worsted: 5.0 mm (H/8) or 5.5 mm (I/9)
Bulky: 6.0 mm (J/10) to 7.0 mm
Tip: for cocoons, a slightly tighter fabric is better, so don’t be afraid to size down if you see gaps.
Notions
Stitch markers
Yarn needle
Scissors
Measuring tape
4–6 buttons (¾”–1″ / 20–25 mm)
Optional: snap tape (alternative closure)
Optional: felt or embroidery floss for facial details (display use)
Safety note
If this item is for a baby, keep all embellishments secure. Avoid beads. Consider embroidered details instead of small sewn pieces. Use the cocoon for supervised snuggles and photos, not unsupervised sleep.
Stitches & Techniques Explained#
Common Abbreviations
ch = chain
sl st = slip stitch
sc = single crochet
hdc = half double crochet
dc = double crochet
inc = increase
( ) = repeat
[ ] = stitch count (optional)
sp = space
RS/WS = right side/wrong side
Corner Increases for a Star Shape
A star panel is created by repeating “corners” at consistent intervals. Each round, you increase at corners to sharpen the points and keep the sides between corners relatively straight.
A simple, beginner-friendly corner for a star panel
Corner: (2 dc, ch 2, 2 dc) all in the corner space
Sides: dc in each stitch across to next corner
The number of corners determines the star look. Five corners gives a classic star silhouette.
Buttonholes That Don’t Stretch
For clean buttonholes, you’ll skip a few stitches and chain the same number.
Example buttonhole
Work to position, ch 2, skip 2 stitches, continue stitching across
On the next round, work into the chain space as normal
For larger buttons, make ch 3 / skip 3.
Neat Color Changes for Stripes
Change colors on the last yarn-over of the last stitch of the row/round. This keeps edges crisp.
Step-by-Step Instructions#
Finished Size (Two Common Baby Sizes)
Size 0–6 months: cocoon body approx. 20–23″ long from hood to bottom point, around 16–18″ wide at broadest
Size 6–12 months: cocoon body approx. 24–28″ long, around 18–20″ wide
These are flexible. The easiest adjustment is simply adding more rounds to the star panel before seaming.
Notes Before You Start
Work the star panel in joined rounds for the cleanest points
Use stitch markers to mark the five corner spaces so you never lose your place
Count your corners every round (you should always have five)
Aim for a dense, cozy fabric
The Star Body Panel (Five-Point Star)
Foundation
Ch 5, join to form a ring (or use a magic ring)
Round 1
Ch 3 (counts as dc), work 11 dc into ring, join with sl st to top of ch-3 (12 dc)
Round 2 (Create five corner spaces)
Ch 3, dc in same stitch, ch 2
Skip 1, (2 dc in next st, ch 2) repeat 4 times total
You should have 5 “corner groups” (each is 2 dc + ch 2), separated by one skipped stitch
Join
Round 3 (Build the star points)
Sl st into ch-2 corner space
Ch 3, (dc, ch 2, 2 dc) in same corner space
Dc in stitches across until next corner space
In each corner space work (2 dc, ch 2, 2 dc)
Join
Round 4 and onward
Repeat Round 3
Always: corners get (2 dc, ch 2, 2 dc) in each corner space
Sides: dc in each stitch between corners
How to know when the star is big enough
For 0–6 months, stop when your star measures about 22–24″ from point to point across the widest span
For 6–12 months, stop around 25–28″ point to point
If you want a longer cocoon, you can go slightly bigger, but keep in mind the star points create extra length once folded.
Optional texture upgrade
If you want more “squish,” alternate rounds: one round dc, next round hdc, while keeping the same corner formula. This adds subtle texture and thickness.
Fold and Seam to Create the Cocoon
Lay the star flat with one point at the bottom (this becomes the foot end). Fold the star in half so two points align at the bottom and two points align at the sides, leaving one point at the top center.
You are creating a pouch with a top opening.
Seaming option A (needle seam, neatest)
Thread a yarn needle with matching yarn
Whip stitch or mattress stitch up each side edge, stopping about 6–8″ from the top to leave room for the buttoned opening and hood
Seaming option B (slip stitch seam, faster)
With hook and yarn, sl st through both layers along side edges
Stop at the same point to leave an opening near the top
Important fit note
Leave enough opening to easily place baby in and out. You can always add an extra button, but you can’t “add back” opening without removing seam.
Button Band and Closure
You’ll reinforce one side of the opening with a button band, and create buttonholes on the opposite side.
Round/Row edging around opening
Attach border color to one edge of the opening
Work sc evenly around the opening edge (including along the top where the hood will attach)
At corners, place 2–3 sc to turn smoothly
Buttonhole side
Work a second sc round or row along one opening edge
Place buttonholes evenly spaced (usually 4–6 depending on size)
For each buttonhole: ch 2, skip 2 stitches, continue sc
On the next edging pass, sc into the ch-2 spaces
Button side
On the opposite opening edge, work a plain sc edging with no holes
Sew buttons aligned with holes
Tip for perfect placement
Pin the opening closed and mark where each button should land before sewing.
Hood (Simple, Rounded Hood)
You can crochet the hood directly onto the top opening or crochet it separately and sew it on. Direct attachment is easiest.
Attach yarn at the top back center of the opening. Work in rows across the back portion only (not all the way around).
Hood Row 1
Ch 1, sc across the back half of the opening (from one top corner to the other), turn
Hood Row 2–10 (or until hood height looks right)
Ch 1, sc across, turn
For a slightly roomier hood
Increase 1 stitch at each end every other row for 4 rows (2 sc in first st, 2 sc in last st). This helps the hood cup the head.
Close the hood
Fold hood in half and seam the top edge with a whip stitch or slip stitch seam to create the rounded hood shape.
Finish the hood edge
Work one more round of sc around the hood opening for a clean frame. This is also a great place to add a decorative edging if you want.
Scalloped or Shell Border (Optional, Decorative)
To mimic a playful, finished look, add a simple shell edge around the outer perimeter of the cocoon.
Shell edging
(Sc, skip 1, 5 dc in next stitch, skip 1) repeat
Adjust skips slightly at star points so the shells lie flat
At the very tips, you may want to place the shell into the corner space for a smooth curve
If you prefer a cleaner look, stop after a single crochet border.
Common Mistakes and How to Avoid Them#
Star points look uneven
Cause: losing track of corner spaces
Fix: place a stitch marker in each corner ch-2 space and move markers every round
Cocoon feels too tight
Cause: star panel not large enough or seam too high
Fix: add 1–3 more rounds before seaming, or stop your seam lower to create a wider opening
Buttonholes stretch out
Cause: buttonholes too big or yarn too soft
Fix: make smaller holes (ch 1 skip 1) or reinforce buttonhole row with a second sc row
Hood flops backward
Cause: hood attached too far forward or not enough height
Fix: attach hood to the back half of the opening only and add 1–2 more rows before seaming top
Edges ripple
Cause: too many border stitches on curves
Fix: use fewer stitches along edges, especially around points, or switch to a simple sc border
Expert Tips for Better Results#
Use a slightly smaller hook than usual to create a dense, warm fabric
Block the star panel lightly before seaming if your points curl
Count your corners, not just stitches: five corners every round is the rule
Sew buttons with strong thread and stitch through multiple yarn strands for durability
Weave in ends in two directions so they don’t work loose with handling
If making a themed cocoon, finish the base first, then add embellishments last so placement is easier
Variations and Customization Ideas#
Rainbow star cocoon
Work wide color stripes in the star panel (change colors every 2–4 rounds)
Keep border and hood in one neutral color for a clean “framed” finish
Teddy bear cocoon
Use tan body with a cream chest panel (add a hexagon or oval applique)
Add small bear ears to the hood: crochet two small circles and sew to hood top sides
Dinosaur cocoon
Use green body with a contrasting belly panel
Add spikes along the hood top and down the back seam: make small triangles or bobbles and sew in a row
Mermaid cocoon
Use blue body with a lighter belly panel
Add a tail fin at the bottom point: crochet two leaf-shaped fins and attach at the bottom opening area (purely decorative)
Button placement style options
Side buttons for easy entry
Shoulder buttons for a cape-like closure
Full front closure for maximum ease (more buttons, more structure)
Sizing tweaks
Add rounds for larger size
Use bulky yarn for a thicker, faster cocoon
Use DK yarn for a lighter, more delicate look (add more rounds to reach size)
Benefits of This Crochet Project#
A show-stopping gift for baby showers and first photos
A versatile crochet pattern base you can customize into multiple themes
Quick progress, especially in bulky yarn
Teaches corner shaping, garment-style finishing, and closures
Great stash-buster project for colorful stripes and leftover yarn
Internal Linking Suggestions#
How to Crochet a Star Blanket (Corner Marking Tips)
Beginner Guide to Crochet Buttonholes
Best Yarn for Baby Crochet Projects (Soft + Washable)
How to Seam Crochet Neatly (Whip Stitch vs Mattress Stitch)
Easy Crochet Hood Tutorial for Baby Garments
FAQ#
Is this crochet pattern safe for sleep?
These cocoons are best used for supervised snuggles, warmth while being held, and photos. For safe sleep, follow pediatric safe-sleep guidelines and use appropriate sleepwear and bedding.
What yarn is best for a baby cocoon?
Soft, washable yarn is ideal. Acrylic baby yarn and cotton blends are popular choices because they’re gentle and easy to clean.
How do I resize the cocoon?
Make the star panel larger by adding more rounds, then seam to the same point. More rounds = wider and longer finished cocoon.
How many buttons do I need?
Most sizes use 4–6 buttons. Use more if your opening is long, fewer if it’s short. The goal is a closure that lies flat without gaping.
My star points are curling—what should I do?
Light blocking helps. You can also add a single crochet border to stabilize the edge and make the points lie flatter.
Can I crochet the hood separately?
Yes. Crochet a rectangle, seam the top, then sew it onto the opening. This can be easier if you want to test fit before attaching.
How do I keep embellishments secure?
Use strong stitching, weave tails in multiple directions, and avoid small parts like beads. For baby-safe versions, keep details embroidered or made with yarn only.
Conclusion#
This 4-in-1 style baby cocoon crochet pattern is the perfect mix of practical and magical: a cozy hooded pouch shape, a fun star silhouette, and endless ways to customize it into adorable themed designs. Once you’ve made one, you’ll realize the base construction is a reusable template—swap colors, add ears or spikes, change the border, and suddenly you have a whole collection.
If you tell me the yarn weight you’re using (worsted or bulky) and the age range you want (0–6 or 6–12 months), I can suggest a target star measurement (point-to-point) and a button count so your cocoon fits just right.