


Introduction#
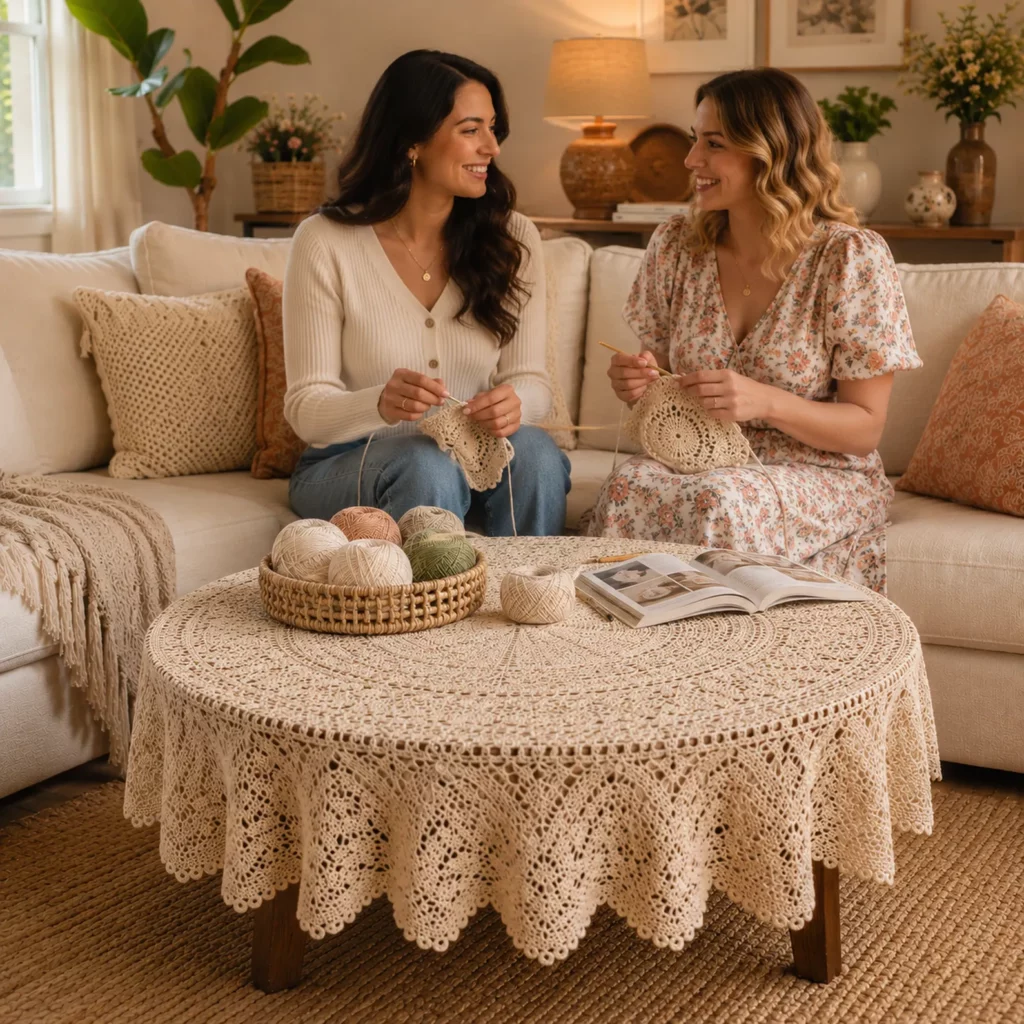
If you’ve ever seen a truly beautiful lace tablecloth and thought, “I wish I could make that,” this is the kind of crochet pattern that turns that dream into a real, step-by-step project. A round lace tablecloth feels instantly timeless. It dresses up a table without feeling heavy, it lets the wood or linens show through, and it becomes the sort of handmade piece that gets pulled out for holidays, birthdays, and “just because the house feels cozy” days.
Explore more beginner blankets crochet patterns in our pattern library.
This crochet tutorial is designed to guide you through an heirloom-style round tablecloth with a sunburst center, layered rings of openwork, small floral motifs spaced around the outer section, and a dramatic scalloped border that drapes beautifully over the table edge. It looks intricate, but it’s built from repeatable lace sections, so once you learn the rhythm, the project becomes surprisingly relaxing.
Even if you’ve never made a large lace piece before, you can absolutely do this. The key is using the right thread, keeping your tension consistent, and blocking at the end so all the lace opens up and looks crisp.

Detailed Description of the Crochet Pattern#
This round lace tablecloth is made in continuous rounds from the center outward. The design has four main visual “zones,” each with its own job:
- Sunburst center
A dense circular center with radiating spokes and chain spaces that create a bright “sun” effect. - Concentric lace rings
Alternating solid stitch rounds and mesh rounds build structure and keep the circle flat while adding airy lace. - Floral feature ring
Small floral medallions are worked into the lace ring so they appear evenly spaced around the outer section like a garden border. - Scalloped drape edge
A larger repeating border with long arches and pointed scallops gives the tablecloth that elegant drop. This is what makes it look like a true heirloom piece.
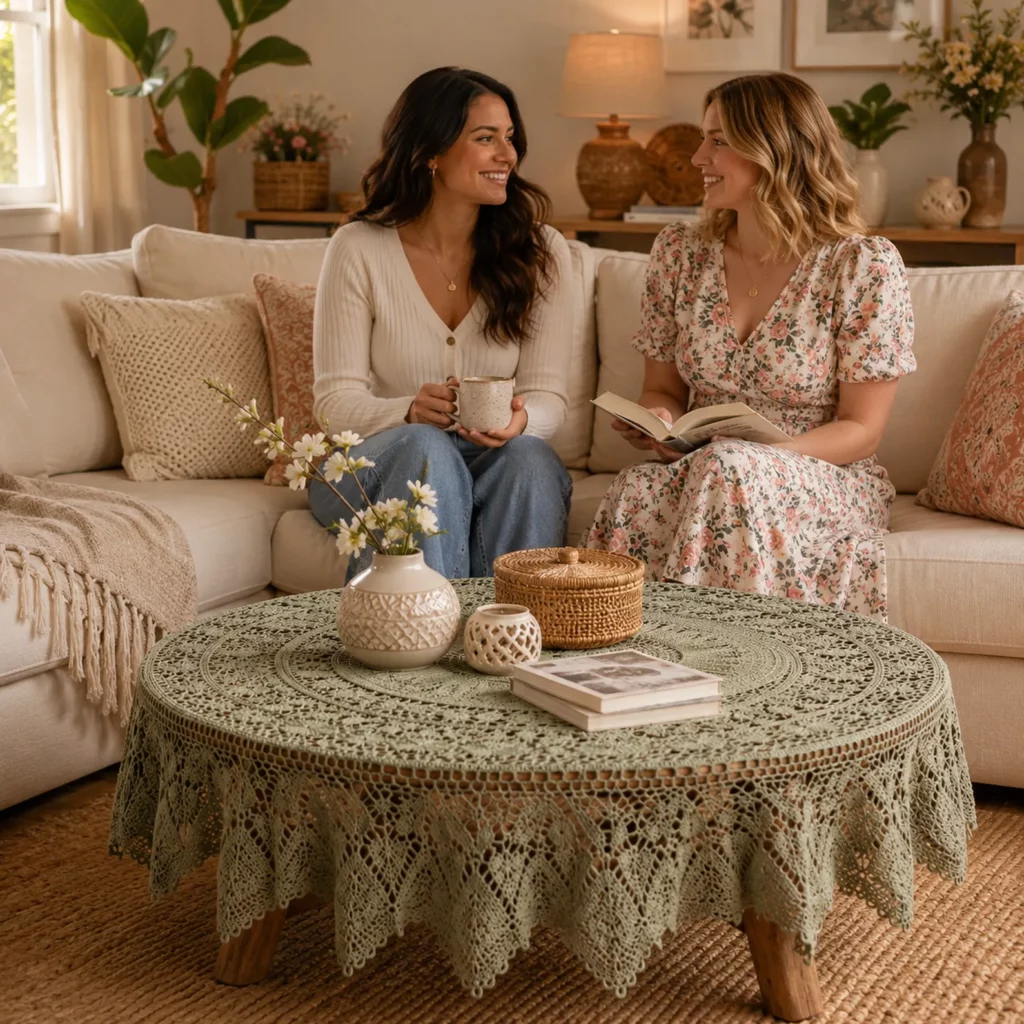
The overall feel is classic filet-and-shell lace with a slightly botanical vibe. It’s a gorgeous project for dining tables, round entry tables, and even as a topper over a solid cloth for extra drama.
Skill Level Explanation#
Skill Level: Intermediate (Confident Beginner with patience)
You’ll do great if you already know
- Working in the round
- Double crochet (dc), treble crochet (tr)
- Chain spaces and mesh lace
- Increasing evenly to keep circles flat
- Reading repeats and stitch counts
Newer skills you’ll learn or practice
- Thread tension control
- Taller stitch combinations (tr, dtr if you choose)
- Picots and scalloped edging
- Blocking lace to open stitchwork
- Fixing “ruffle vs bowl” issues in round lace
This is not difficult because of complicated stitches. It’s more about consistency and staying organized over many rounds.
Materials Needed#
Thread
For a traditional lace look, use crochet thread rather than yarn.
Recommended thread choices
- Size 10 cotton crochet thread for a classic tablecloth weight
- Size 20 thread for a finer, more delicate lace (more time, more detail)
- Size 3 thread for a thicker, faster tablecloth with more texture
Color suggestions
- Natural ecru/cream for a vintage heirloom feel
- Bright white for a crisp, formal look
- Soft blush or pale gray for modern décor
How much thread you need (approximate)
- 18–22 in (46–56 cm) topper: 600–900 yards (550–825 m)
- 26–32 in (66–81 cm) tablecloth: 1200–1800 yards (1100–1650 m)
- 36–44 in (91–112 cm) large tablecloth: 2000–3200 yards (1830–2930 m)
Hook
Match hook size to thread and your tension.
Suggested hook sizes
- Size 10 thread: 1.5 mm to 1.75 mm steel hook
- Size 20 thread: 1.0 mm to 1.25 mm steel hook
- Size 3 thread: 2.25 mm to 3.0 mm hook
Notions
- Stitch markers (helpful for marking repeats)
- Tapestry needle
- Scissors
- Blocking pins and blocking board or foam mats
- Spray bottle or gentle steam option
- Measuring tape
Stitches & Techniques Explained#
Common Abbreviations
- ch = chain
- sl st = slip stitch
- sc = single crochet
- hdc = half double crochet
- dc = double crochet
- tr = treble crochet
- dtr = double treble crochet (optional in border)
- sp = space
- picot = ch 3, sl st in first ch
- ( ) = repeat
- = stitch count
Lace Mesh Basics
A lot of the tablecloth’s “air” comes from mesh rounds.
Common mesh stitch
- (dc, ch 1, skip 1) repeated around
This creates neat open windows while still staying structured.
Keeping a Round Lace Piece Flat
If your piece starts to ripple, you may have too many increases.
If it cups like a bowl, you may need more increases.
Quick fixes
- Ripple: reduce chain spaces or remove a few increases in the next round
- Cup: add extra increase groups evenly spaced in the next round
- Always fix early; it’s much easier than correcting 20 rounds later
Blocking Lace
Blocking is not optional for heirloom lace. It’s what makes the pattern look finished.
Simple blocking method
- Soak or mist the tablecloth
- Pin from the center outward, opening chain spaces evenly
- Pin scallop points and picots last
- Allow to dry completely before unpinning
Step-by-Step Instructions#
This is a free crochet pattern written as a repeatable “recipe” you can scale. The stitch counts are designed to be flexible while still giving you a clear structure. Use stitch markers to mark the start of the round and the main repeat points.
Finished Size Notes
The final diameter depends on thread size, hook size, and how many border repeats you add. This pattern includes a full dramatic border, but you can stop earlier for a topper.
Notes Before You Start
- Join rounds with sl st unless stated otherwise
- Ch-3 at the start of a round counts as a dc unless noted
- Work over yarn tails for a few stitches to reduce weaving
- Use a stitch marker in the first stitch of each round
Center Sunburst
Round 1
MR, ch 3, 15 dc in ring, join (16 dc)
Round 2
Ch 3, dc in same st, 2 dc in each st around, join (32 dc)
Round 3
Ch 3, (dc in next st, 2 dc in next st) around, join (48 dc)
Round 4
Ch 3, (dc in next 2 sts, 2 dc in next st) around, join (64 dc)
Round 5
Ch 3, (dc in next 3 sts, 2 dc in next st) around, join (80 dc)
Round 6 (begin rays)
Ch 3, (dc in next st, ch 2, skip 1) around, join
You should have 40 dc separated by ch-2 spaces
Round 7 (build spokes)
Sl st into next ch-2 sp, ch 3, (2 dc, ch 2, 3 dc) in same sp, (3 dc in next ch-2 sp) around, join
This creates a stronger radiating ring with repeating clusters
Round 8 (smooth ring)
Ch 3, dc in each dc around, placing 2 dc in each ch-2 corner space of the cluster, join
This stabilizes the circle before moving into mesh
Mid Lace Rings
Round 9 (mesh)
Ch 3, (dc, ch 1, skip 1) around, join
Round 10 (solid)
Ch 3, dc in each dc and in each ch-1 sp around, join
Round 11 (longer mesh)
Ch 4 (counts as dc + ch 1), (skip 1, dc, ch 1) around, join
Round 12 (ring + arches)
Ch 3, (dc in next dc, ch 3, skip next ch-1 sp) around, join
Round 13 (fill arches)
Sl st into first ch-3 sp, ch 3, (3 dc, ch 2, 3 dc) in same sp, (4 dc in next ch-3 sp) around, join
Round 14 (mesh again)
Ch 3, (dc, ch 1, skip 1) around, join
At this point you should see a clear sunburst center and a wide lace band building outward.
Floral Feature Ring
You’ll create small flower medallions spaced evenly by using “flower rounds” in selected chain spaces. The trick is repeating the flower unit the same number of times all the way around.
Round 15 (set flower spaces)
Ch 3, (dc in next dc, ch 2) around, join
This creates a chain-2 space between each dc
Round 16 (flower unit round)
Sl st into first ch-2 sp, ch 1, (sc, ch 3, 2 dc, ch 3, sc) in same sp (this is one flower “petal cluster”)
Ch 2, skip next ch-2 sp
Repeat around, join
You’re placing a flower cluster in every other chain space, with chain spacing between them. This gives you evenly spaced flower features.
Round 17 (anchor flowers into lace)
Sl st into next ch-2 sp between flowers, ch 3, (dc in next flower ch-3 sp, ch 1) repeat around, join
Work dc into the tops of the flower clusters as anchor points, using chain-1 mesh between
Round 18 (solid stabilization)
Ch 3, dc in each dc and ch-1 sp around, join
Outer Lace Rings Before Border
Round 19 (arch round)
Ch 3, (dc in next st, ch 4, skip 2) around, join
Round 20 (fan into arches)
Sl st into first ch-4 sp, ch 3, (4 dc, ch 2, 5 dc) in same sp
Sl st into next ch-4 sp
Repeat around, join
This creates large fan motifs that lead beautifully into a dramatic edge
Round 21 (mesh spacer)
Ch 3, (dc, ch 1, skip 1) around, join
Round 22 (pre-scallop foundation)
Ch 3, (dc in next 2 sts, ch 5, skip next 3) around, join
These ch-5 spaces become the “deep points” of the scallop border
Scalloped Draped Border
Round 23 (scallop fans)
Sl st into first ch-5 sp, ch 3, 6 dc in same sp, ch 3
Sl st into next ch-5 sp
Repeat around, join
Round 24 (pointed picot edge)
Sl st into center of fan, ch 1
Work (sc, picot, sc) into the ch-3 at the top of each fan
Between fans, work sc along the joining area so the edge feels stable
Round 25 (optional extra drape)
If you want a longer drop, add one more arch round:
Ch 1, (sc in fan top, ch 6) around, join
Then fill each ch-6 sp with (sc, hdc, dc, tr, dc, hdc, sc) to create a deep pointed scallop
Stop here for a medium drape, or repeat the final scallop round again for a very dramatic table edge.
Common Mistakes and How to Avoid Them#
Ruffling edges
- Usually too many stitches or chain spaces
- Fix by reducing chain count in the next round or skipping an occasional mesh space evenly
Cupping center
- Usually not enough increases early
- Fix by adding an extra increase round near the center before heavy lace begins
Uneven flower spacing
- Count your repeats and use stitch markers at quarter points
- If your last repeat doesn’t match, adjust by changing one chain spacing, not by forcing extra clusters
Scallops curling
- Add a stabilization round of sc before the scallop round
- Block firmly, pinning each point
Thread splitting
- Switch to a hook with a smoother tip
- Slow down and keep your tension relaxed
- Use a slightly larger hook if your thread is snagging constantly
Expert Tips for Better Results#
- Use stitch markers at 12 o’clock, 3 o’clock, 6 o’clock, and 9 o’clock positions. It keeps your repeats balanced and makes troubleshooting easy.
- Keep your joining seam straight by joining in the same way every round and rotating the piece occasionally if you notice a lean.
- Block in stages if needed. If the piece is huge, you can lightly block after the main rings, then do a final full block after the border.
- For the cleanest heirloom look, weave in ends as you go. Lace shows everything.
- If you want a more vintage vibe, use ecru thread and add tiny picots more frequently on the final round.
Variations and Customization Ideas#
- Make it a topper instead of a full tablecloth by stopping after the floral ring and adding a smaller scallop edge.
- Add more flower rings by repeating the floral feature round sequence again before the final border.
- Change the center to a tighter doily center by replacing mesh rounds with solid dc rounds for a denser look.
- Add beads to the picots for a delicate sparkle (only for display pieces).
- Use two-tone threadwork: one shade for the center and another for the outer ring for a subtle gradient effect.
Benefits of This Crochet Project#
- Creates a true heirloom piece that can be used for years
- Teaches lace shaping, repeat management, and professional blocking
- Customizable for different table sizes and styles
- Looks high-end and detailed without requiring complicated stitches
- Great mindful project because the rounds become rhythmic and relaxing
Internal Linking Suggestions#
- How to Crochet a Magic Ring for Lace Projects
- Blocking Lace Crochet: Pinning Tips and Best Methods
- Thread Crochet Hook Size Guide
- Easy Crochet Picot Edging Tutorial
- How to Keep Round Crochet Flat Without Ripples
FAQ#
Is this crochet pattern beginner-friendly?
It’s best for confident beginners who can follow repeats and count stitches. The stitches are simple, but the project is large and requires patience.
What thread size should I use for a tablecloth?
Size 10 cotton thread is the most popular for tablecloths because it’s durable and shows lace detail clearly. Size 20 is more delicate and takes longer.
How do I make the tablecloth bigger?
Keep repeating the “Outer Lace Rings Before Border” section to expand the diameter, then add the scalloped border when it’s large enough for your table.
Why is my round lace piece wavy?
Waves usually mean too many stitches or chain spaces. Reduce chain counts slightly or remove a few increases in the next round, spaced evenly.
Do I have to block it?
Yes, blocking is what makes lace look like lace. Without blocking, the stitches won’t open and the scallops won’t hang neatly.
Can I use yarn instead of thread?
You can use fine yarn, but it will look more like a blanket than lace. If you want the delicate heirloom look, thread is the best choice.
Conclusion#
A round lace tablecloth is one of the most rewarding crochet pattern projects you can make because it becomes more than décor—it becomes a keepsake. The sunburst center draws the eye, the floral rings add charm, and the scalloped edge creates that graceful drape that makes a table feel instantly special.
If you tell me your table diameter and how much drop you want over the edge, I can suggest exactly where to stop the main rounds and how many scallop repeats to add so the finished tablecloth fits your table perfectly.


