


Introduction#
There’s something deeply comforting about a handmade crochet blanket—especially one that feels as soft and inviting as it looks. If you’ve been searching for a crochet pattern that is both visually striking and beginner-friendly, this striped blanket design is exactly what you need.
Explore more beginner blankets crochet patterns in our pattern library.
With bold alternating colors and a playful textured border, this project combines simplicity with charm. Whether you’re new to crochet or looking for a relaxing DIY crochet project, this guide will walk you through every detail so you can confidently create your own cozy masterpiece.
Detailed Description of the Crochet Pattern#
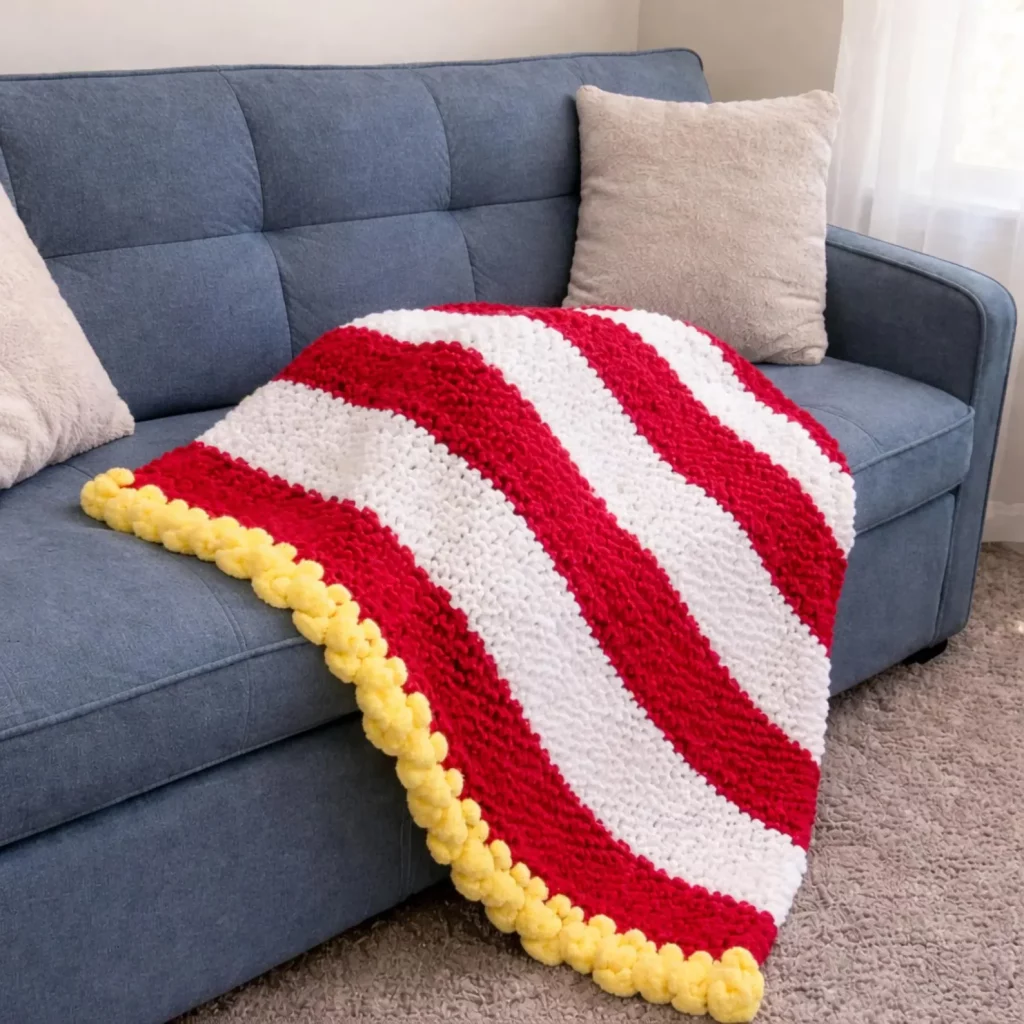
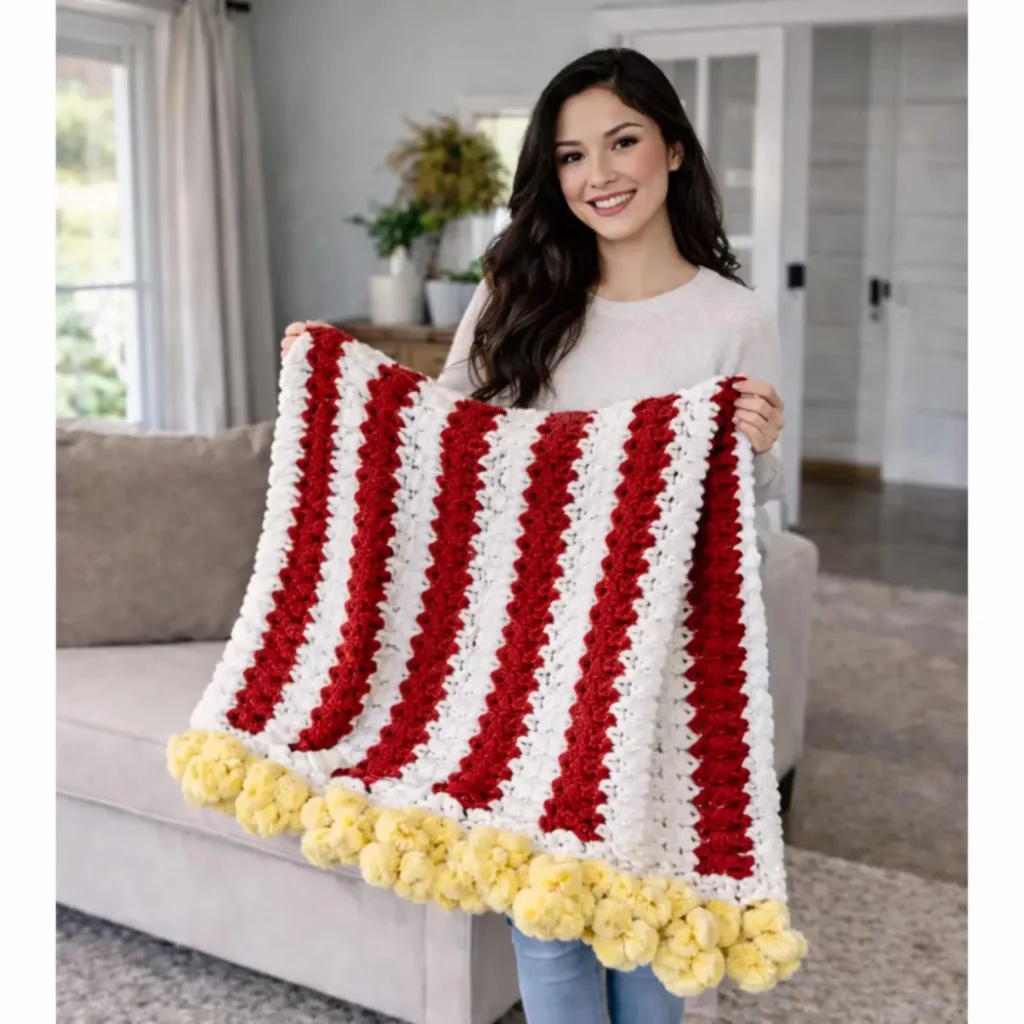
This crochet blanket features wide, alternating stripes that create a clean, modern look. The texture is slightly raised, giving the blanket a plush and cozy feel—perfect for lounging or adding a decorative touch to your home.
The standout feature of this design is the soft, rounded border made with a puff or bobble-style stitch. This adds a playful and luxurious finish, elevating the overall look of the blanket.
Key characteristics:
- Bold striped design
- Soft, chunky texture
- Repetitive stitch pattern (great for relaxation)
- Decorative pom-pom or bobble edging
The pattern is worked in rows, making it ideal for beginners who want to practice consistency and tension.
Skill Level Explanation#
This is an easy crochet pattern, making it suitable for:
- Beginners learning basic stitches
- Intermediate crocheters wanting a quick project
- Anyone looking for a relaxing, repetitive design
You only need to know a few fundamental techniques:
- Chain stitch
- Single crochet or half double crochet
- Color changes
- Basic edging techniques
Even if you’re brand new, this crochet tutorial will guide you step-by-step.
Materials Needed#
To achieve the same cozy and structured look, choose your materials carefully.
Yarn:
- Chunky or bulky yarn (for softness and thickness)
- Two main colors (for stripes)
- One contrasting color (for border)
Tips:
- Use acrylic yarn for durability and easy washing
- Choose soft blends for comfort if the blanket is for lounging
Hook:
- Size 6.5 mm to 9 mm depending on yarn thickness
Additional Tools:
- Yarn needle (for weaving ends)
- Scissors
- Stitch markers (optional but helpful)
Stitches & Techniques Explained#
1. Chain (ch)
The foundation of your blanket. This determines the width.
2. Single Crochet (sc) or Half Double Crochet (hdc)
These stitches create a dense, warm fabric:
- sc = tighter texture
- hdc = slightly softer and taller stitches
3. Color Changing
Switching yarn colors at the end of a row:
- Complete the last stitch with the new color
- Keep tension consistent to avoid gaps
4. Bobble/Puff Stitch (for border)
This creates the rounded “pom-pom” effect:
- Yarn over, pull up loops multiple times in same stitch
- Yarn over and pull through all loops
Step-by-Step Instructions#
Create the Foundation
- Chain a multiple of stitches based on desired width (e.g., 100–120 chains for a throw blanket)
Row 1
- Work 1 single crochet (or half double crochet) into each stitch across
- Turn your work
Build the Texture
- Continue working the same stitch across each row
- Maintain consistent tension
Add Stripes
- After several rows (e.g., 8–12), switch to the second color
- Repeat this pattern to create bold stripes
Example:
- 10 rows color A
- 10 rows color B
- Repeat
Continue Until Desired Length
- Keep alternating colors until the blanket reaches your preferred size
Add the Border
- Work a round of single crochet evenly around the edges
- Then add a bobble or puff stitch border:
Simple Bobble Edge:
- Skip 1 stitch, 5 dc in next stitch, skip 1 stitch, slip stitch
- Repeat around
Finish
- Fasten off yarn
- Weave in all loose ends
Common Mistakes and How to Avoid Them#
Uneven Edges
- Count your stitches every row
- Use stitch markers at the beginning/end
Loose Color Changes
- Pull yarn tight when switching colors
- Weave ends securely
Curling Edges
- Avoid overly tight tension
- Use a larger hook if needed
Inconsistent Stripe Width
- Keep track of rows per color
- Write down your pattern repeat
Expert Tips for Better Results#
- Block your blanket after finishing for a professional look
- Use high-contrast colors to make stripes pop
- Try chunky chenille yarn for extra softness
- Crochet loosely if you want a more draped blanket
- Add a border before the bobble edge for stability
Variations and Customization Ideas#
This crochet pattern is incredibly versatile. Here are some ways to make it your own:
Color Variations:
- Pastels for a soft aesthetic
- Neutral tones for modern décor
- Bright rainbow stripes for a playful vibe
Size Adjustments:
- Baby blanket (smaller chain)
- Bedspread (larger foundation chain)
Texture Changes:
- Use double crochet for a lighter blanket
- Add ribbing rows for variation
Border Ideas:
- Fringe edges
- Shell stitch border
- Tassels instead of bobbles
Benefits of This Crochet Project#
- Beginner-friendly and easy to follow
- Great for practicing consistency
- Relaxing and repetitive
- Perfect handmade gift idea
- Customizable for any home style
This DIY crochet project is not just about making a blanket—it’s about creating something meaningful and long-lasting.
Internal Linking Suggestions#
You may also like:
- Easy crochet scarf patterns for beginners
- DIY crochet pillow covers
- Chunky crochet blanket tutorials
- How to choose the right yarn for crochet
- Beginner crochet stitch guides
FAQ Section#
1. Is this crochet pattern suitable for beginners?
Yes! This is an easy crochet pattern that uses basic stitches and simple repetition, making it ideal for beginners.
2. How long does it take to complete this blanket?
Depending on your speed, it can take anywhere from a few days to a couple of weeks.
3. What type of yarn works best?
Chunky or bulky yarn is recommended for a soft, cozy texture and faster progress.
4. Can I make this blanket in different sizes?
Absolutely. Simply adjust your starting chain to change the width and crochet more or fewer rows for length.
5. How do I keep my edges straight?
Count stitches at the end of each row and use stitch markers if needed.
Conclusion#
This striped crochet blanket pattern is the perfect combination of simplicity, comfort, and style. Whether you’re just starting your crochet journey or looking for a relaxing project, this design offers both ease and creativity.
With its bold stripes and soft textured border, you’ll end up with a handmade piece that’s not only functional but also beautiful. Grab your yarn, follow this crochet tutorial, and start creating something cozy today.
Happy crocheting! ????


